How to Photograph 5 Challenging Types of Light
 by
Jo Plumridge
by
Jo Plumridge

Something I go on and on about is how photography is all about light – that’s no secret. Without light, there is no image. As photographers we’re used to looking for an interesting subject to shoot, but consideration always needs to be taken as to the type of light you’re dealing with.
And some types of lighting are more challenging than others. In this article, we’re going to take a look at how to deal with these types successfully.
1. Midday Sun
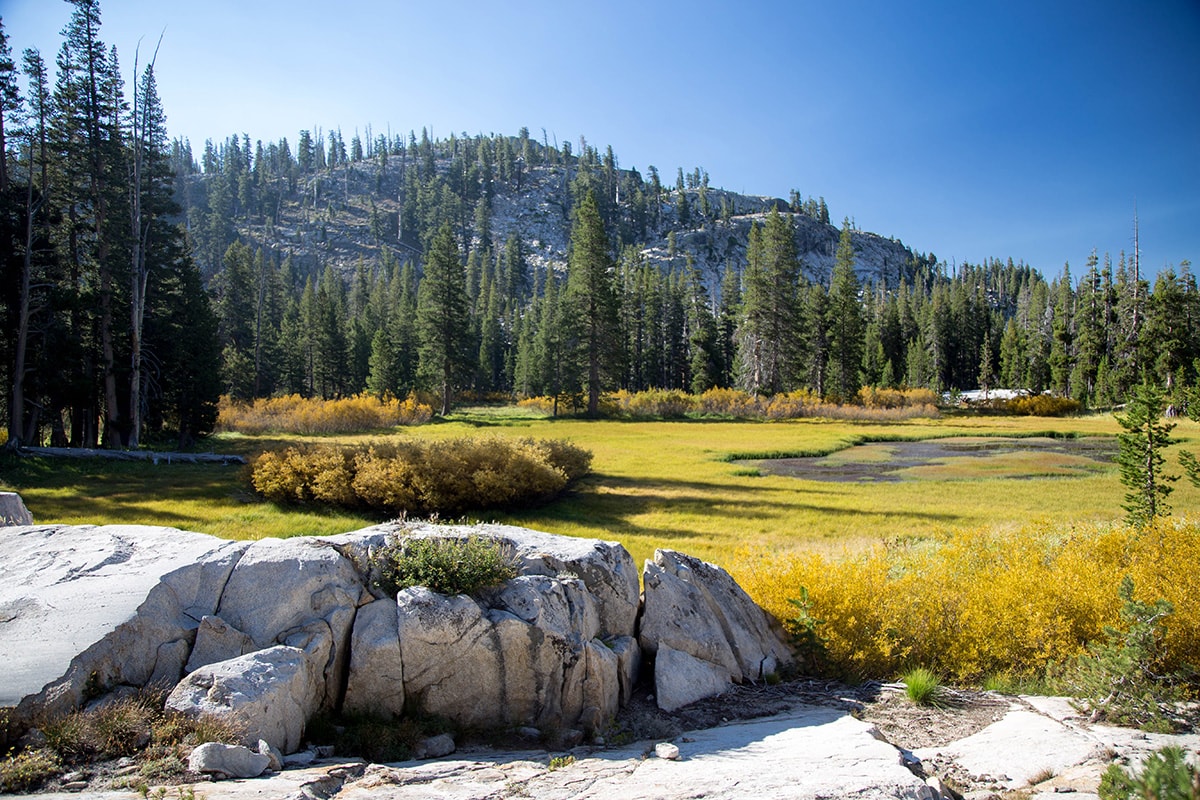
Undoubtedly one of the most challenging types of light to shoot with, midday sun is when the sun is at its highest position, sitting directly overhead. The resulting light creates very hard shadows, which are almost impossible for your camera to penetrate. Most of the time, photographers will try and avoid shooting at this time of day but sometimes it may be inevitable.
The easiest way to work with this type of light is to use fill-flash – a short burst of flash from your flashgun or, if your camera has one, by firing its pop-up flash. This will help to fill in the shadows. You can also use a reflector to help fill in the shadows, although this won’t be as effective as the flash.
2. Bright Overcast Skies
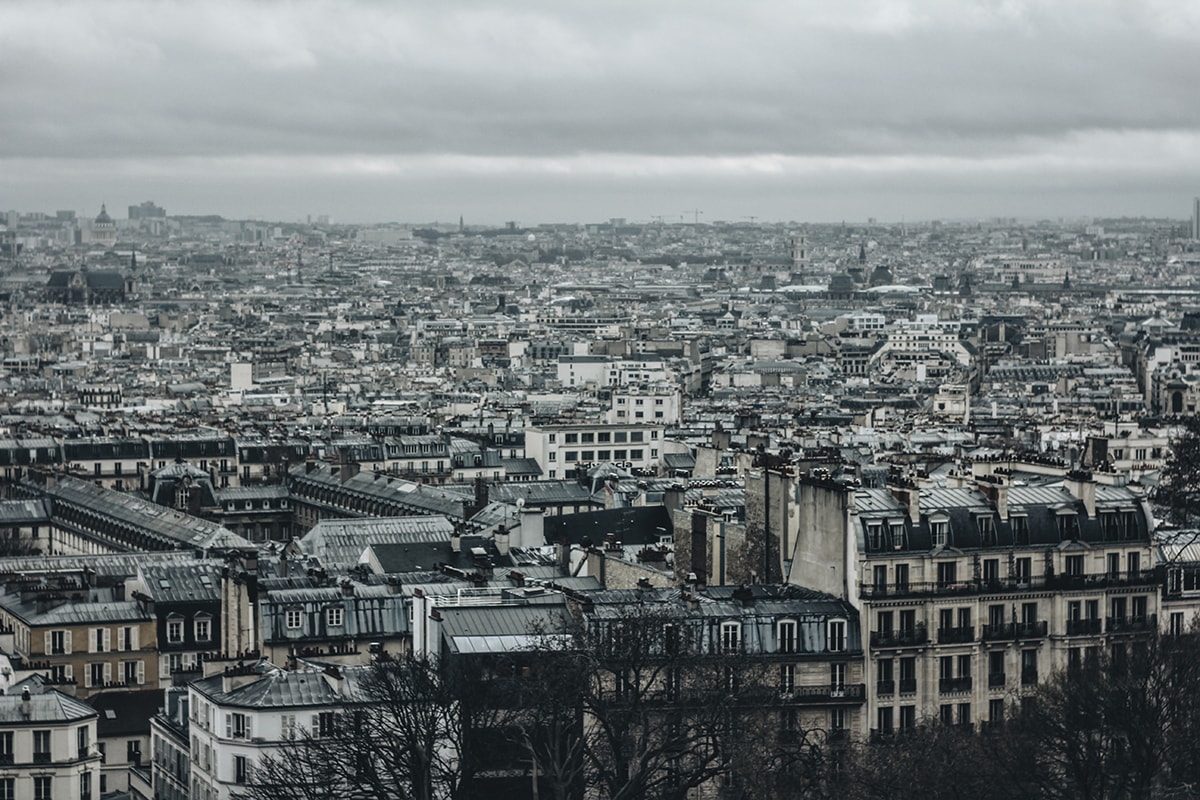
Whilst this sort of light can produce dramatic images if handled correctly, it can be tricky to master. The main problem is that the sky can be hard to meter, as the contrast between brightness and overcast can fool the camera into underexposing the image. Alternatively you can end up with blown-out parts of the sky when the camera has metered for the scene as a whole.
The simplest way to deal with this problem is to invest in a graduated neutral density (ND) filter. By positioning the dark half of the filter over the sky you’ll let less light into the lens on this half of the image. This means that you can meter correctly for the land, whilst also keeping the sky correctly exposed. ND filters come in different aperture strengths (e.g. 2, 4, 6), allowing you to choose the one most suitable for the lighting requirements.
3. Backlight
When you position your subject in front of the light, you create backlighting. And if you don’t meter properly for this situation, you’ll end up with a silhouette or an under-exposed subject. This is due to your camera trying to compensate for the bright light in the background.
You’ve got two options to solve this problem. One is to switch to centre-weighted or spot metering mode, allowing you to meter specifically for your subject. Alternatively you can use a flashgun to put light onto your subject and balance out the light with the background.
4. Low light
Low light presents its own unique challenges, especially when shooting landscapes. Obviously, a landscape requires a large depth of field but this means a small aperture. The usual solution to this problem is to use a long exposure and put your camera on a tripod. The problem is, of course, if you’re out and about without a tripod and spot a great shot. A way around this is to push your ISO to a higher sensitivity.
Modern cameras allow you to push your ISO further, meaning that you can get acceptable results up to ISO 3200 / 6400. The important thing here is to know how far you can push your own camera, as each model’s limitations are different.
5. The Golden Hour
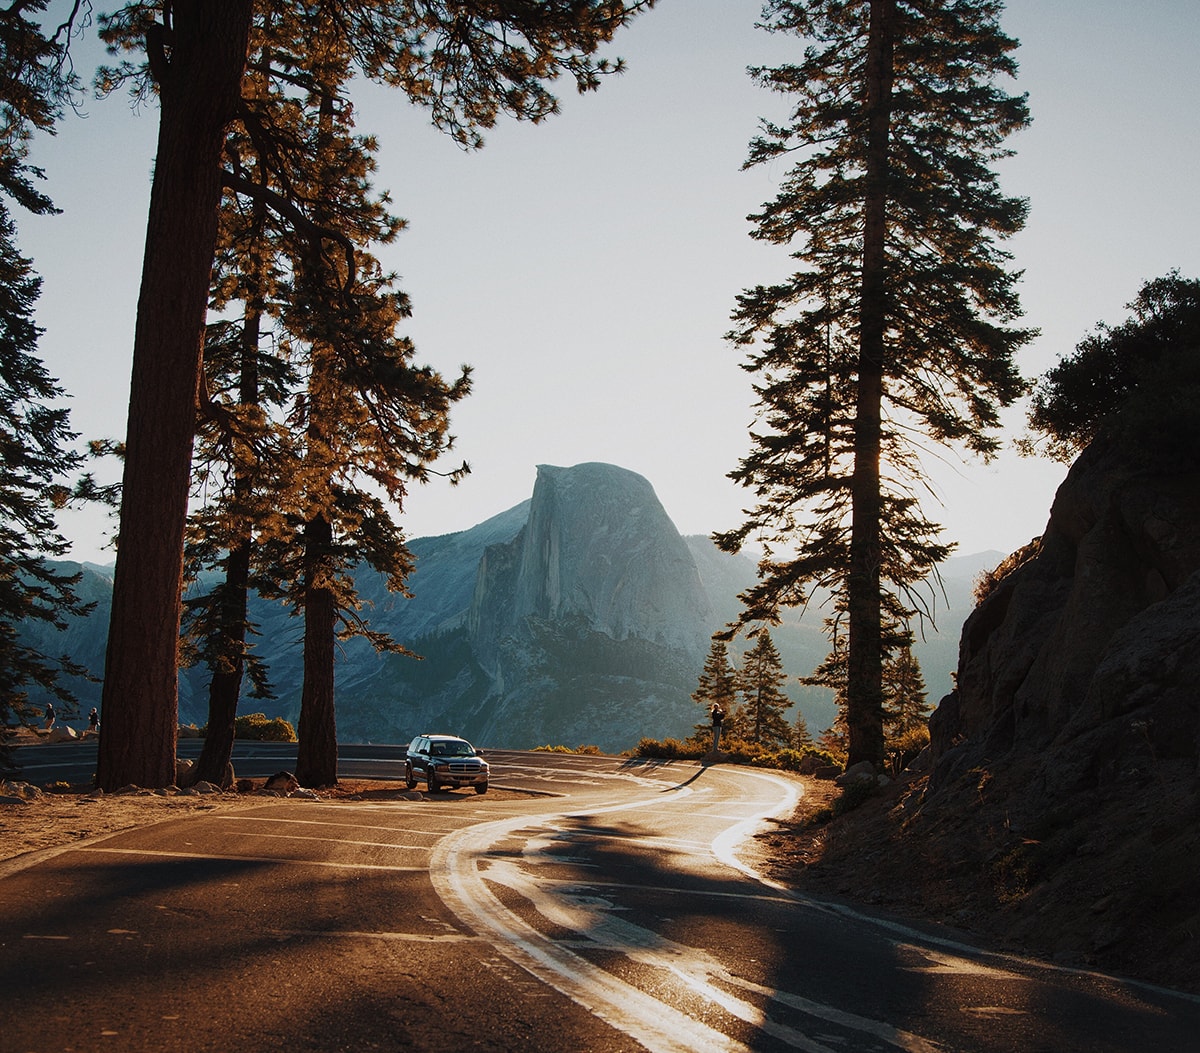
Most of us know that the hours just before sunrise and just after sunset (the Golden Hour) produce beautiful light. It’s the preferred time for landscape photographers to shoot at because of the stunning results it can produce. However, even this type of light needs a little careful consideration.
Getting the correct exposure can be tricky, as the sky is often far brighter than the ground. This often leads to silhouettes in the foreground, which can give a very dramatic effect. However, sometimes this can lead to images looking a little unnatural and lacking in context. As with shooting bright overcast skies, the simplest solution is to use a graduated ND filter to balance out the difference in exposure between the sky and the land.
Hopefully these tips will make it easier for you as a photographer to cope with more challenging types of light. Have fun experimenting!
About the Author: Jo Plumridge
Jo Plumridge is a UK based photographer, writer and lecturer. She specializes in portrait, corporate and travel photography, and writes photography, travel and comedy pieces for magazines, websites and books. You can see some of her work at her website, or follow her on Twitter.