How to Take Electrifying Shots of Food for Restaurant Menus

Let’s face it: All menus should have pictures of food. Menus simply become more sellable and appetizing when you include gorgeous pictures of the food any establishment serves. People, after all, really eat with their eyes first.
Since you want to sell the food on a menu, the images of said food need to be top-notch. Again, people won’t find poorly shot food appetizing to eat, and including low-quality pictures of certain dishes on a menu would likely dissuade people from ordering those dishes!
Part food photography, part great technique, taking electrifying shots of food for a menu is an exciting and rewarding process that will translate into real profits.
Understanding Your Client
First things first: You need to understand exactly what works best for your client’s restaurant.
Some may have a big budget they can spend on the shoot, which means you as the photographer are like a kid in a candy store, as you’ll have access to better lighting and equipment, but that’s not always necessary. At the same time, maybe you want to bring in a host of expensive equipment yourself because the shoot is for a big client.
For some more low-budget clients—maybe it’s a casual-fare restaurant that’s just opened or even a food truck – relying on just natural light for your shoot can work wonders, too. After all, the determining factor is really the technique you use, more than anything else. In this piece, we’ll look at natural lighting.
Using Natural Light
Look for areas inside of the restaurant where natural light is abundant and is easy to find. There will usually always be one or two areas like this inside any establishment; it just takes some looking. Of course, if you’ve already done work for a client before, you’ll already know the choice places for natural light and so have an advantage.
For instance, it could be an area with a big, glass ceiling or a section of the restaurant where there are huge, floor-to-ceiling windows. Essentially, it can be any place where the natural light just filters in.
Now that you know where the good natural-light spots are, it’s time to find a part of the restaurant that’s also unique and interesting, which you can use to make your food shots (the actual stars) pop even more. By finding these spots in the establishment, you get to highlight nice architectural touches or evocative aspects into your shots.
Thinking About the Composition
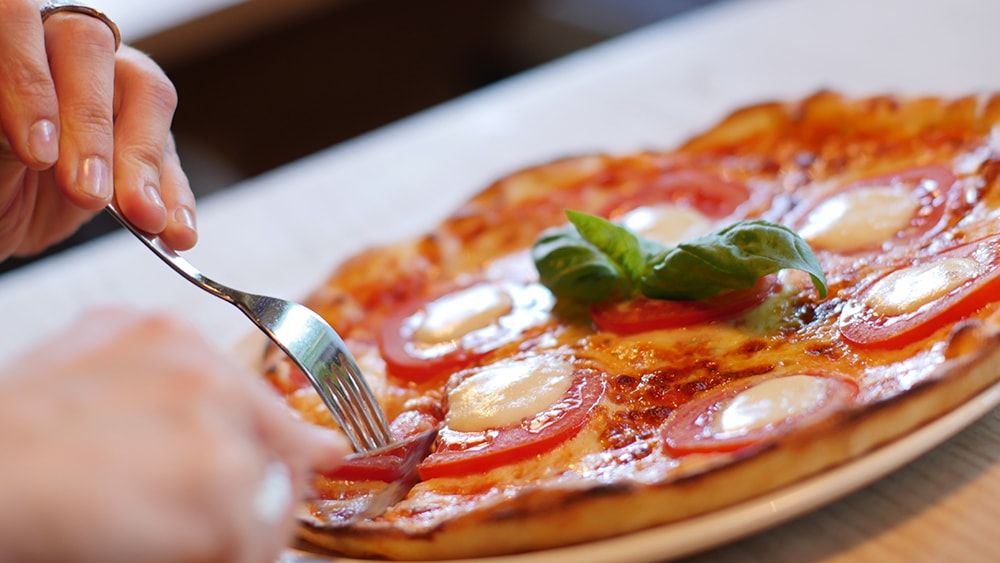
Even great menu photography deserves thoughtful composition. Remember that these shots are vital to your client’s business, as customers will be making their buying decisions in large part based on your photos.
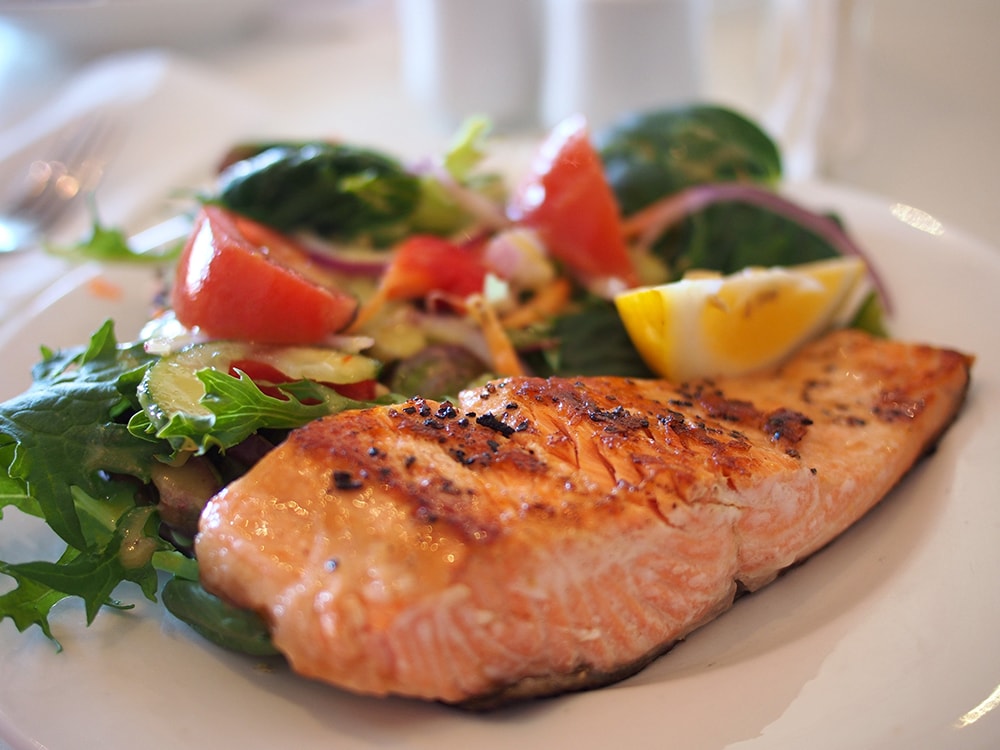
You don’t want to overcrowd the photo because the subject is obviously going to be the plates of food. Putting too many elements into the background can distract from the food you’re shooting, and that would be self-defeating.
Instead, use minimalism to overcome this potential source of trouble. Limit your foreground or background elements to just one or two, thus ensuring that your dishes are the main stars of your menu photography. The elements in the foreground or background should also be blurry (out of focus), so that viewers have no choice but to look at the food and pay attention to it.
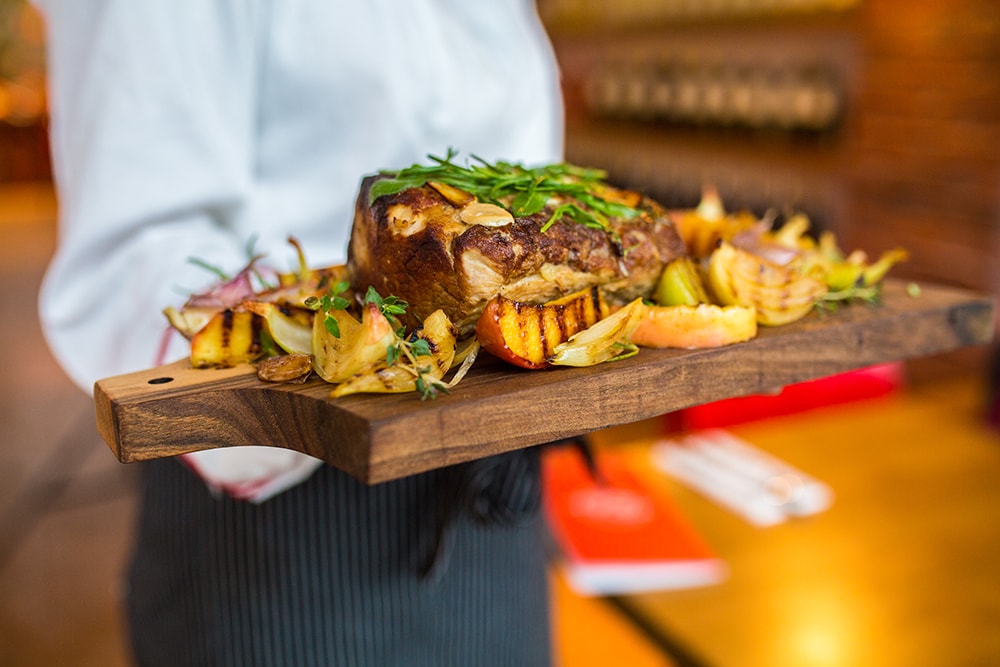
Props That Complement… Not Detract
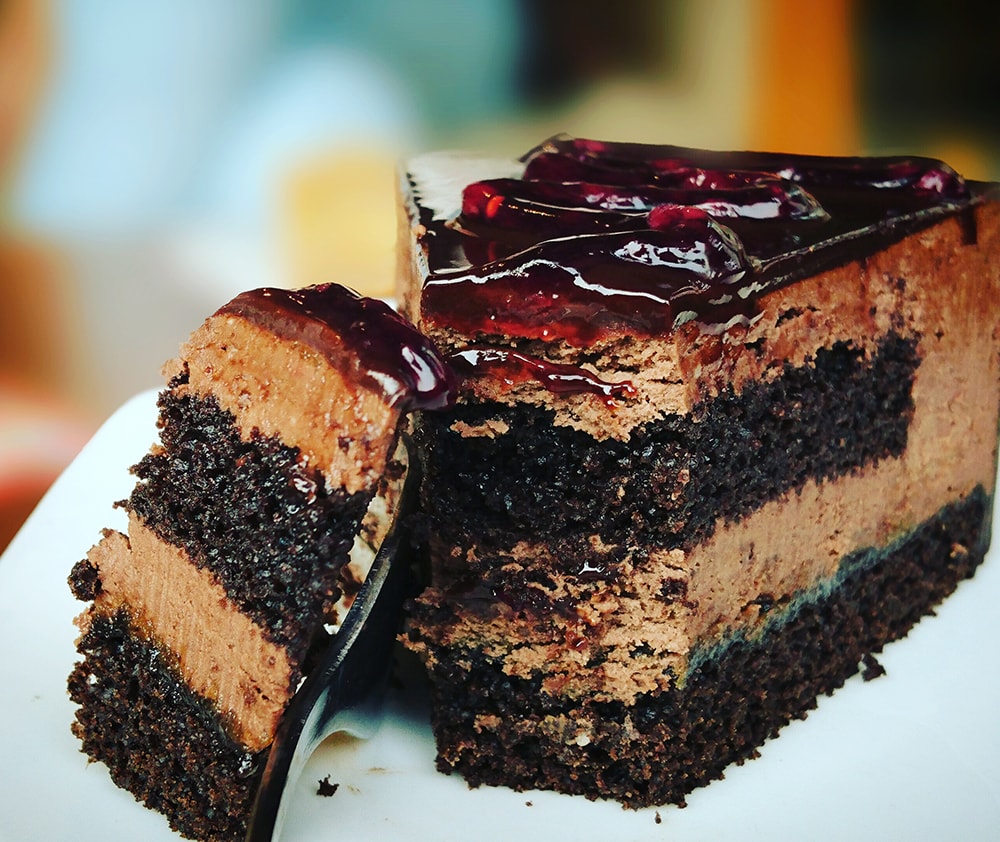
You’ll be using props like crazy when shooting food for a menu. Everything from plates, dishes, bowls, glasses and cutlery are likely going to be part of your shoot, but they shouldn’t take away from the one and only star of your shoot—the actual food.
Do experiment with your props to see which combinations and colors get the best results for your shots. This will be important because you won’t necessarily know right off the bat what plating will complement your food’s natural colors. So what this means, for example, is not to put chili into a maroon-red bowl because the chili will literally disappear into your bowl! On the other hand, feel more than free to photograph a serving of charcuterie on a plain, white plate, as this will completely put the focus on the food itself and nothing else.
At the same time, also experiment with different angles for your food shots. Simply adjusting from where you’re taking the shot can make a big difference.
Do the Unexpected
Job one as a photographer is to make the food look amazingly sumptuous for your client’s menu. So you’ve got to pull out all the stops to make this happen, even if they’re unconventional.
To continue to make your food look hot and with steam coming off of it, simply put wet cotton balls and sponges into a microwave to heat them up, then tactically hide them behind the food you’re shooting to create the illusion that the food is still hot.
Another cool trick is using glycerin to make food look moist. As an example, let’s say you’re photographing a mouth-watering house salad for the menu, but the lettuce looks ordinary. Simply brush some glycerin onto the leaves to make them look moist, fresh and delicious.
And if the hamburger or tall sandwich you want to shoot just isn’t standing up quite as tall as you want it to—then simply use cardboard to help prop up the burger or sandwich and some toothpicks to make sure all the lettuce and other fixings stay in their place between the slices of bread or bun.
It’s All About How It Looks
Photographing food for a client’s menu is considerable fun and also stimulating work. Besides dealing with the challenges of shooting inside of a restaurant and finding that natural light in only a few, choice places, you’ll also have to contend with the challenge of making your food look great. That’s no easy task, to say the least!
But when you focus on great technique like making sure your composition is lined up right, then even the most challenging menu shoot becomes something manageable. And if you still have problems with the food, don’t hesitate to try unexpected tricks to really doll the food up.
After all, the only thing that matters with menus is making the pictures you take for them… good enough to eat right off the page.
About the Author: Marc Schenker
 Marc is a copywriter and content marketer who covered photography. These days, he runs The Glorious Company, a content marketing agency.