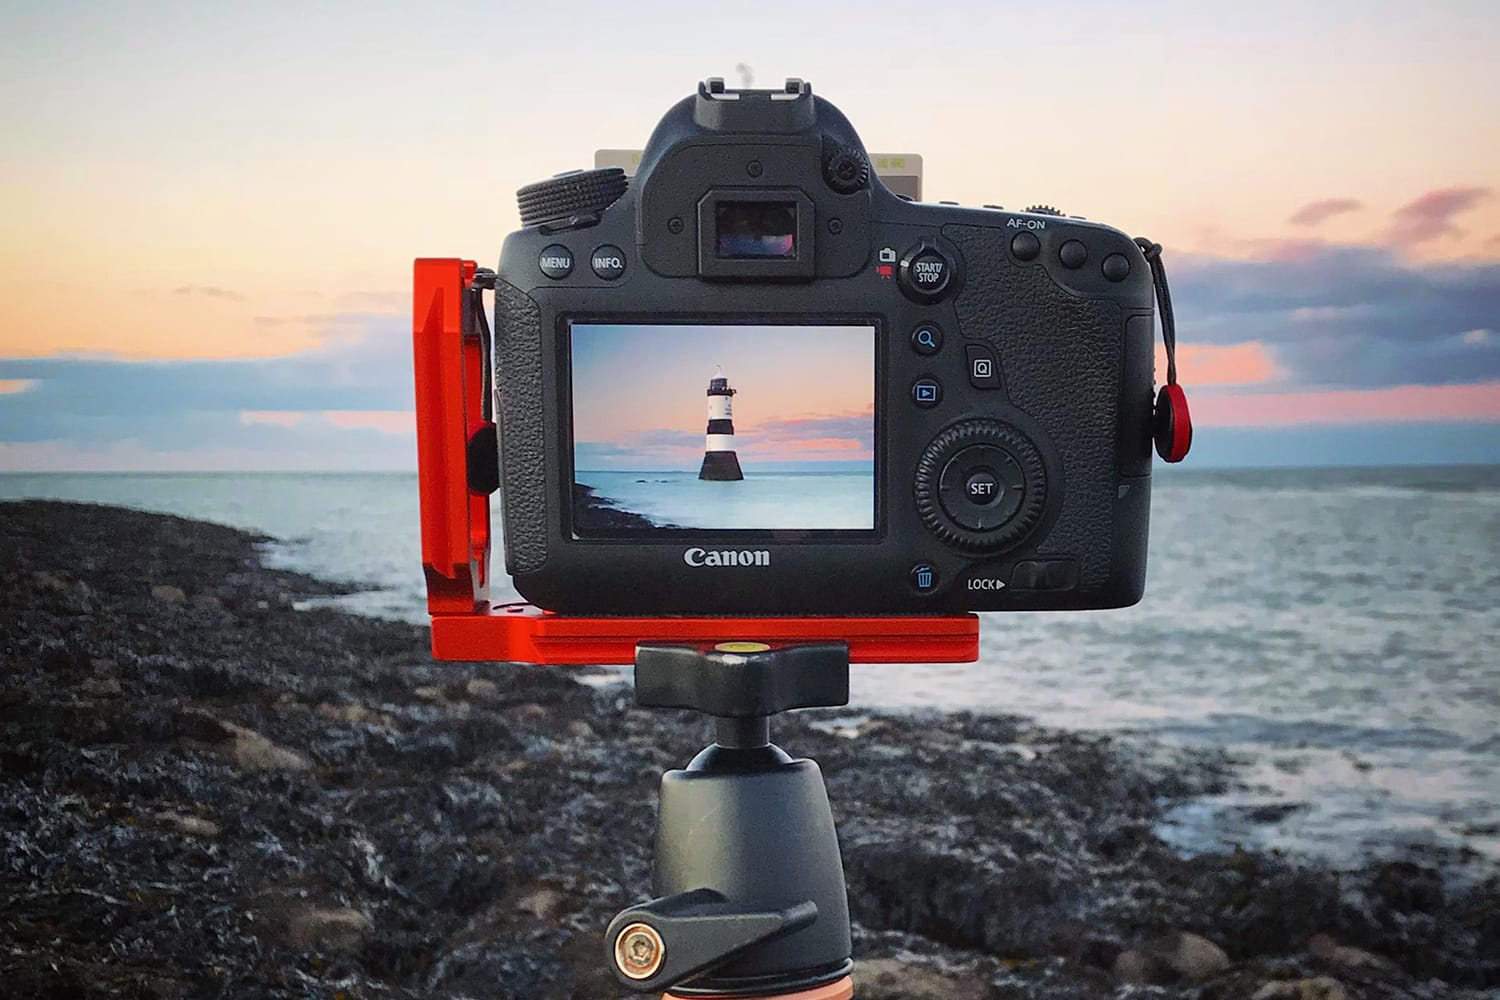
How to Successfully Use the Focus-and-Recompose Technique
Principles of composition, framing, focusing, and other key aspects of photography are necessary to achieve a stunning result.
Sure, a photographer could work individually on each of these aspects or rely on whatever prime focus points their camera offers them to keep the quality of their shots high. Still, it’s more likely that you’ll eventually want to integrate all of these photography basics flawlessly into a single shot that’s entirely under your control.
By focusing and recomposing before you fully press the shutter, you can ensure your composition is solid before actually committing to the capture!

The Importance of Recomposition
Whether you still consider yourself a beginning photographer or have been at it for some time, you’ve no doubt read or heard the word “composition” again and again. There’s a reason that the topic is mentioned so frequently.
Composition defines a photo and is what makes it unique!
Before we discuss the focus-and-recompose technique, we must take a moment to understand the definition of recomposition. All it means to recompose is to compose your shot the first time, then modify the composition.
For instance, you may have your subject centered in your photo before realizing that you want to add interest by moving your subject to the right side of the frame and including more negative space in the shot on the left side.
This is all it means to recompose—compose a shot, then compose it again!
The Focus-and-Recompose Technique Explained
Let’s quickly break down the focus-and-recompose technique into easily digestible steps.
- Use your camera’s automatic focusing feature to lock onto your subject until your shot is as sharp as you want.
- Usually, you’ll manage this by pressing the shutter halfway down.
- Once you’ve achieved a focus lock, recompose the shot by shifting the camera up, down, to the left, or the right. With locked focus, moving your camera shouldn’t change a thing.
- When you’re happy with the new composition, take the shot!

When to Use It
Focusing and recomposing is a good bet for you when:
- You don’t want your subject (the primary focus of your photograph that you want to be crisp and crystal clear) in the center of your shot or within one of your camera’s focus points.
- You’re working in a low-light situation or any other area with difficult lighting where proper focus and exposure can only be achieved in a single point of the frame.
- You don’t want to be inhibited by relying on your camera’s automatic choice of focus points in face detection or full automatic focus mode.
How to Master Focusing and Recomposing
Now that you know all about what the focus-and-recompose technique is, why it works, and a few situations where it can vastly improve your photography, let’s dive into what you’ve undoubtedly been waiting for – the how.
Here, we’ll cover some tips that you can use right away to master this technique. All you’ll need to do is grab your camera, remember this tutorial, and head out into the world!

1. Start with the basics and learn to love autofocus.
To best utilize the focus-and-recompose technique, you’ll need to understand and take advantage of your camera’s focus points as they’re used in autofocus mode. If you have a high-end DSLR or mirrorless camera, there are sure to be many.
Still, no matter how expensive your camera is, these focus points will not cover the entire frame. Learn where these points lie so that you can effectively pose your subject within them. Then, attain focus and continue with your recomposition!
2. Center is best.
Importantly, remember that the area with the most focusing accuracy is usually right in the middle of the frame.
While you won’t want to keep your subject in the middle of the frame for every shot lest your portfolio becomes boring, you’ll get the most accurate focus here before moving your camera during the “recomposition” phase.
3. Be gentle with the shutter button.
Your camera will have a mode called “Single Servo” mode, also called “AF-S.” By setting your camera to this mode, you enable yourself to control when your camera focuses.
You can trigger this focus by halfway pressing the shutter button. Usually, there will be some indicators such as the appearance of a light or an audible beep when you’ve successfully completed this step, and your camera has locked on.
4. Learn to lock focus in any autofocus mode.
If you’re looking for a little flexibility and are hoping to lock your focus in another one of your camera’s autofocus modes, you’re in luck. The vast majority of DSLR cameras have a button (sometimes called “AE-L” or “AF-L”) for locking both exposure and focus.
Yes, this does mean that you’ll need to be pressing the shutter down halfway while also holding the button located on the back of your camera to lock the focus and exposure, so this technique might take a little bit of practice as you learn to maneuver your grip and coordination.
Still, we think the effort is worthwhile, given that you will be locking both your focus and your exposure at once. Take that, bad lighting!
5. Know the alternative to the shutter half-press.
Some of us are more heavy-handed than others, and that’s okay! In this case, program one of the camera’s back buttons to acquire focus, freeing up the shutter button to take photos only.
6. Slide, don’t pivot.
Focus lock is only half the battle. Once you’ve done so, you’ll need to physically move your camera to recompose the shot. Many people who are new to the focus-and-recompose technique will do this by simply pivoting the camera. In some instances, this might achieve the desired effect.
However, if you’re focused on a subject that’s close to your lens, you’ll see what we mean when we say that it is much more useful to slide your camera rather than pivot it during recomposition. This way, you lessen your chances of modifying the plane of focus.
7. Maintain accuracy with a wide aperture and a shallow depth of field.
Unfortunately, this technique doesn’t work perfectly every time (more on that in the next section). To avoid situations where focusing and recomposing will yield an out-of-focus result, remember to use a wider aperture (and therefore a shallower depth of field) whenever possible.

The Drawbacks of Focusing and Recomposing
Like most things, this technique beloved by photographers of all kinds has a few cons to accompany its myriad of pros. For instance, some photographers say that this technique isn’t the best for portrait photography, while others find it useful.
Additionally, it’s possible to use this technique for event photography if you’re working with slow-moving subjects or someone who is amicable to standing still for a bit of extra time. Still, we’re sad to say that this technique isn’t the one for you if you’re photographing a sports event or other high-speed situation.
One more downside to focusing and recomposing is the effect that this technique will have on your plane of focus and, therefore, your depth of field. This problem is entirely based on mathematics, an interesting investigation for the number-crunchers out there.
For those of us who want to keep equations out of it, however, suffice it to say that some situations will lead to a change in focus shift that is greater than the depth of field. As a result, the focus-and-recompose technique can lose its accuracy, yielding an out-of-focus shot.
Go Forth and Recompose!
Focusing and recomposing is one of those techniques that may seem much more complicated than it is. Largely because of this technique’s physical nature, the best thing you can do is practice holding the shutter halfway, “flicking” your wrist to recompose, and then repeating the process until it comes easily to you.
Soon enough, you’ll be using this technique instinctively.
