Interested in Stereoscopy? Here's What You Need to Know
Stereoscopy sounds new and complicated to a lot of people, even to some photographers. But it’s actually a simple concept that has been around for years. Stereoscopy is more popularly known as 3D photography.
It is based on the theory formulated by Charles Wheatstone back in the 1830s, when he created the stereoscope.
According to Wheatstone, it is possible to produce a three-dimensional image when you combine two-dimensional images – especially when they are drawn from two different perspectives. To prove his theory, he used mirrors in showing one image to the right eye and the second image to the left eye.
This allowed each eye to see the images separately, which created a 3D effect. Wheatstone created the stereoscopic viewer and provided people an interesting way of looking at or observing drawings.

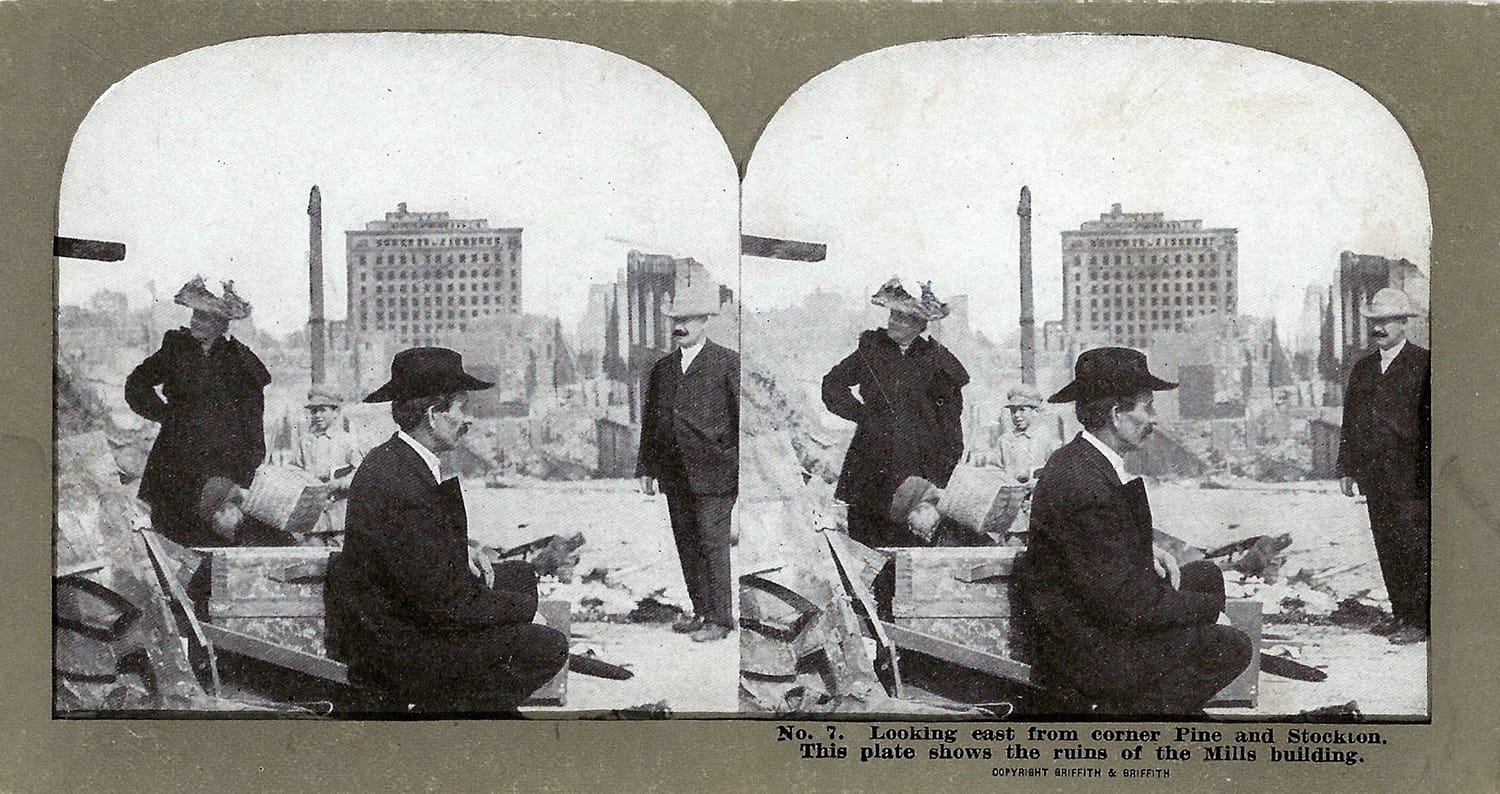
Image by Joe Haupt – Vintage Stereoscopic View Of The Aftermath Of The 1906 San Francisco Earthquake
Although 3D films were not made available to the public until the early part of the 20th century, the stereoscope allowed people to conveniently view three-dimensional images. Handheld stereoscopes opened up more avenues not only for pleasure and recreation (such as gazing at faraway places), but also for education. It was even used for art (painting and sculpture).
Stereoscope and Photography
The Daguerreotype, a photographic process that used silver or silver-covered copper plate and is also known as the first type of photograph, was paired with a stereoscope so people could take photos of images positioned on both the right and left simultaneously. This resulted to the creation of stereoscopic camera.
This particular camera has two lenses that were on separate positions according to the actual distance of the eyes. The device was improved several years later. David Brewster substituted the mirrors with lenses.
The compact device became quite popular. It was even regarded as being responsible for the development and popularity of photography.
How Stereoscopy Works
The concept of stereoscopy is quite simple. Two-dimensional drawings, engravings, or photos are simultaneously viewed by both eyes. This is why the images appear three-dimensional. It’s like covering your left eye while looking at an object and then without taking your eyes off the object, moving your hand to the other eye. The object will appear to have moved or is slightly altered. You’re looking at one object that appears in two (or three) dimensions.
In stereoscopy, images are placed side by side, at a distance. When a viewer looks at these images using a stereoscope, they will appear as a single three-dimensional image.
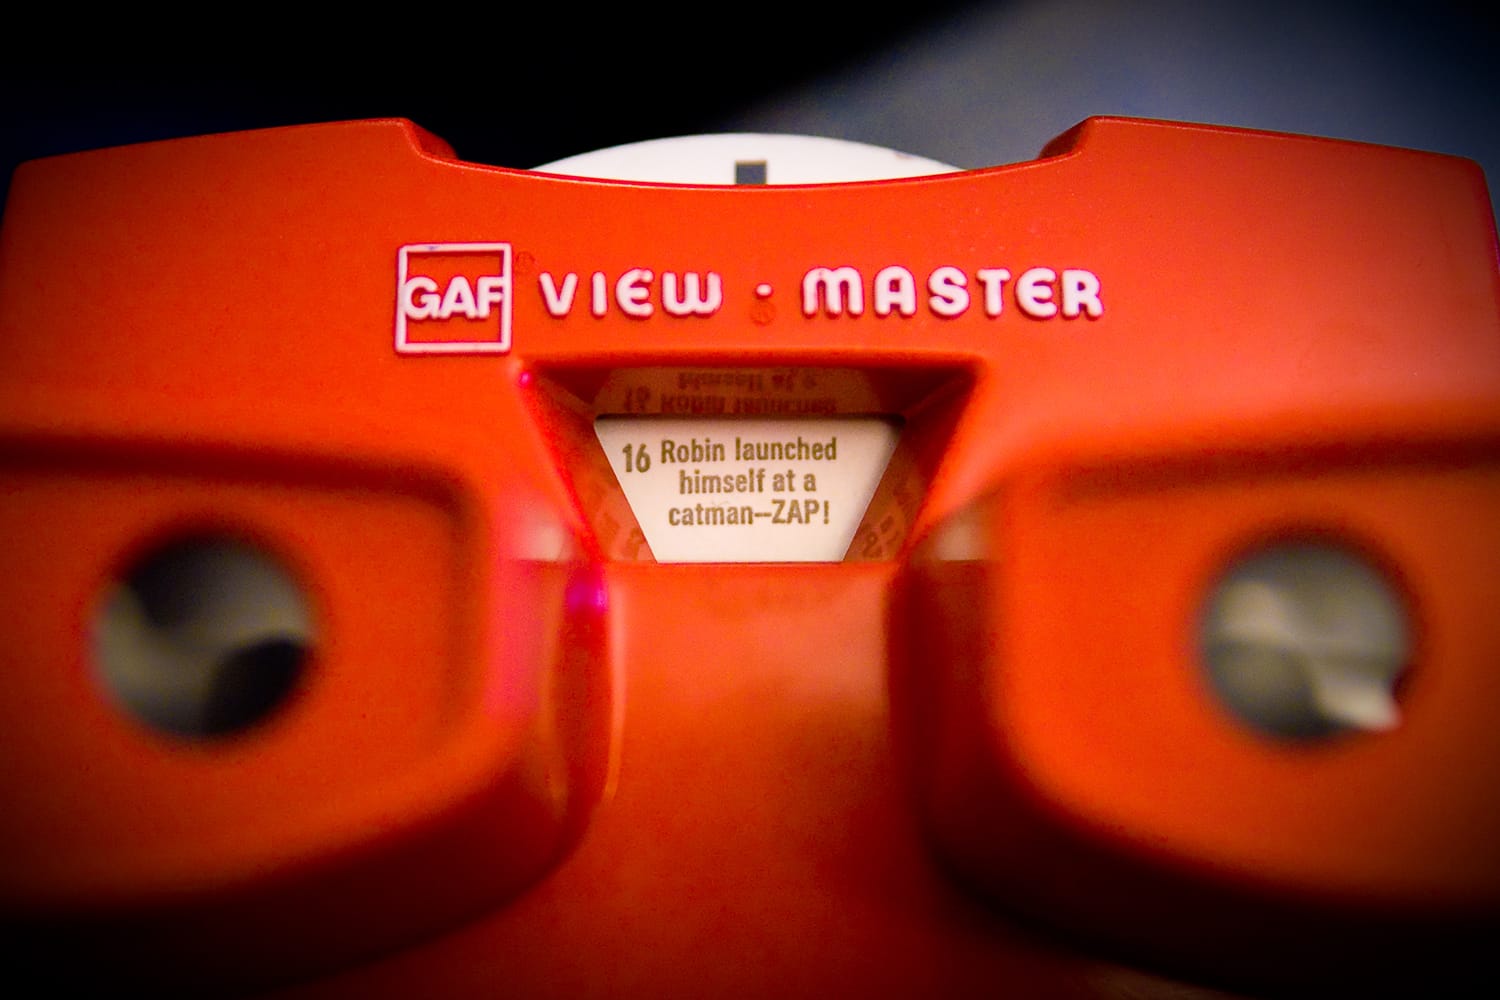
One of the most popular examples of a stereoscope is the View-Master, a toy created by Sawyer’s Photo Services. Keystone View Company sold it in the 1920s. This device used viewing cards that look like film clips and these are placed inside the View-Master. When you peeped into the lenses, which are positioned similar to our eyes’ distance from each other, it’s like you’re watching a story come to life.

Image by Anssi Koskinen
Why is Stereoscopy Important in Photography?
Basically, photography has always been regarded as a visual representation in 3D and 2D. So in a sense, stereoscopy is part of photography, no matter what purists (especially back in the stereoscope’s early days) in the industry say.
Creativity is the main reason why stereoscopy is something all photographers should try. If you were to tell a story, you would want to do it in the best way possible, right? And using three-dimensional images is one way of doing this. These images have more depth, more life, and appear more interesting to the eyes of their viewers. Three-dimensional images challenge your creativity because they appear life-like.
Some people say that converting simple and flat photos to 3D is like reproducing nature, which is, according to them, not the intention of photography. Photos are supposed to show nature in different impressions, through the eyes of the photographer and through the lenses of the camera. But three-dimensional photos are just like the classic photos everyone has gotten used to – they just have a certain aspect in them that makes them appear different and, at most times, closer to reality.
Another reason for you to try stereoscopy is popularity. At one point in your photography life, you’ll find out that part of your audience is drawn to three-dimensional images. This is because they look life-like; it’s almost as if you can touch the subject in your photos. Just the thought of it is already enough to create a rippling effect.
Finally, adding stereoscopy to your photography portfolio is a good idea because it is highly profitable, especially in our technologically advanced era. Even in its earliest stages, it was already profitable – how much more now when people are more open to embracing unique concepts and ideas.
Simple Steps to Follow to Make a Stereograph (Stereoscopic Image)
Nowadays, looking for a stereoscope can be quite a challenge. But this does not mean you cannot apply stereoscopy in your photography. There are several techniques you can use to apply this interesting effect to your photos. Here is an easy way to do stereoscopic photography:
- Prepare your camera and tripod. Look for an area where you can steadily set up the tripod. The more level the surface is, the better.
- Before the shoot, you should already know what your main subject/s is/are. Place your main subject at the center and use it to start composing your shot.
- Take a photo of your main subject.
- Carefully move your tripod 6mm (or 2.5 inches) to the right or left – whichever you prefer. Don’t forget to adjust your camera so its positioning is perfect. Your subject should be at the center of the frame.
- You are now in a different position and thus, ready to take a new shot. So, do just that.
- It is also possible to take three-dimensional or stereoscopic shots of moving objects, but that will require the use of certain hardware. The technique discussed here is for still photos.
- If you plan to use two cameras, all you need to do is place them at least 63mm away from each other, from the center to the other center. You’ll need to use a two-camera rig to do this technique conveniently.
Again, stereoscopy may sound complicated the first time you hear about it, but it is not. As long as you are dedicated to creating images that speak a thousand words and photos that paint pictures of nature, people, the environment and life, you’ll find it interesting, fun, and exciting.
And if you really are planning to include it in your practice and techniques list, then the best way to start doing so is by practicing. In photography, as in everything else in life, practice makes perfect.
