Photography Clichés: How To Stop Taking The Same Old Sunset Photos
We are all drawn to beautiful sunsets, and for good reason. The sky is awash in a stunning combination of colors, featuring everything from bright reds and oranges to pinks and deep purples.
This, combined with the setting sun in the distance is hard to top.
Unfortunately though, there are plenty of sunset photos around.
They’re fun to take, and even those among us who don’t even know how to use a camera properly have taken at least one or two sunset images in their time.

If you’re looking for tips to break out of the “sunset rut,” or searching for ways to capture breathtaking and unique sunset images, here are 12 creative ideas.
-
Be Prepared
When capturing sunsets, you’ll have a short window of time where the light is best, so you will want to work quickly. Plan things out before you head out, and if possible, try to arrive on location a little early to set things up so when the colors start to show – you will be ready. You may also want to download a sunrise/sunset app that will tell you when the sunset is.
Aside from the standard gear, you will also want to bring along a tripod and remote release. This will help to steady your camera allowing you to use longer exposures. Of course, if you don’t have a remote release, you could always use your camera’s timer to prevent camera shake.
-
Go After a Storm
If you have a chance to photograph a sunset after a storm, go for it! The sunsets following storms tend to be dramatic and beautiful – all of that light streaming through the receding clouds can make for a spectacular light show.
-
Play With the White Balance
If the white balance is left on auto, there’s a chance that you will end up losing some of the vibrant, warm tones during the sunset. When photographing sunsets, you may need to ditch the auto balance in favor of the “shade” or “cloudy” setting. This will help to bring out the vibrant tones and add a warm cast to your image.
-
Capture Silhouettes
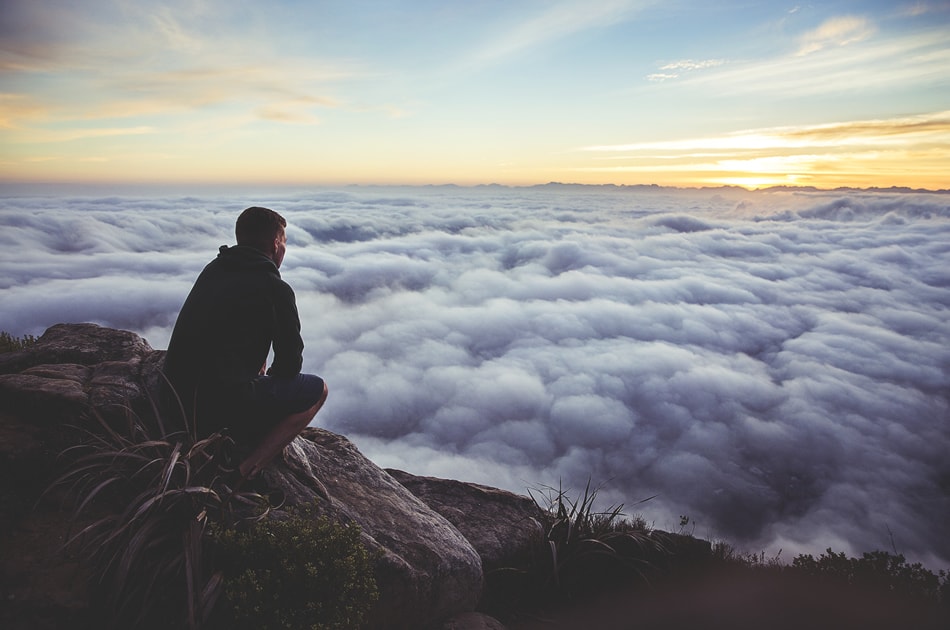
Sunset time is a great time to capture silhouettes. To photograph silhouettes, you’ll want to find a suitable subject – a person, or an object that has a clearly identifiable outline – like trees, blades of grass, or bridges. Then position them with the sun behind them. Use a faster shutter speed for a darker exposure.
-
Create Rays
Want to step up your sunset photography? Why not try getting creative and making the sun appear to have rays? Before the sun actually sets, set a narrow aperture of around f/22 and photograph the sun. The shape of the lens’ aperture will result in a distortion that produces rays of sun in the image, giving it a starburst effect. Pretty cool, huh? Just remember to protect your eyes; take care not to look directly at the sun through the lens.
-
Consider the Composition
When there’s a beautiful sunset on display, it’s easy to just start snapping, forgetting about composition altogether. But don’t make the mistake of thinking that composition doesn’t matter when you have a spectacular sunset – it does.
While the sunset will undoubtedly feature as the main focal point in many of your images, look for interesting elements to include in the foreground – driftwood, fences, or rocks; all of which can make for great leading lines to grab your attention and draw you into the image. You’ll also want to pay special attention to framing, and consider the rule of thirds to create a well-balanced composition.
-
Turn Around
It’s easy to focus on the beautiful setting sun, forgetting that there’s a whole world alight in beautiful colors right behind you. Sure, the sunset is the main attraction, but during sunset, everything is bathed in a beautiful orange glow, presenting an excellent opportunity to capture other images too. In addition to landscapes, look for opportunities for portraits or even macro images.
-
Use a Long Exposure
Ever look at an image and wonder how the photographer managed to capture such a beautiful sunset with the ever-so-slightly blurred water and soft, streaky clouds? Using a long exposure will softly blur movement – like clouds or water, resulting in a gently blurred image. The next time you’re photographing a sunset, slow down your shutter speed, and make sure your camera’s on a tripod. The results may surprise you.
-
Consider Portraits
The beautiful warm light during sunset is can make for great portraits. Try to bring along a reflector, if you have one, and a flash. You’ll also want to diffuse the flash, or even put a tissue over it to prevent harsh wash out. Just remember that the sun quickly disappears, so be prepared to work fast.
-
Look for Reflections
It’s true that photographing a sunset over the sea can be a bit of a cliché – but this doesn’t mean that you can’t look for other bodies of water. Ponds, pools of water, or even ice can all make great reflective surfaces for sunsets.
-
Capture the Clouds
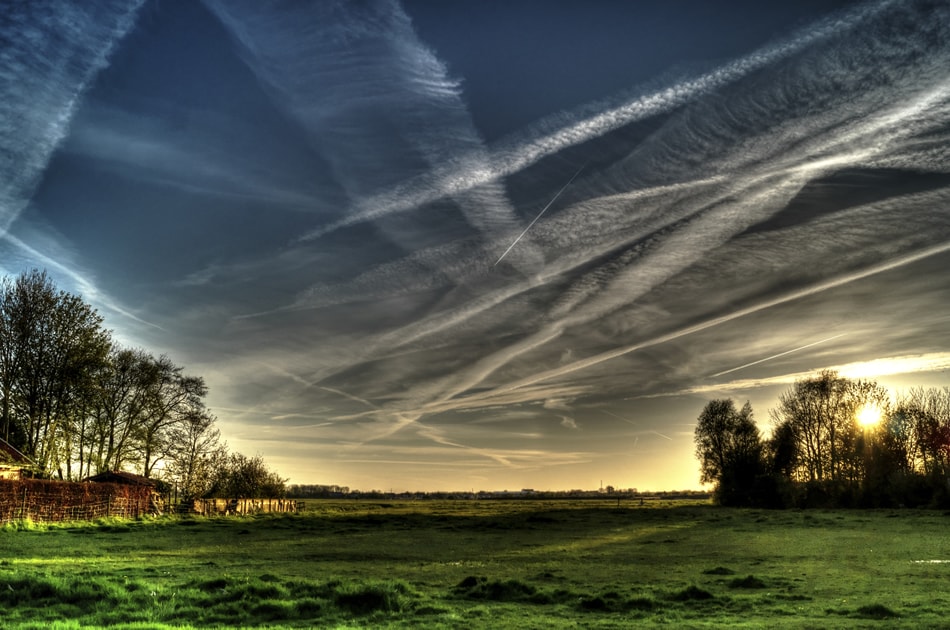
Sunsets are a great opportunity to capture some amazing cloud photos. The vibrant, bright light softly tints the clouds, and can make for some spectacular images. You can even turn your sideways to capture vertical images with plenty of clouds.
-
Look for Signs of Life
Finally, including some people or wildlife in your shots can help to add a sense of life and energy to your images, resulting in shots that feel more alive and dynamic. A flock of birds flying against the sky or a lone bird floating on the water can enhance your images, as can people walking along the shoreline.

While sunsets have a reputation for being a bit clichéd, that doesn’t mean that they’re not worth capturing. Instead, look for ways to make your sunset photos unique – the results will be beautiful photos that stand definitively apart from the crowd.
Do you enjoy photographing sunsets? How do you capture unique photos?
