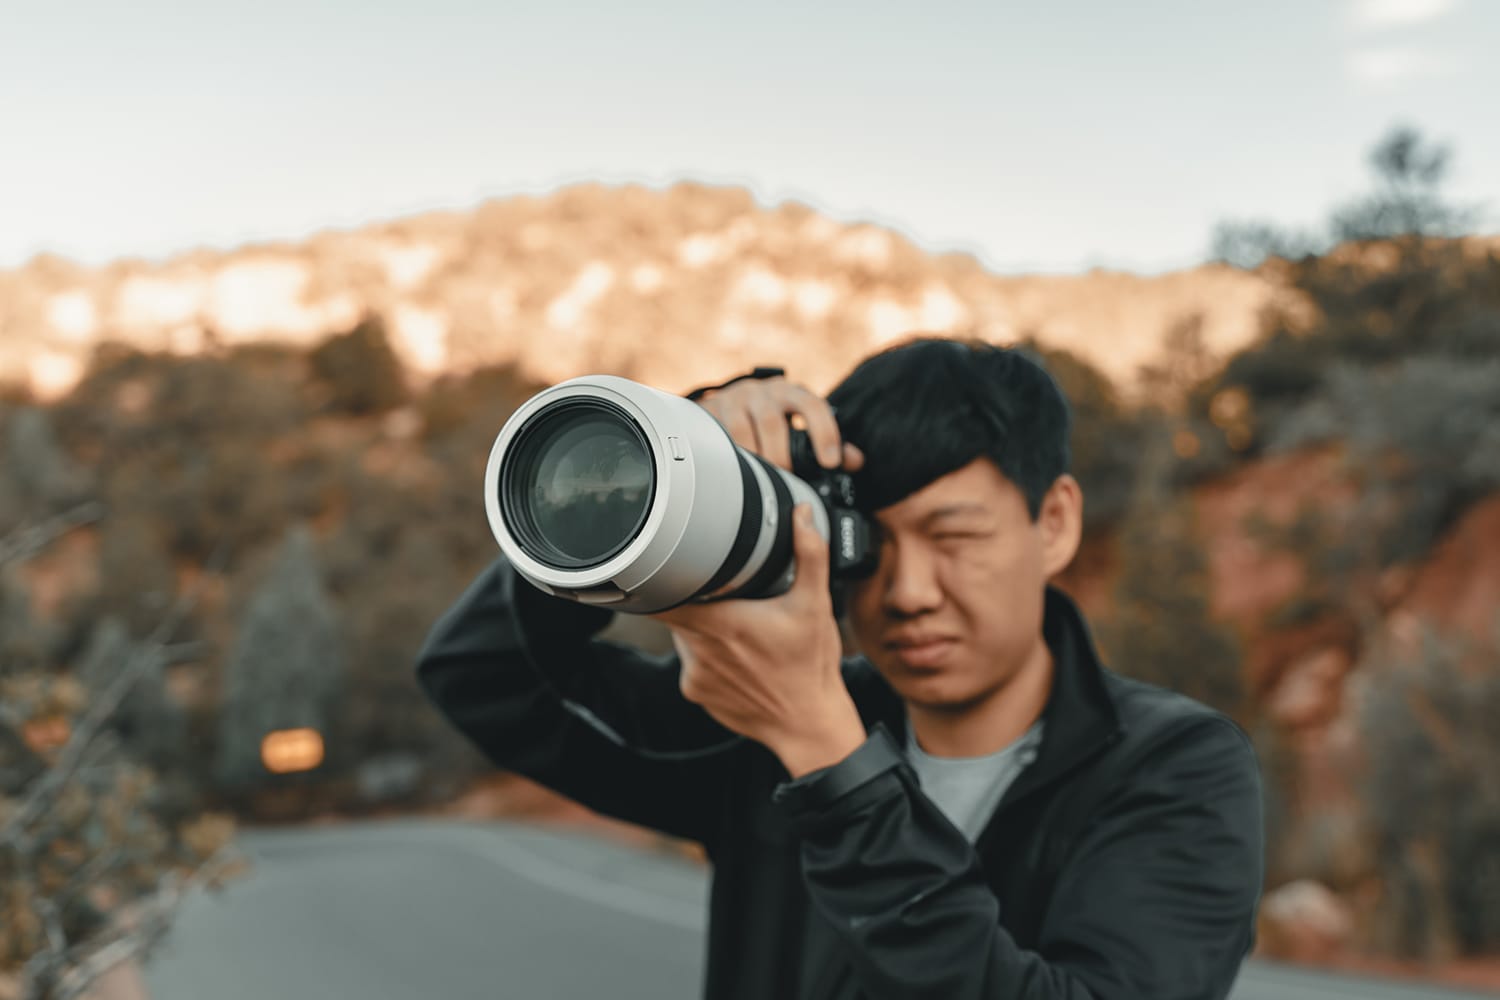
Soft vs. Hard Light: How and When to Use Each?

Light is one of the most (if not the most) important factors that can make or break a photograph. Along with understanding the importance of lighting in photography, you also need to learn about its different qualities.
This article will discuss the two major types of light quality known as soft light and hard light.
You might have already heard about these, but let’s dive in a little deeper and go over how they can impact your photography. Without further ado, here’s what you need to know about soft and hard light.
What Is Soft Light?
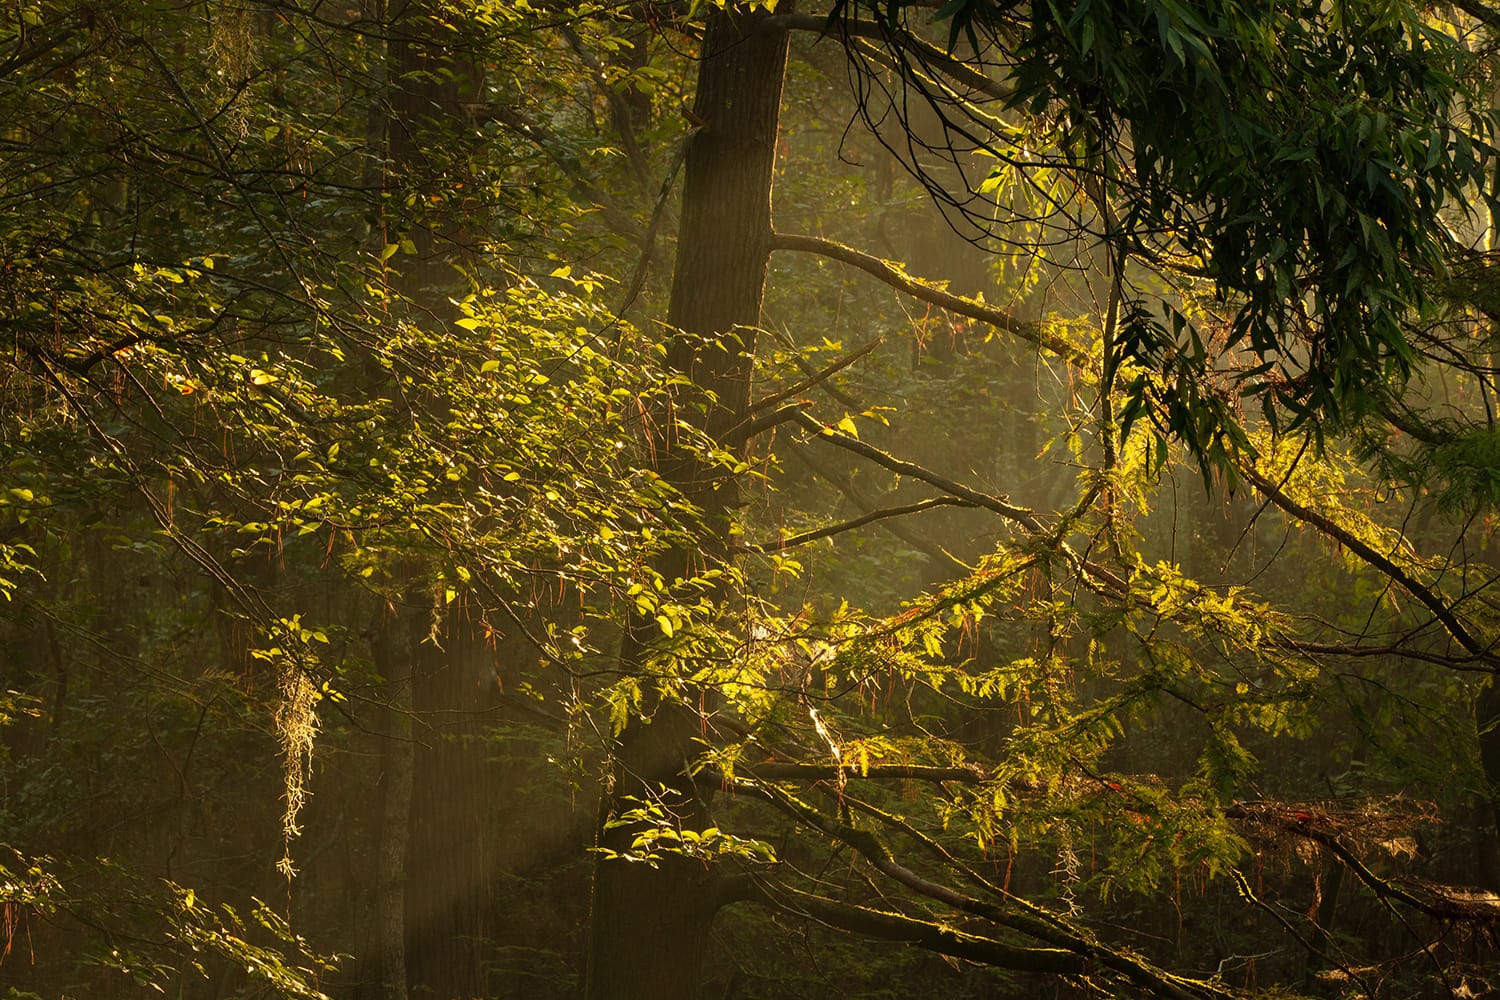
The transition from dark to bright areas in an image is more gradual in soft light, and that’s why it’s less noticeable and more pleasing. When using soft light, you’ll notice a gradient instead of an identifiable and distinct line where the shadows start.
Photos captured in soft light usually have less contrast, and the images appear less dramatic. It certainly doesn’t mean that photographs with soft light are any less beautiful. Such pictures often need less retouching work, especially portraits, as soft light understates skin imperfections and smooths out texture.
Pros and Cons of Soft Light
Compared to hard light, soft light is easier to create by using softboxes, speedlights, and other devices, and it comes with the following pros and cons.
Pros
- More flattering to most
- It makes acne, wrinkles, and other imperfections less noticeable
- Adds a more inviting and warm feeling to your photographs
Cons
- Less dramatic
- Soft light photos sometimes appear uninteresting and flat if used directionally
- Textures appear less noticeable
How to Use Soft Light
To create soft light, you need larger and more diffused light sources, so you’ll need more modifiers for that. However, it’s still easier than creating hard light. You can use a softbox or an umbrella over your studio strobe or off-camera flash to create soft light.
We recommend you use a diffuser to increase your flash surface area. Otherwise, it will be very difficult to capture good images with an umbrella or softbox on top of your camera.
Keep in mind that it’s better to have a lower power setting while creating soft light artificially. If you’re shooting outdoors on a cloudy day, clouds will create soft light for you by acting as a diffuser.
When to Use Soft Light
As mentioned earlier, soft light is typically more flattering compared to hard light. It produces a more natural-looking aesthetic and allows more pleasing results with portraits. It requires less post-processing and retouching work than hard light as it’s more forgiving and minimizes skin imperfections and wrinkles.
What is Hard Light?
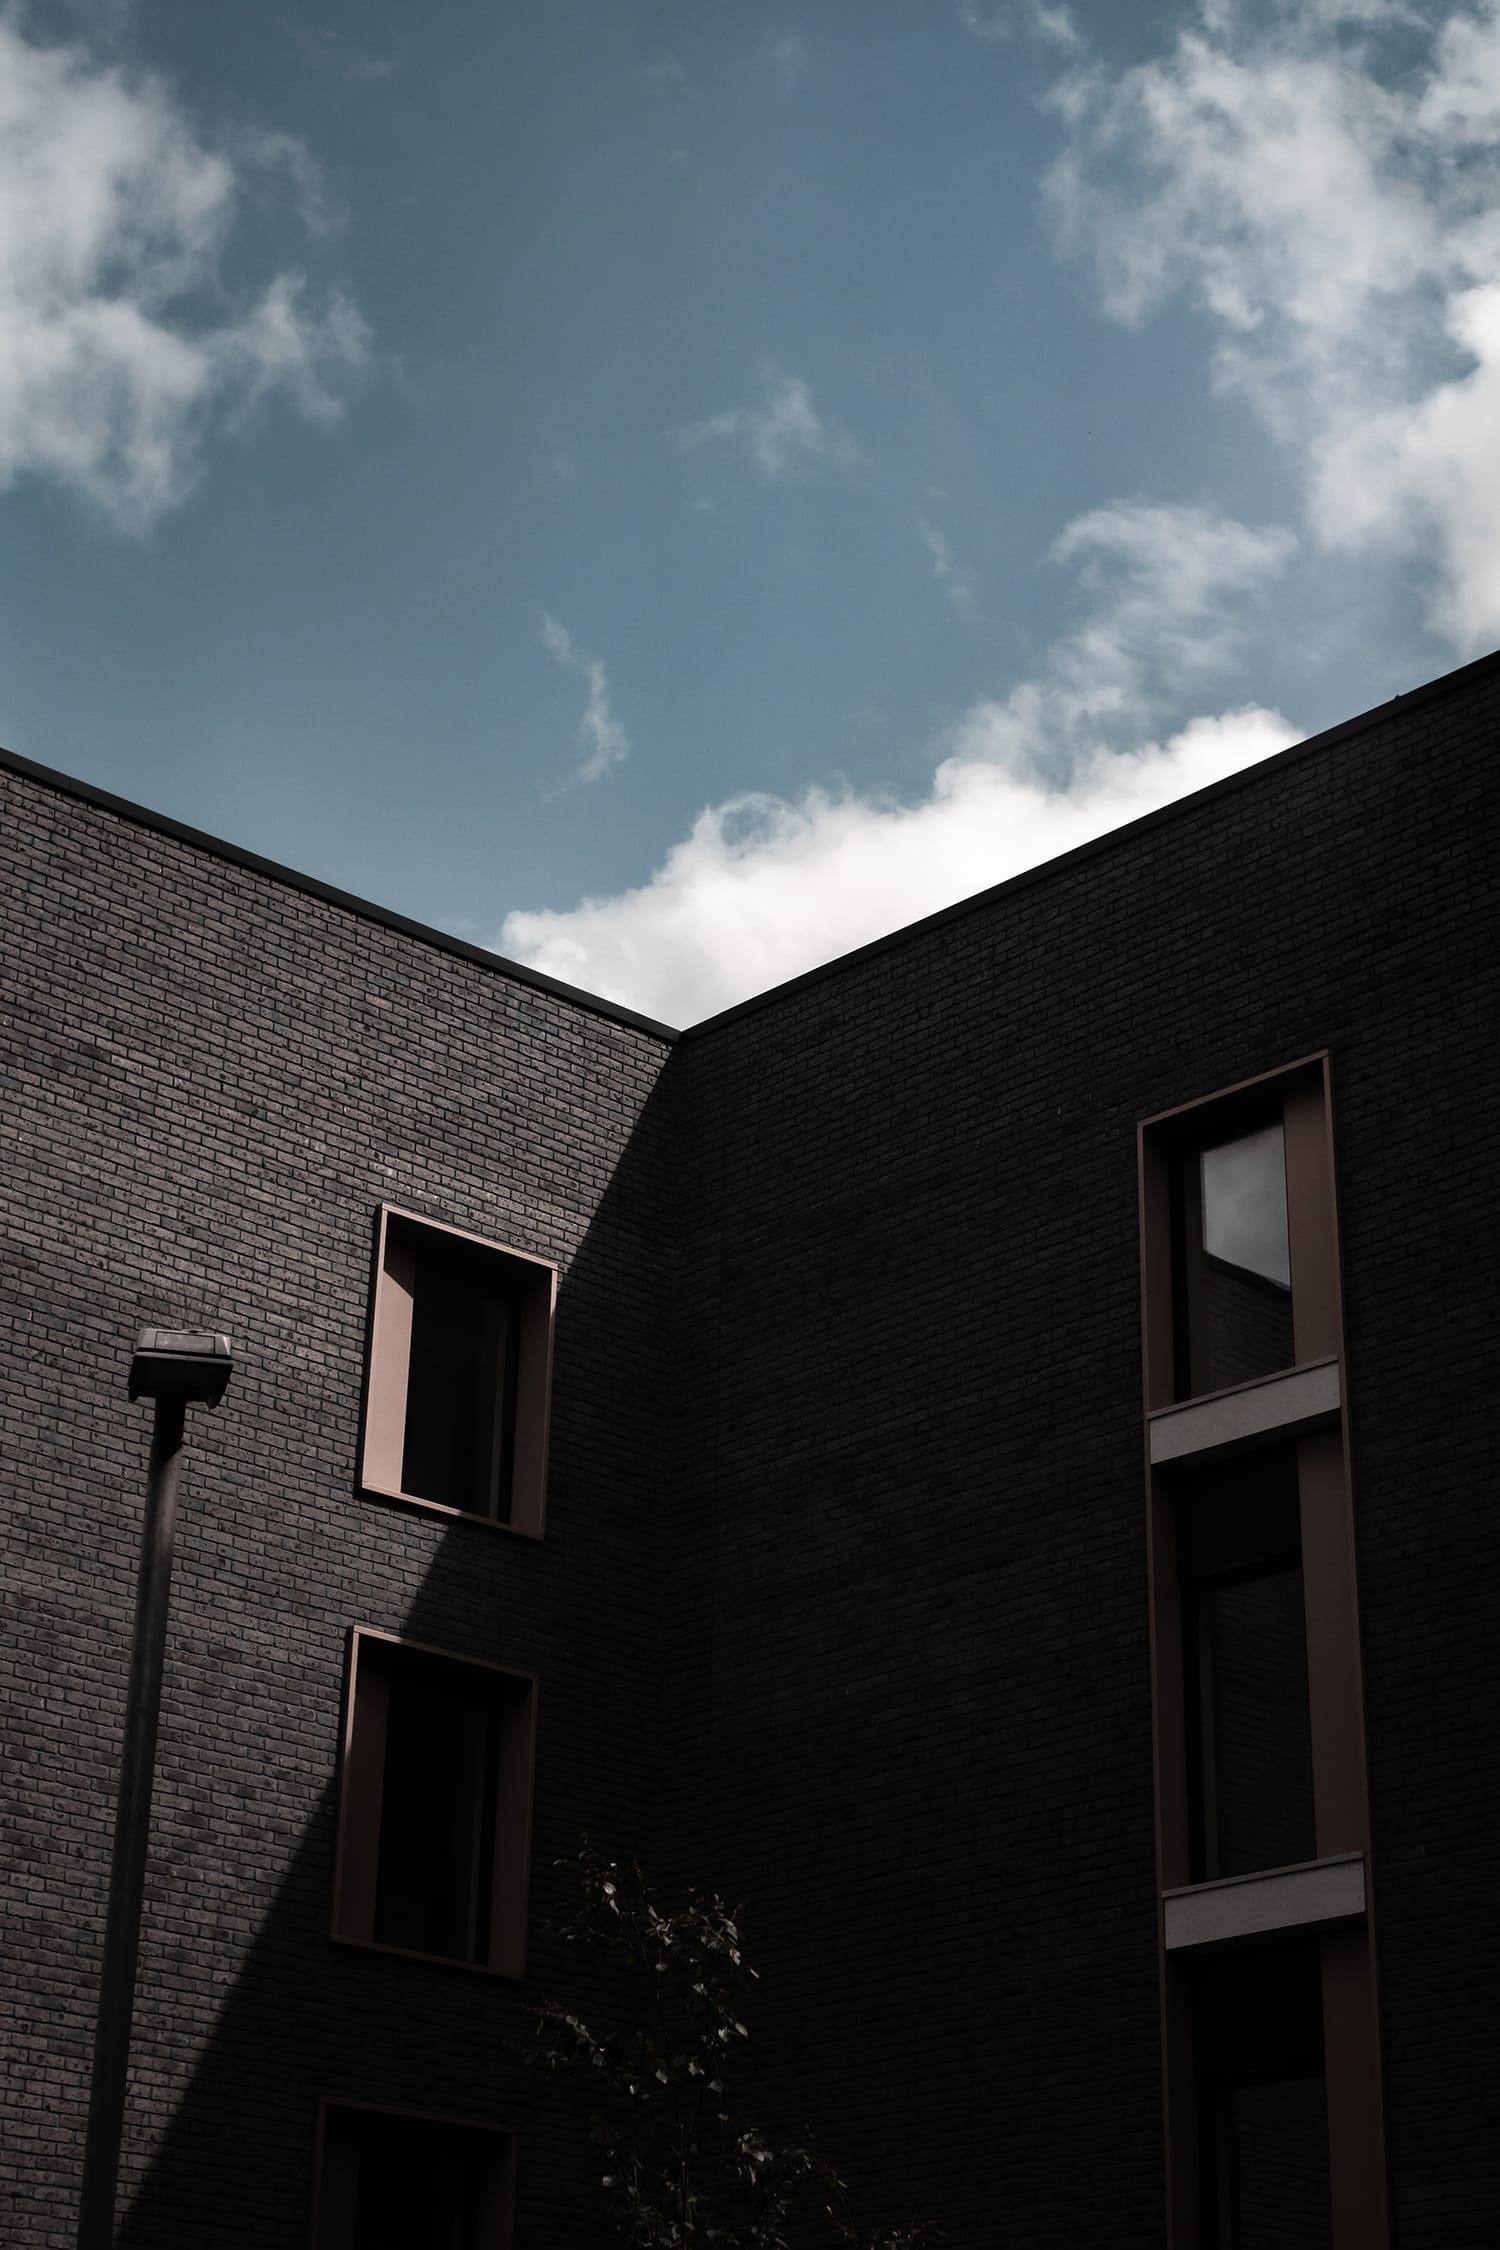
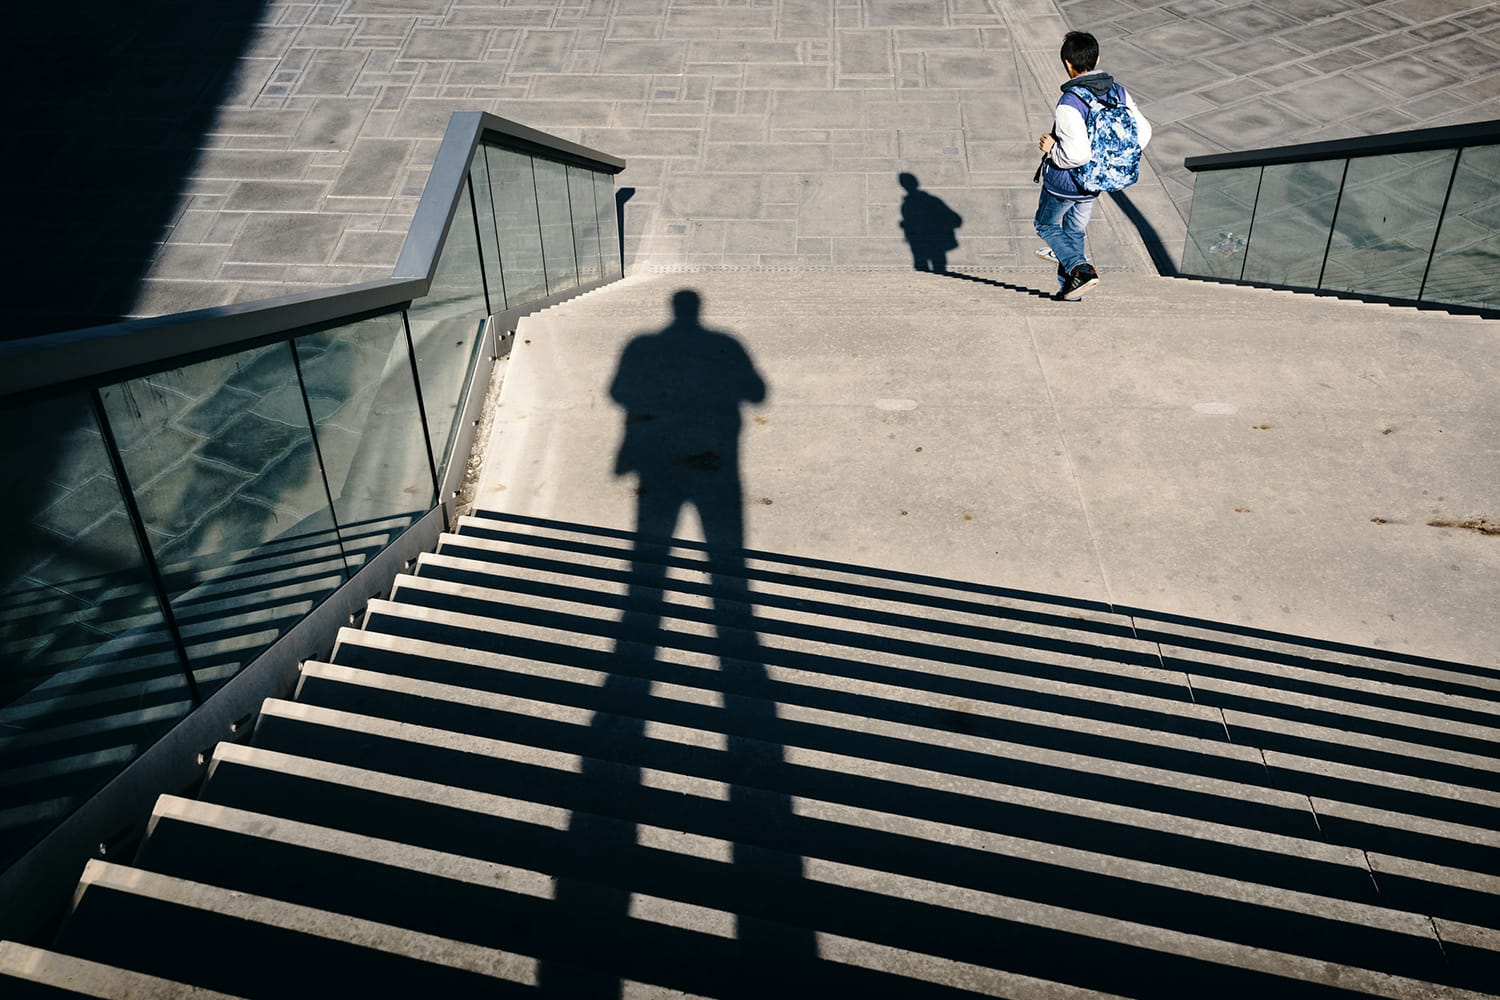
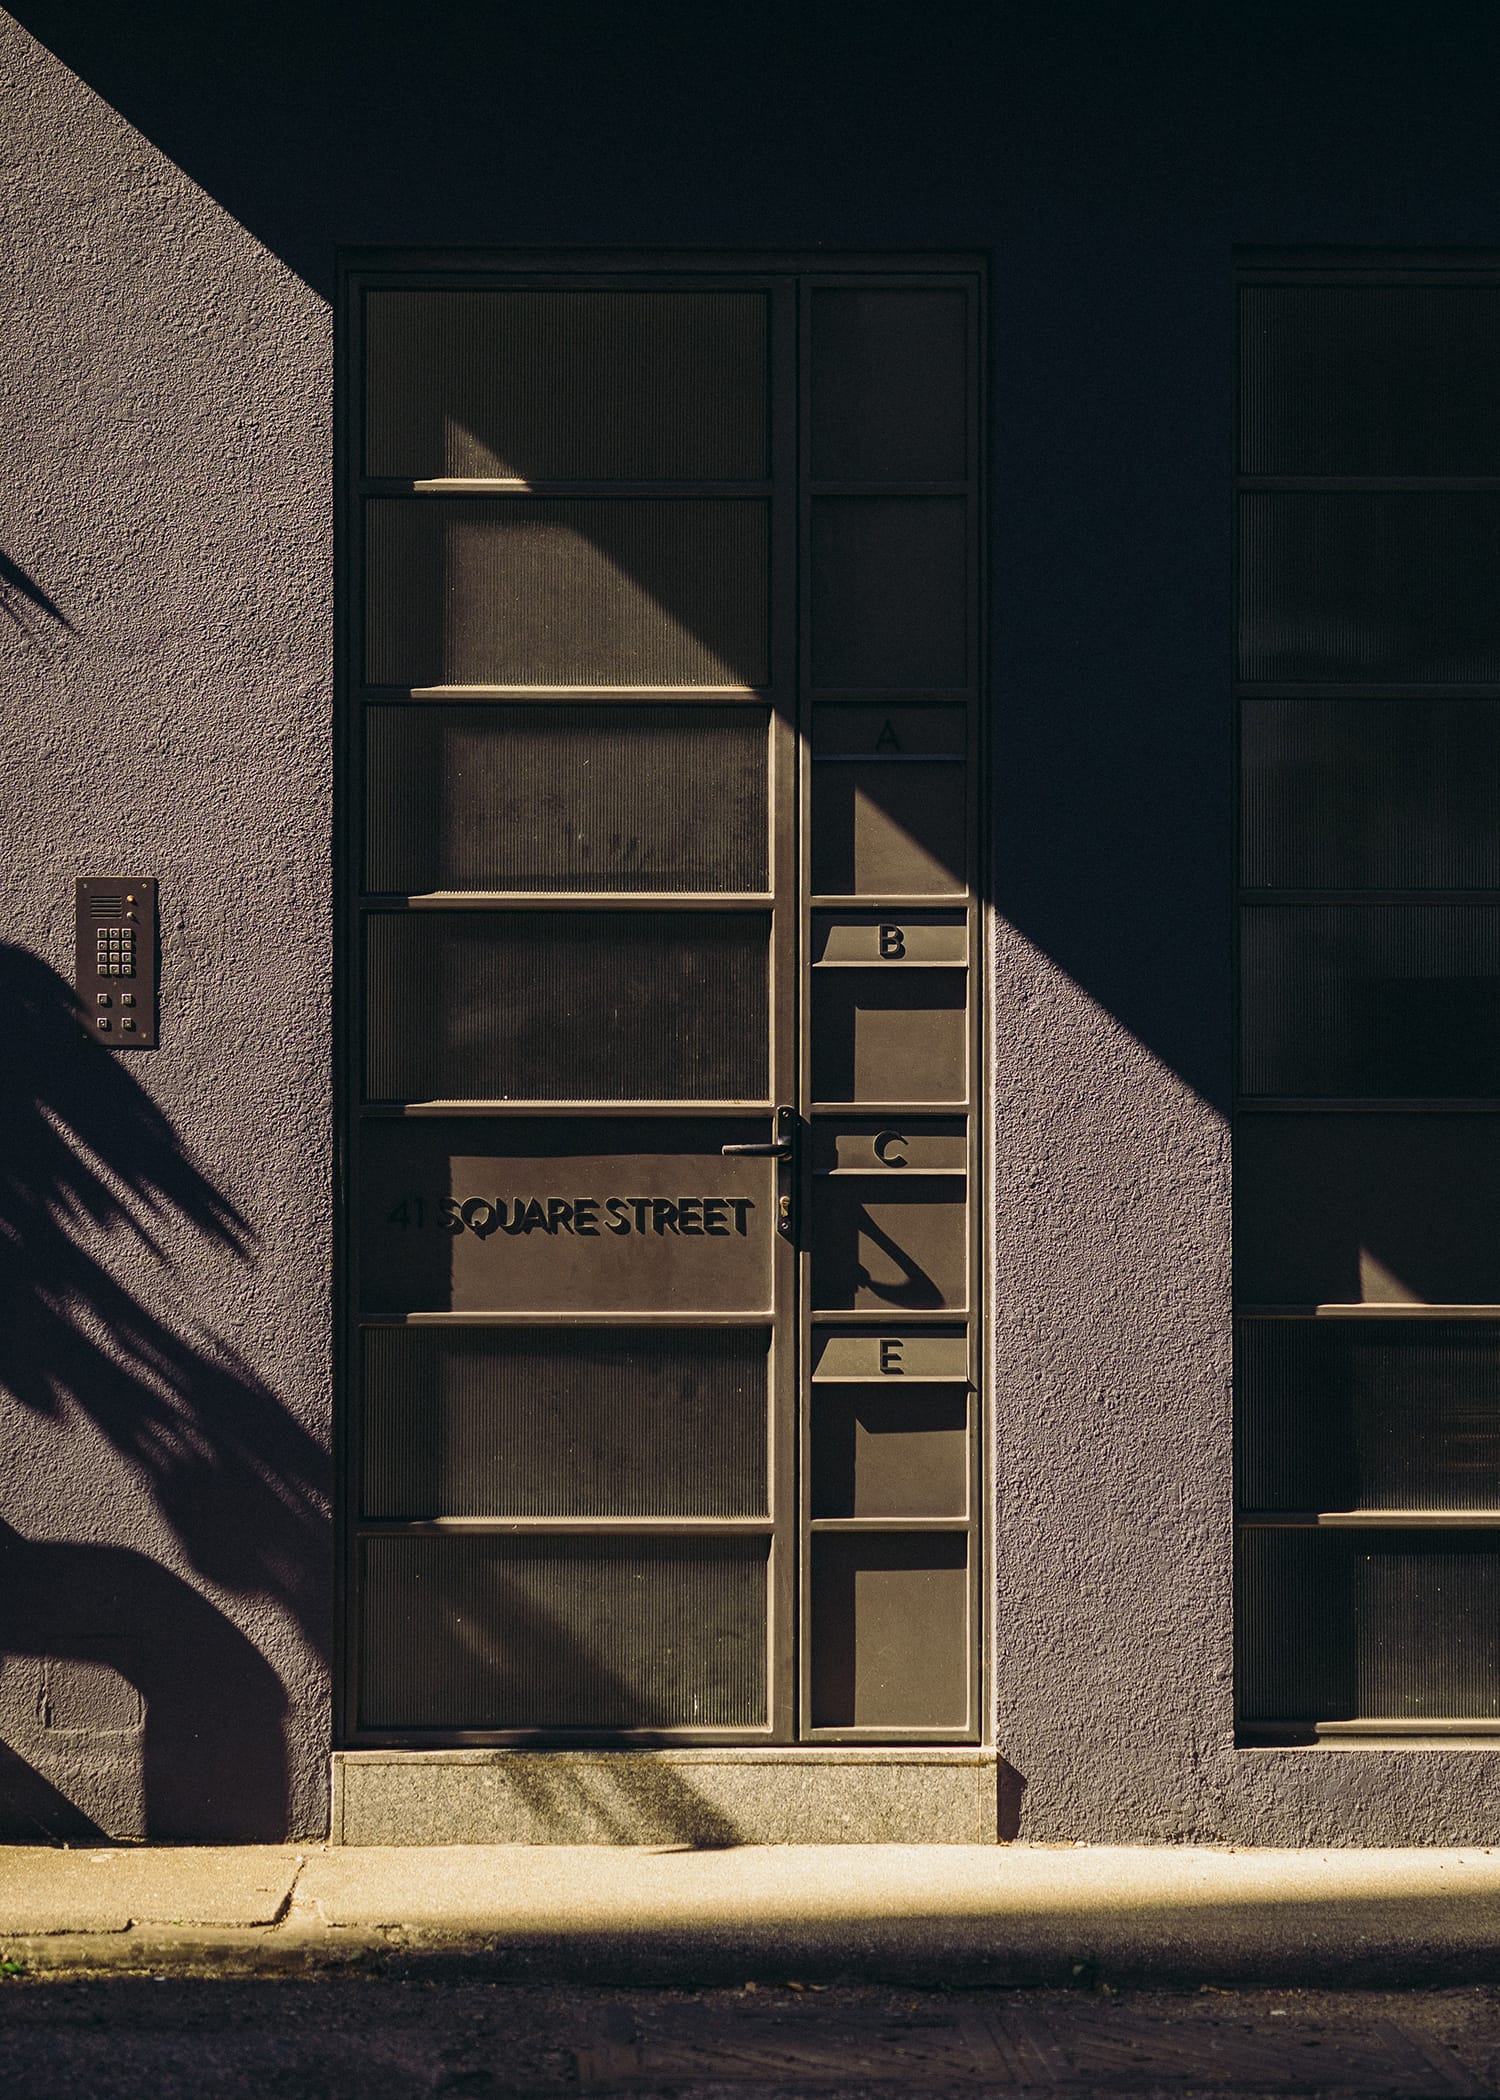
Hard light is the opposite of soft light. Photographs that feature hard light have abrupt light and shadow transitions. There is always a distinct and prominent line where the light ends and where the shadow starts.
Such photos are more dramatic and… dare we say… edgier. This type of light quality is often used in architecture photography and street photography but can also be used in portraits to create a grittier aesthetic. If you’re a black and white photographer, then hard light can help you make more dramatic images and enhance textures and patterns.
Pros and Cons of Hard Light
Photos with hard light often lack tonality and highlights, and here are some of the pros and cons of hard light.
Pros
- Some find it easier to create
- Provide images with a dramatic and edgy feel
- Adds depth and dimension
- Exaggerates textures
Cons
- Skin can appear oily and shiny
- Creates hotspots and lose tonality
- Exaggerates skin wrinkles and imperfections
How to Use Hard Light
As mentioned, creating hard light can be a bit more challenging than soft light. You can use TTL (Through the Lens) to create hard light as most often it’s overly bright. But if you want to control the light the way you want, then using manual mode is a good idea.
Compared to soft light, it’s easier to get natural hard light on a sunny day if you’re shooting outdoors. Although the natural sunlight is brighter but due to the distance, it creates the right conditions for photography with hard light. But getting it to fall perfectly right is a tricky part.
We recommend you avoid getting out just before sunset and sunrise to get hard light conditions.
When to Use Hard Light?
If you want to add more character, complexity, dimension, and depth to your photos, you should go with hard light. Hard light comes with a high contrast that you can use to create gritty and edgy images with a powerful sense of drama.
It allows your subject to appear more serious and stronger if you use a hard light source. Hard light is mostly used to give a hard-edged and raw character to moments in action movies, drama, and film noir.
What Makes Light Soft or Hard?
Several factors define whether the light is soft or hard, such as the distance between the subject and the light source, the size of the light source, and the intensity of light. The bigger the light source, the softer the light and vice versa. If you use a flash (without any modifiers), a small source of light, it will create hard light with dramatic shadows.
On the other hand, a diffusion umbrella in front of a flash will create softer light instantly. In this case, an umbrella not only increases the size of the light source but also softens its intensity.
Is Soft Light or Hard Light Better?
There is no answer to this question because both are very different from each other. It depends on the photo and what you want to capture along with the environment. In some scenarios, hard light will work better, and in others, soft light will serve you well.
Bear in mind that it’s always ok to experiment. That’s why you should thoroughly understand how each type of light will affect your photos and how you can achieve the best results for all different photography styles.
Final Words
Whether you’re a professional photographer or just starting, photography always needs a healthy dose of patience and plenty of practice. Understanding light is one of the most important things to create the best shots.
We hope this guide will allow you to understand hard light and soft light and use them to create the photos you envision.
About the Author: Jon C. Phillips
 Jon C. Phillips is a photographer, watch lover, product developer/designer, guitarist & musician, and all-around web nerd. He's the founder of Contrastly which he launched in late-2012. He also co-founded DailyPhotoTips and TheDailyPreset.