Underwater Photography Part 2: Post Processing Tips & Tricks
Underwater photography can be an exciting experience – and one that can reward you with some spectacular results.
Not only does it give you a chance to see an underwater world through a perspective that many people never get to see, it’s also a great opportunity to capture images that are truly unique and, in many cases, second to none.
However, for all of its rewards, underwater photography can also be challenging. It requires specialized gear as well as a certain level of familiarity with the sea. There’s also a steep learning curve with underwater photography, and you’re unlikely to get winning shots the first or second time that you try. Then there’s the issue with post-processing; underwater images almost always require some level of editing to help them look their best.
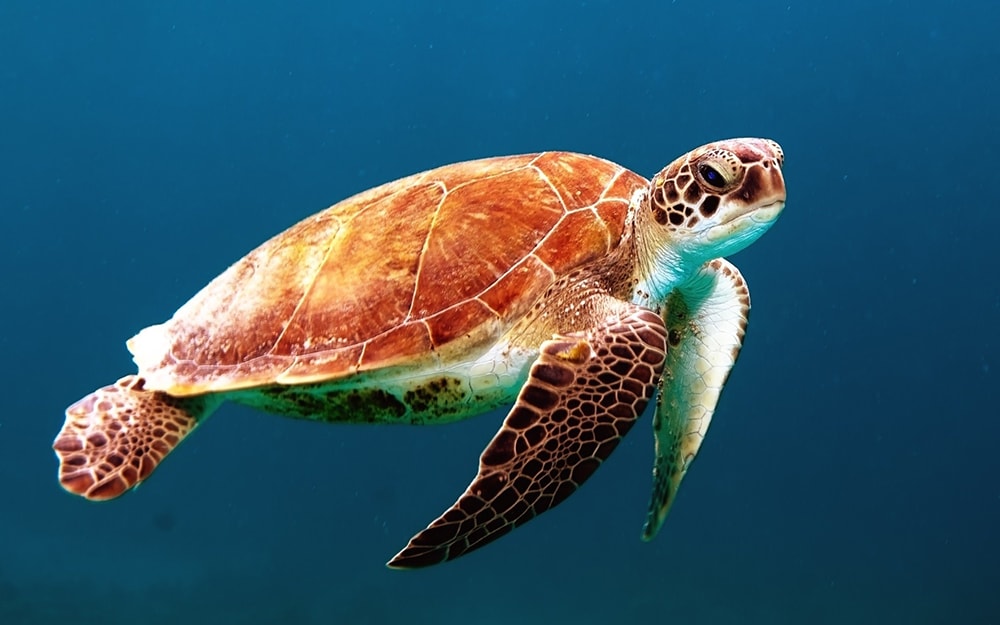
The lighting conditions under the water are hardly ever ideal, especially if you’re photographing on a cloudy day, or more than a couple of feet below the surface. Even if you bring a strobe, it’s far more difficult to manipulate the light underwater than it is on land. In most cases, your images will need to be edited once you return to the surface – if only to improve the contrast levels, and adjust the color.
With this in mind, here’s a look at some tips for post-processing and bringing the best out in your underwater images. And don’t forget to read part 1 of this series!
Shoot in RAW
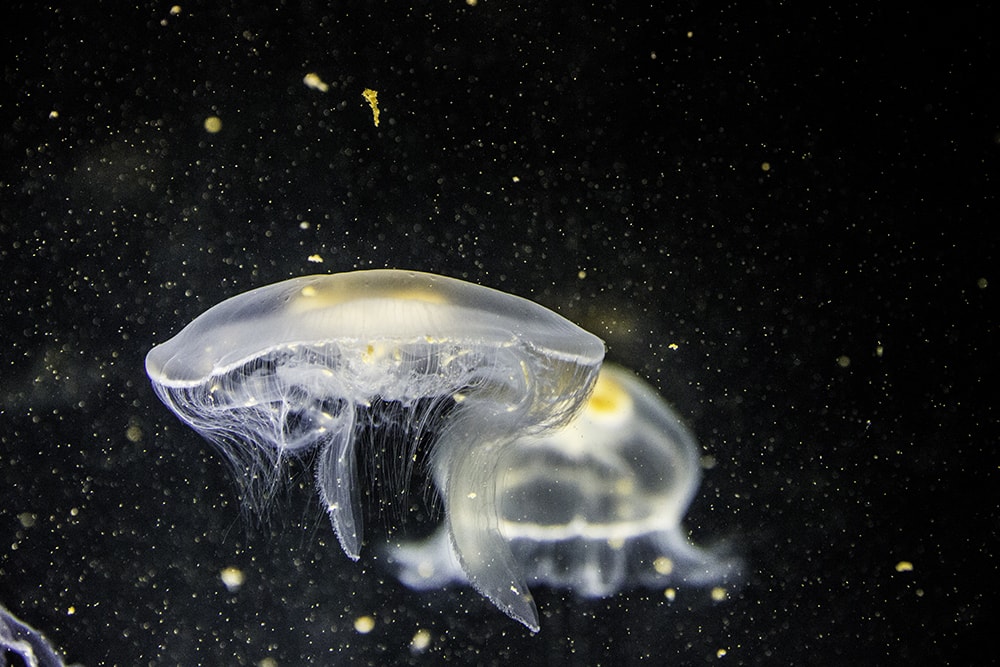
The first step to high-quality underwater images is to try to shoot in RAW. This will give you the most flexibility during post-processing. If you shoot in JPEG, the camera will make many key decisions for you, which can be helpful at times, but there’s always a chance that the resulting images won’t be what you were going for.
Choose Only the Best Images
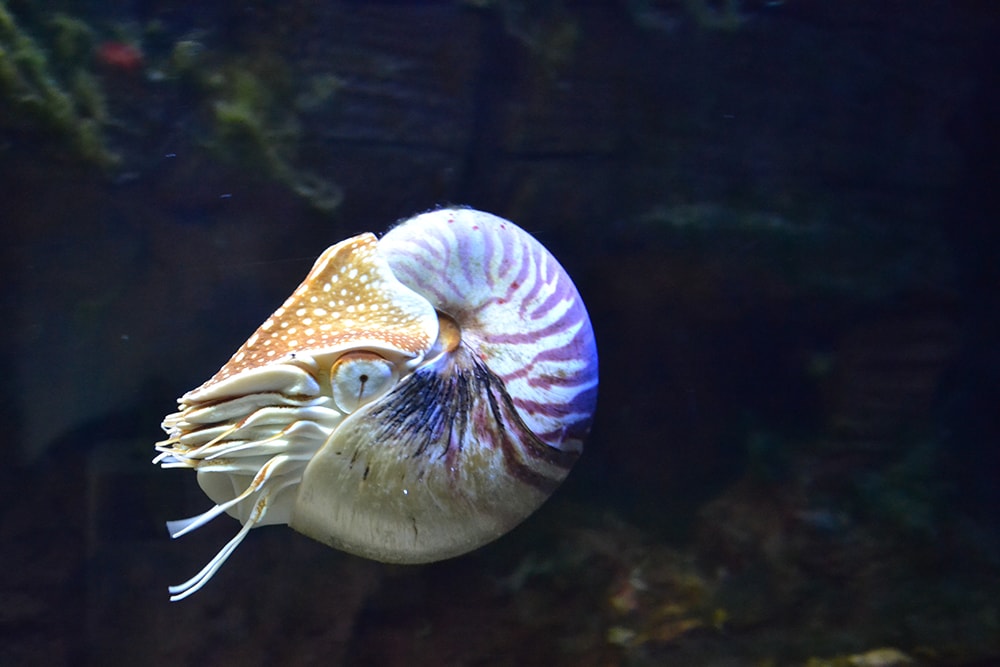
Once you have your photos up on your computer, you can weed through the ones that aren’t worth editing. Don’t judge your images on the color or lighting – these things can be improved post-processing, instead, make your decisions based on the image’s content. For example, you’ll want to get rid of those countless images that feature the back of a fish, as well as any other snaps that just don’t make the cut. Remember to make copies of your images before you start tweaking, in case you don’t like the end results.
The Digital Darkroom
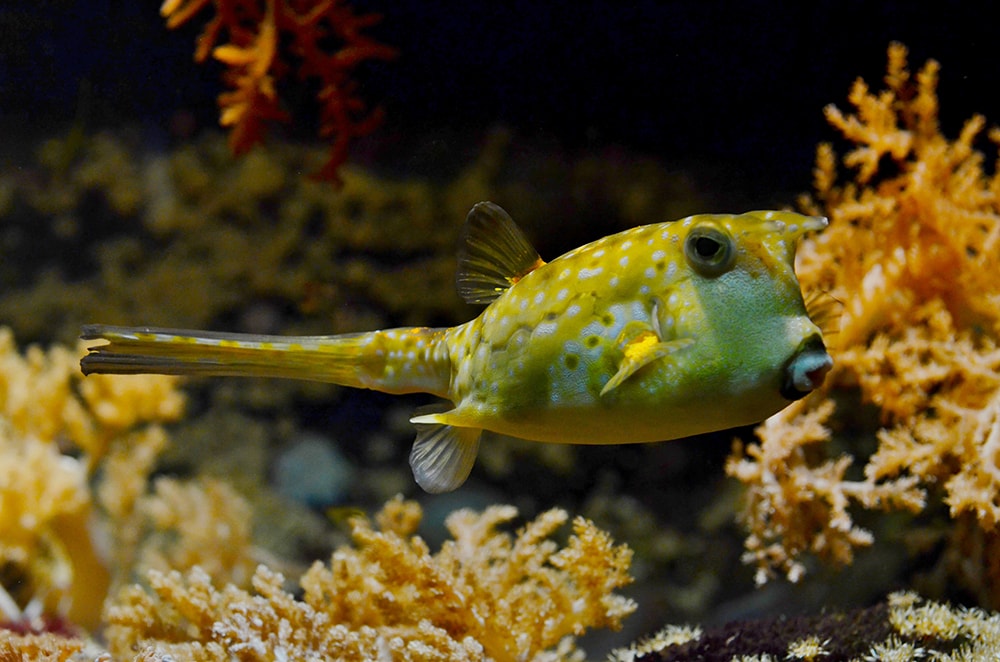
Even though we no longer develop film in a darkroom, your images still need help developing! Don’t feel bad if you find yourself having to edit all of your images. Most underwater captures need a little bit of help. While there are plenty of different ways that you can adjust your images in post processing, here’s a look at a few basic tips that will get you off to a great start and help you bring out the best out of your underwater images.
1. Adjust the Color
First, you’ll want to remove some of that deep blue cast that’s prevalent in underwater photography, and bring back some red and green tones that underwater images are often lacking. There are a number of ways that you can go about doing this, using photos filler layers, adjusting the hue and color balance, or by modifying color channels. Using the channel mixer is a great option, since it will allow you to adjust the precise level of reds, greens, and blues in your images. For photos that are missing red spectrum lighting, you’ll want to increase either the blue or green levels. Keep in mind that if you raise one value, you should decrease another to prevent over-saturation.
2. Brightness/Contrast
The water can often take all the contrast out of your image, leaving you with images that are dull and lackluster. Additionally, sometimes removing the blue color cast can lighten your images more than you’d like. When this happens, you can use a levels adjustment layer to correct the contrast, improving the results.
3. Consider Using Auto to Adjust the Levels
While the best option usually involves adjusting the brightness, contrast, and tonal range in an image yourself. If you’re in a hurry, consider using the ‘auto’ option. This doesn’t work well for every image, but for some photos, the effect can be quite good. To navigate to this option in Adobe Lightroom, head to Image > Adjustments > Levels, and then select the auto option.
4. Sharpen
If you’re planning to have some prints made, you may want to adjust the clarity of the images first. Moving the clarity slider even slightly can help to lend sharpness to the image. Just be careful not to overdo the sharpness or else you’ll risk giving your images an over-processed and unnatural look.
5. Remove Backscatter
If there is dust, spots, or backscatter, you can select the area and use the remove dust and scratches tool. For larger areas or issues with distracting bubbles or elements that you want to remove, you can magnify the area, and use the healing tool or clone tool in Photoshop.
6. Crop
Finally, it’s time to crop your image to perfection. Keep the composition in mind, and use guidelines like the rule of thirds to guide your decisions. In most cases, you’ll want to keep the original aspect ratio when cropping.
Finally, which software should you use?
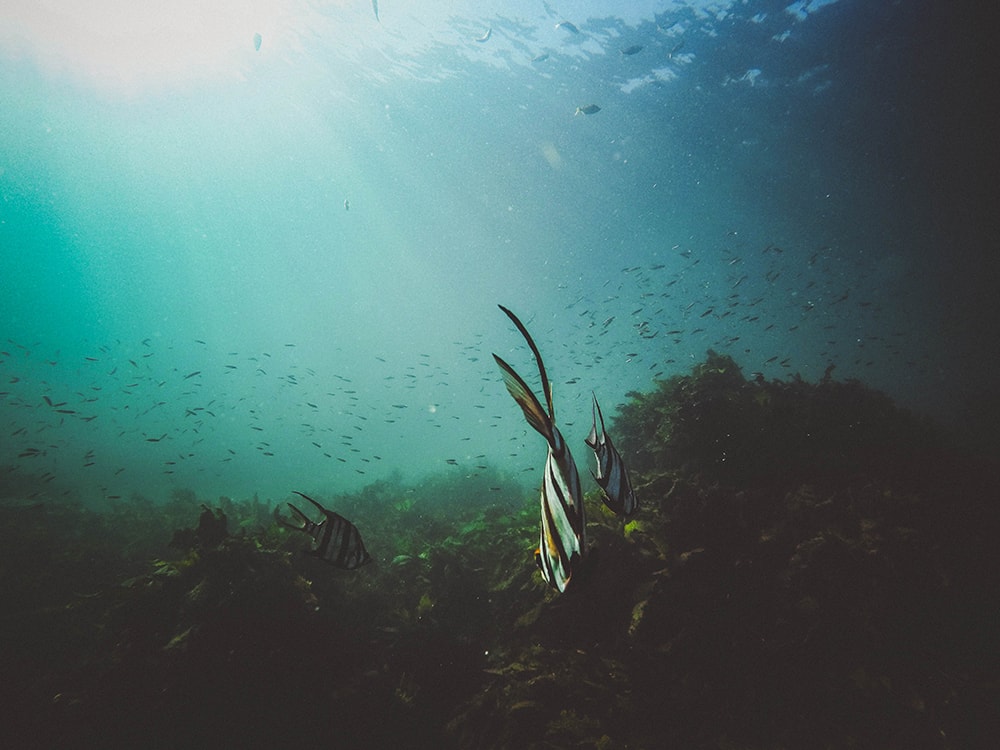
Which one’s best? That depends entirely on your preferences and budget. Many photographers prefer Adobe Camera Raw / Lightroom, since they provide plenty of features and are relatively easy to use, once you master them. Other photographers swear by Nikon Capture, for Nikon Images which is free. However, others find the interface on this program to be a bit confusing. Finally, Gimp is another viable free alternative that you can use to make many adjustments to your photos.
Keep in mind that great underwater photography happens as much in post-processing as it does in-camera. Mastering underwater photography and post processing alike can take time, and require extensive practice, so don’t feel discouraged if you don’t end up with perfect shots right away. With time and effort your images will start to improve – dramatically; and soon you’ll end up underwater masterpieces that you’ll be proud to call your own.
Are you interested in underwater photography? Please share your own tips & tricks on Twitter or Facebook!
