Can't-Miss Composition Techniques for Beginner Photographers
 by
Jake Turner
by
Jake Turner

Composing your images is probably the hardest part of the photography process, but this is where you can unleash your creativity. Even professional photographers are continually working on and learning new composition techniques, a few of which we’ll cover and hopefully you’ll find them helpful.
The Rule of Thirds
The rule of thirds is a good place to start and probably the most well-known technique which will give your photos a more balanced and pleasing look.
This involves splitting your image into sections with two horizontal and two vertical lines equally spaced, then you place points of interest along the lines or where they cross each other. For example, you could place a face where the lines cross or a river along one of the lines.
Leading Lines
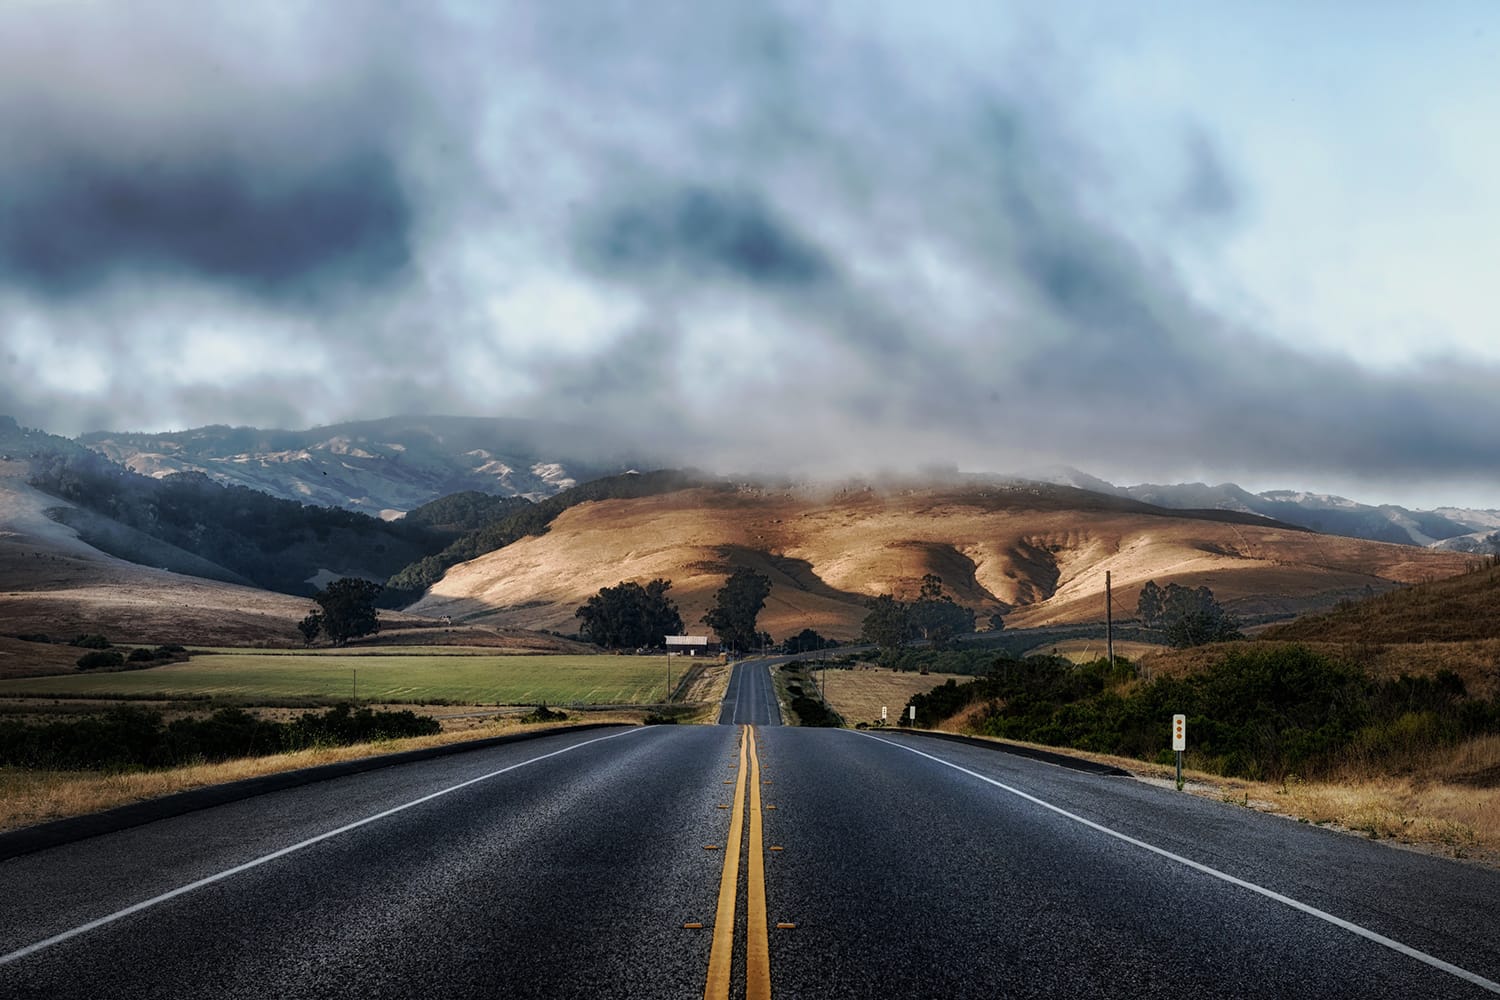
It’s no secret that leading lines are useful to lead the viewer’s eye throughout the image to points of interest and the main subject, but the lines can also be the main subject. They don’t necessarily have to be straight lines – zig zags or curved lines etc. will work, and could be anything from a winding road to a hedge or a pattern on the ground.
Visual Weight
Visual weight is basically how much subjects draw the viewer’s attention in the image, and subjects that are higher weighted attract the viewer’s eye first. The focal point and main subjects in the image are usually the most heavily weighted and some examples that command a lot of weight are people, text, contrasting subjects and of course larger subjects.
Balance
Balance is the amount of visual weight throughout the image. A balanced photo has an equal amount of weight in all areas of the photo and can be achieved by placing the subject in the middle or on both sides of the photo.
While an unbalanced photo might have the main subject to one side of the image and nothing of interest in the rest of the image, which can be balanced by placing another subject with some visual weight on the opposite side of the image.
Patterns
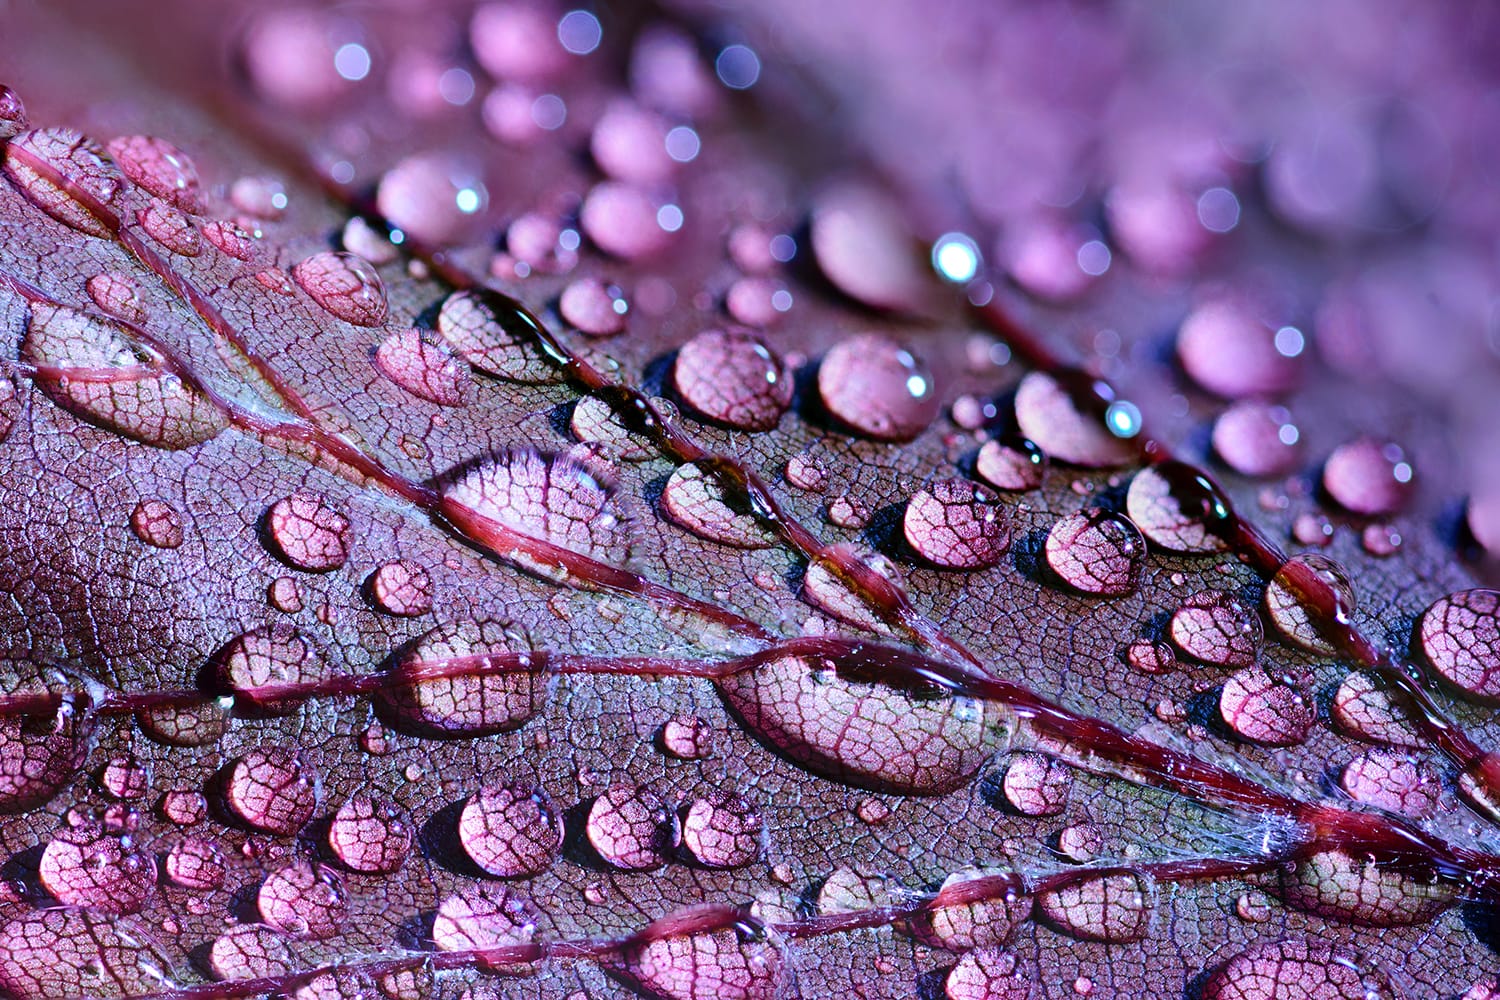
Patterns are useful for creating a more interesting and eye-catching photo. You can find patterns almost anywhere, such as on tree bark, ripples in the ocean and flower petals. You don’t need the pattern in all of the photo though, and breaking the pattern with a different subject can further emphasize the pattern.
Foreground
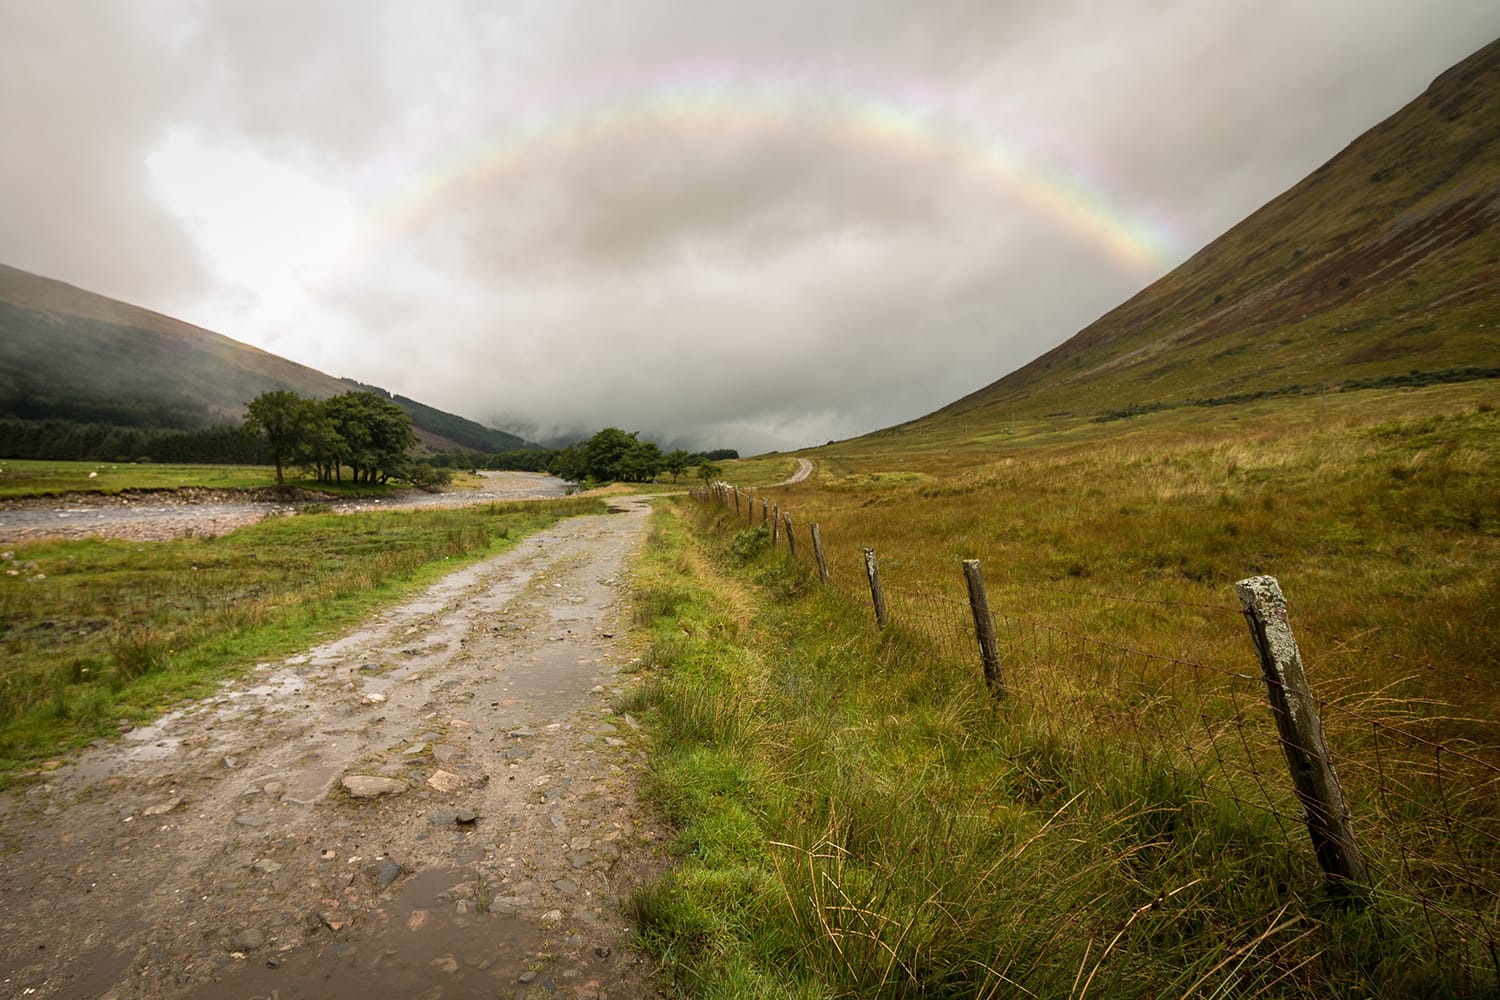
The foreground is the part of your scene nearest to the camera and usually at the bottom. Including subjects in the foreground is useful for leading the viewer’s eye into the image and also creates a sense of depth. For example, you could use rocks or a person in your foreground, and if you want to create a more dramatic foreground you can try using a wide-angle lens to make anything near to the camera appear bigger and more imposing.
Background
The background is the part of your image behind your main subject and usually in the distance. One important thing to keep in mind is you don’t want a cluttered background or one that blends in with your main subject, because the viewer won’t know what to look at and this often creates a boring image.
A couple of ways to declutter your background are to throw it out of focus by using a wider aperture (a lower f-number) and cropping your photo to get rid of objects you don’t need.
Fill The Frame
Filling the frame doesn’t mean filling it with as many subjects as you can, but the more minimalist your photo is, the more attention your viewers will pay to the main subject. The idea is to fill all the photo with your subject with little or no space around the edges. You can try zooming into your subject or getting close to them, and cropping out parts you don’t need.
Negative Space and Minimalism
If you use negative space in your photos you might not get a very balanced photo, but it’s useful to declutter your image. You can do this by placing the main subject so there’s nothing or a very minimal background around it, such as the sky or a calm ocean. Also, you can try using a wide aperture to throw the background out of focus.
A common mistake beginners make is just shooting the whole scene without isolating the subjects – there’s no point in trying to fit everything you possibly can into the photo because this will just clutter the photo and you’ll lose the viewer’s attention.
Framing
One technique to add depth to your images and which will draw attention to and isolate your main subject is to use frames. This is used a lot in landscape photography and involves placing subjects around the edges of your scene such as trees or an archway, but take note that the framing doesn’t need to be around every side of the photo.
Viewpoint
The viewpoint is where you choose to take the photo from, and it could be above the scene, down on the ground, or at eye level. A mistake made by many photographers is to only shoot at eye level, mainly because this is the most natural and easiest position to use.

Choosing to shoot from lower down or higher up gives the viewer a point of view they don’t normally see from and can be a lot more interesting. For example, shooting a photo of an animal from eye level would be a very boring image, so try getting down onto a level with them to see from their point of view.
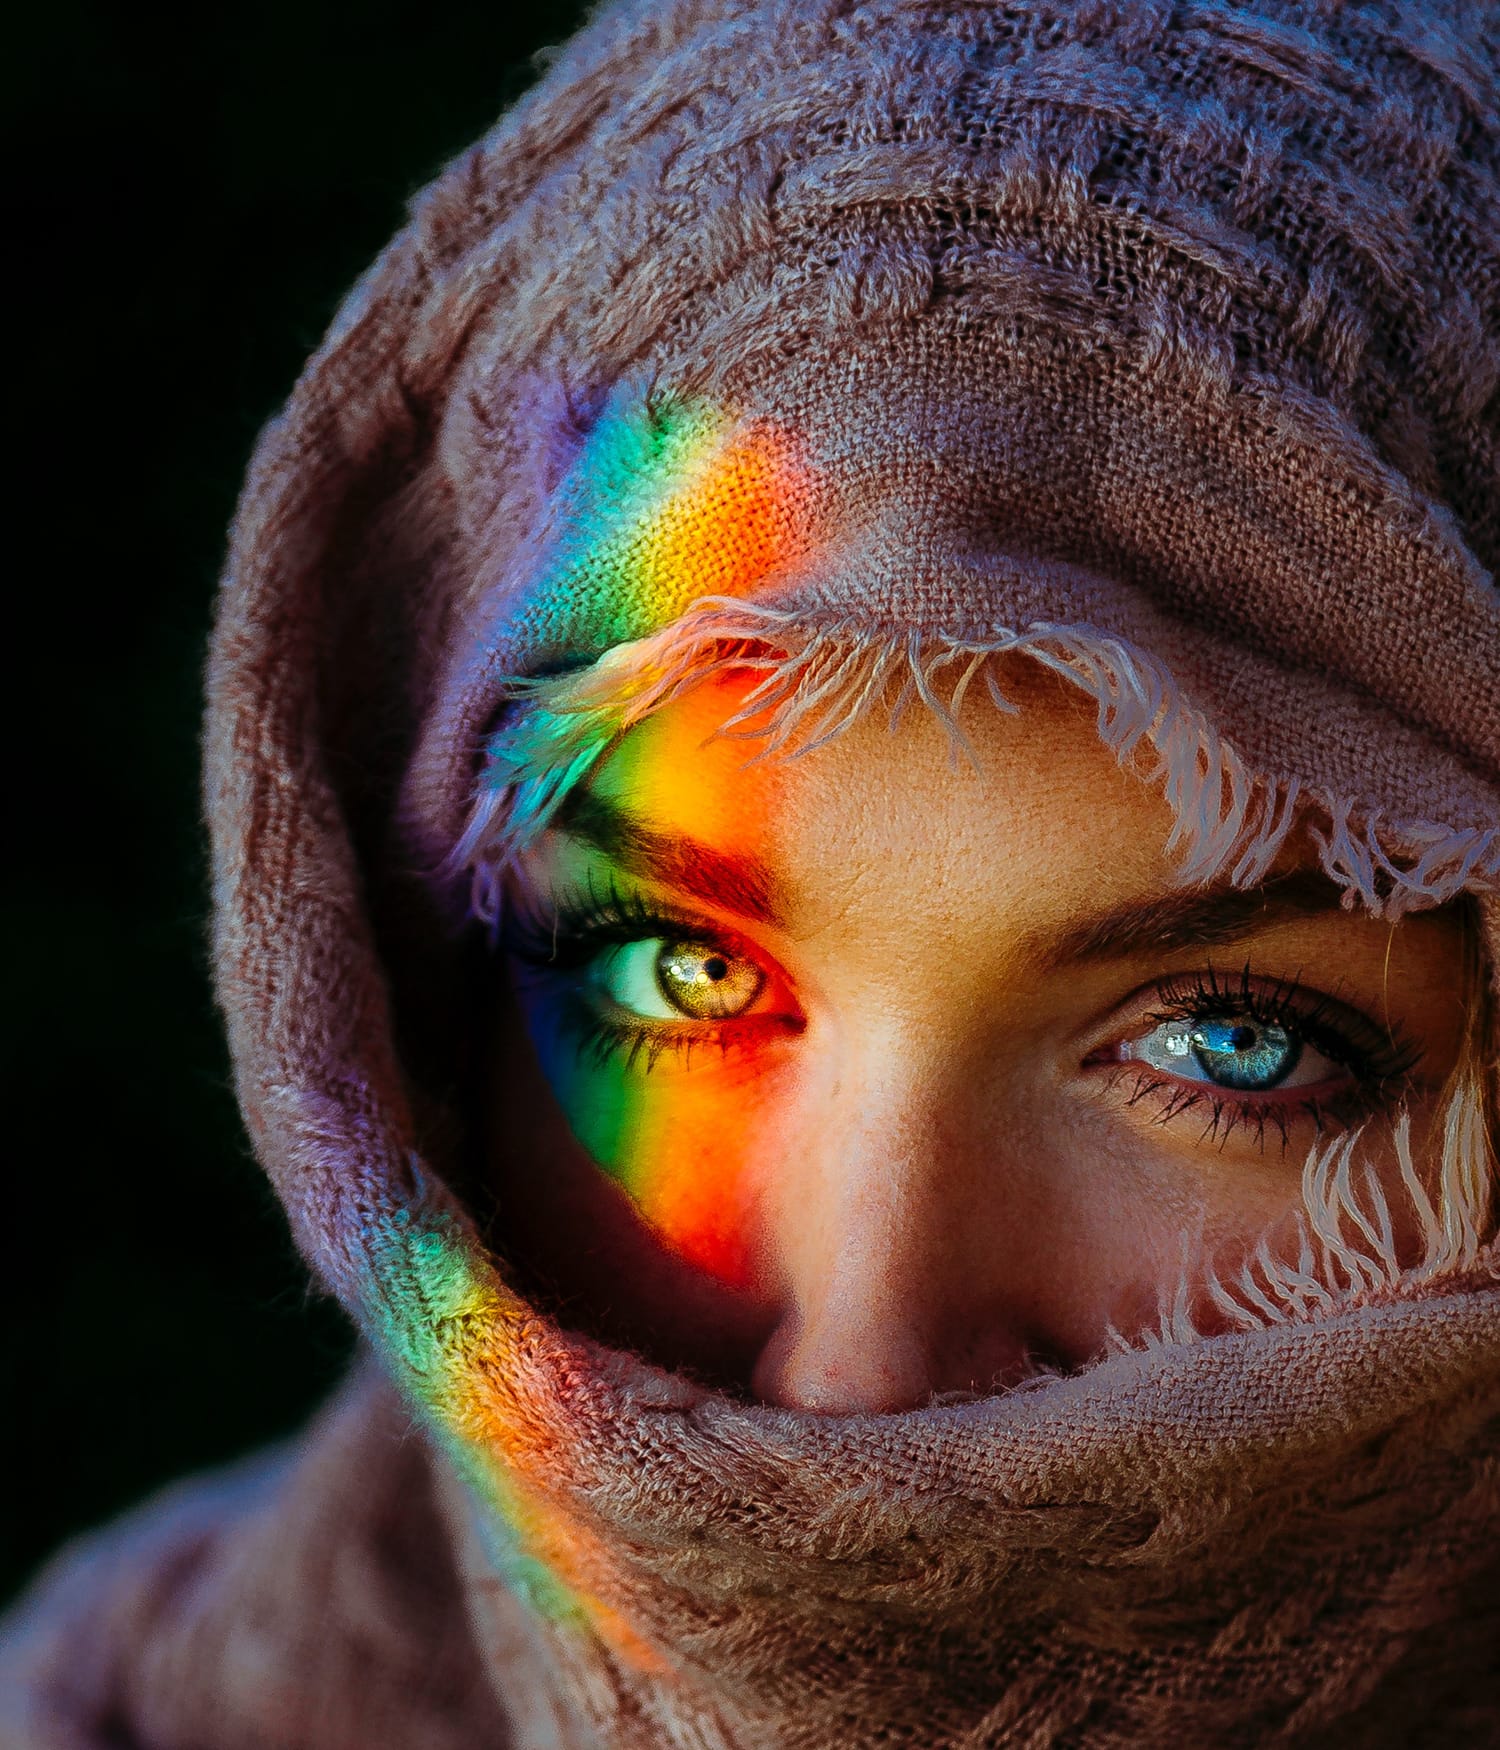
Rule of Space
The rule of space is a technique which places a subject that’s looking or moving in a certain direction so that they’re facing towards the space in the image, as opposed to looking or moving out of the edge of the frame. This leads the viewer’s eye to the rest of the image, but if they were facing or moving to the edge of the frame without any space in-between this would lead the viewer’s eye out of the image.
This works well when you place the subject at the edge of the image, for example, you could have a person’s head on the right of the image looking towards space on the left, while if they were looking right this would look very strange.
About the Author: Jake Turner
Jake has been practicing photography for over 10 years, with a special passion for black and white and landscape photography. You can check out his website Monoimages which offers a collection of free black and white images.