Can't-Miss Tips & Tricks For Lighting Travel Portraits

Traveling light is an art form. Deciding what photography equipment to pack and what to leave at home can be stressful. None of us likes to haul around more gear than we will actually use.
Lighting for travel portraits requires us to make good use of our imagination. It’s free, always packed and ready and it doesn’t weigh anything :)
Here is a selection of tips and tricks you can use to improve the lighting of your travel portraits. A few of them involve carrying and using extra camera gear. Others are related to circumstances, observation, and imagination.
© Kevin Landwer-Johan
Make the Most of Available Light
Light is the essence of photography. If there’s no light, you simply cannot make a photograph. The more you understand light and appreciate its varying qualities, the better a photographer you will become. Available light defines how most of our travel portraits are made.
Learning to see when and where light is optimal will help improve your travel portraits. Look at the light and visualize how it might appear in your photographs.
Often when we’re traveling, we don’t have as much time as we might like to engage in photography. This is particularly true if you’re traveling with others who aren’t so interested in waiting for the right light.
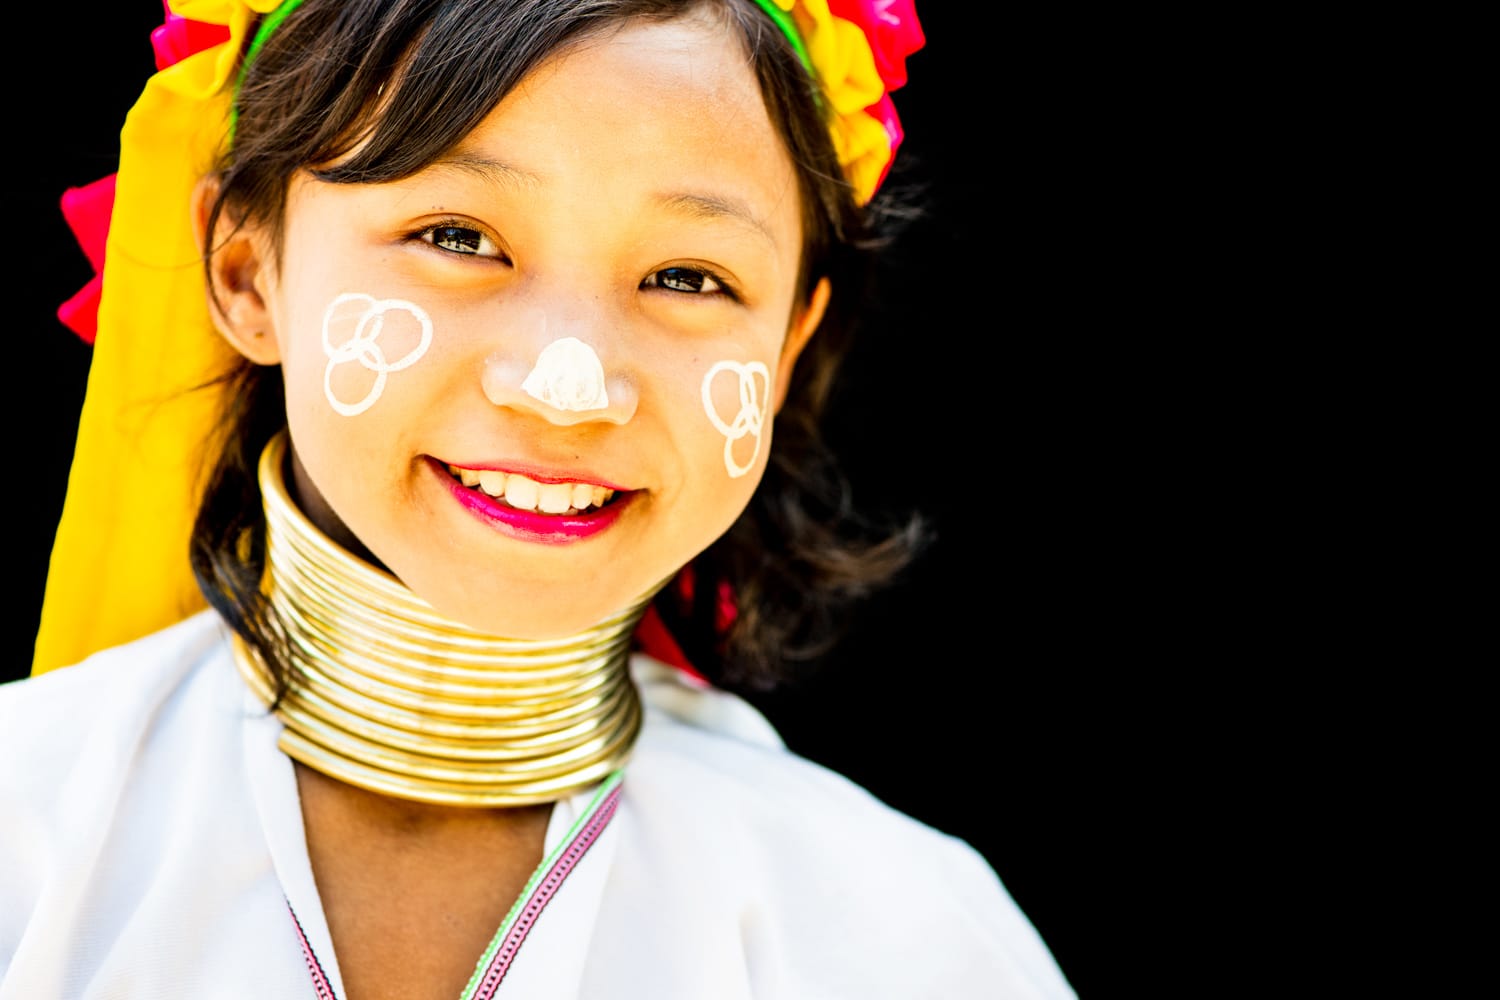
Look for when the quality of light matches the subject or scene. This will make for more interesting photographs. The warm morning sunshine lighting a portrait of a happy young girl will be more suited to the scene than a pale, overcast sky.
© Kevin Landwer-Johan
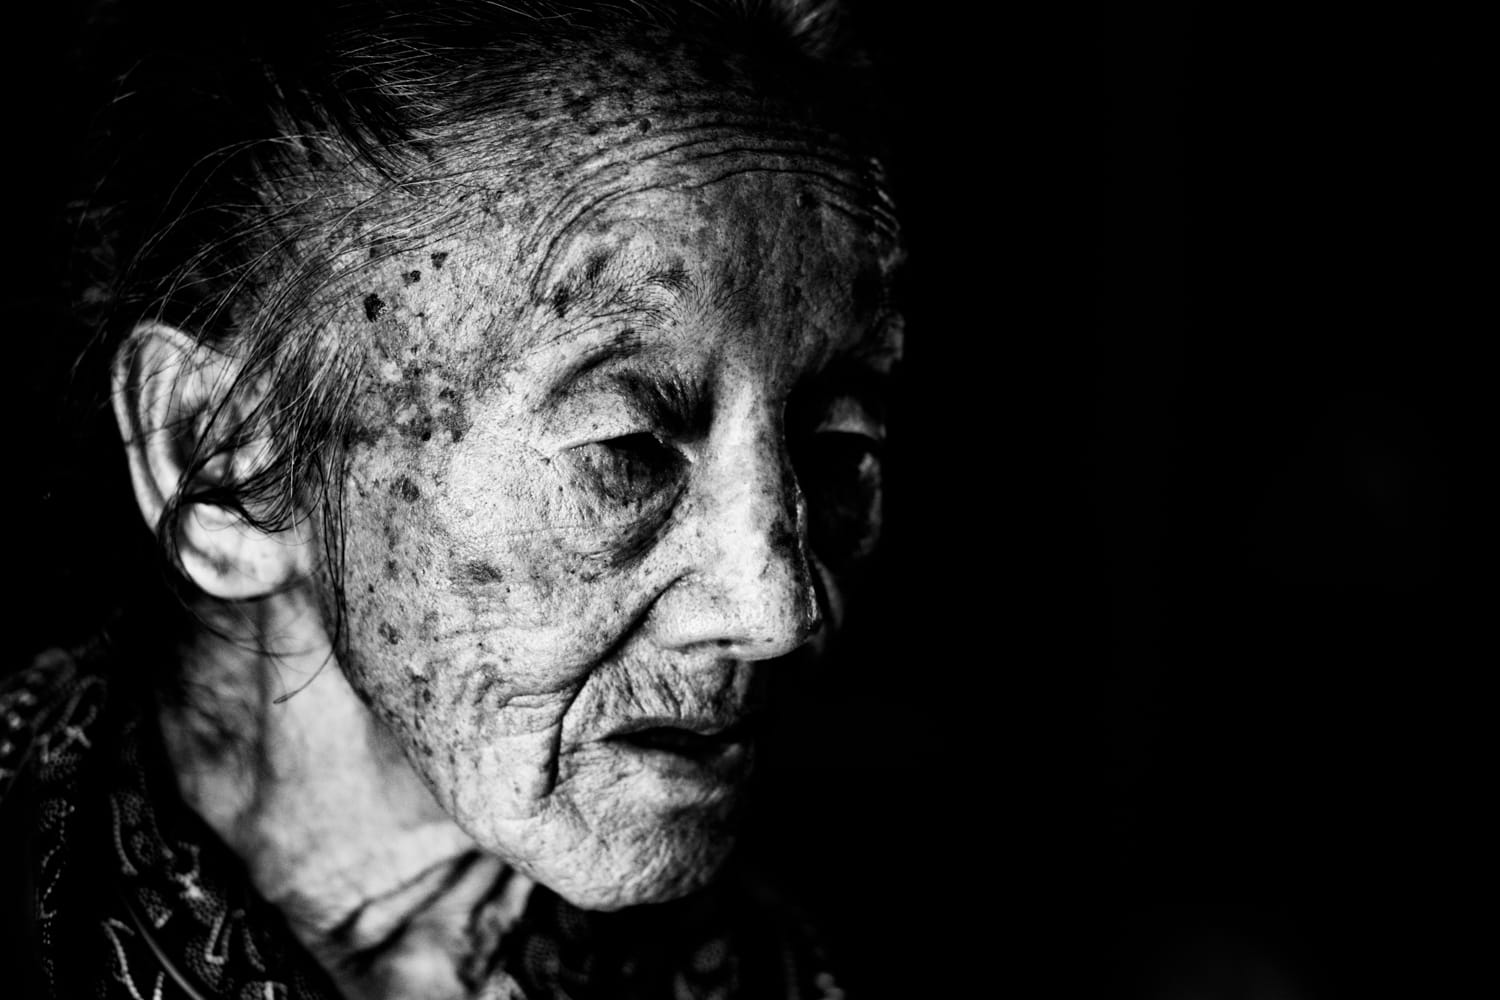
Dealing With Harsh Sunshine
Most of us prefer to travel in warmer climates. Escaping the short dull days of winter for tall drinks on sun-drenched tropical beaches. Whatever your destination is, making portraits in the midday sun can be challenging.
Shade is your friend. When the sun’s beating down and your subject’s eyes are buried in shadow… it’s time to find some cover.
If you’re photographing someone you can invite to move and stand in the shade. Ask them to shift so they’re just out of the sun. This way, you’ll likely have some nice soft fill light from the sun bouncing off the ground and into their face.
Making candid portraits, you won’t have the luxury of being able to position your subject. This is when you must look for situations where the light is best. Find people who are not in the bright sunshine, but who are also not back deep into the shadows. The closer someone is to the light, at the edge of the shaded area, the nicer the quality of light will be.
© Kevin Landwer-Johan
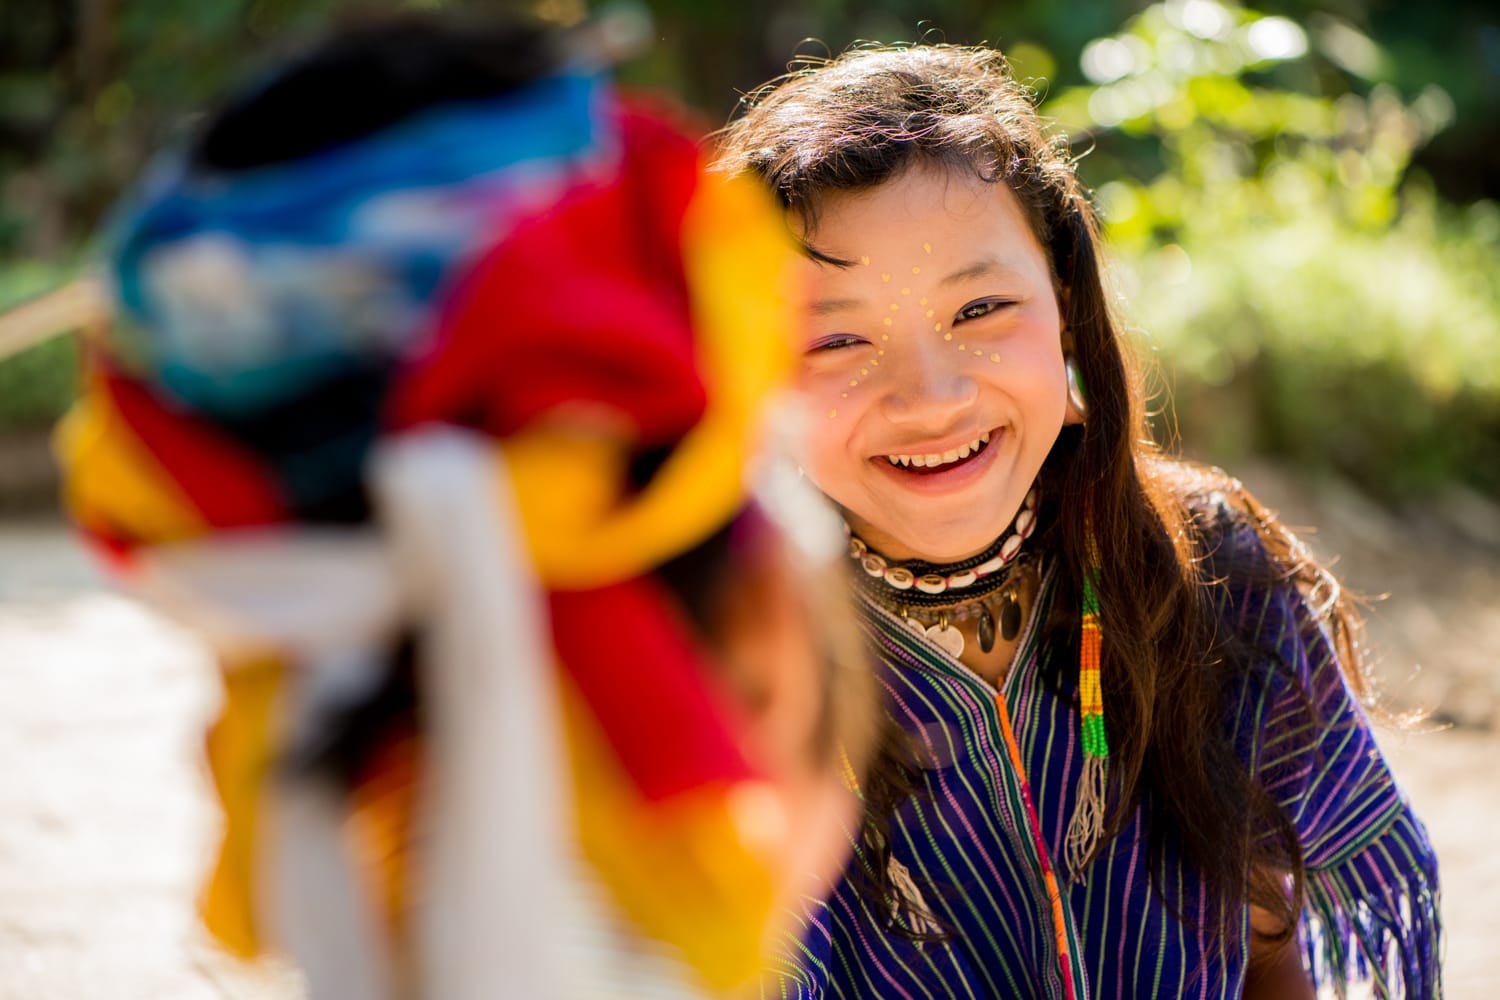
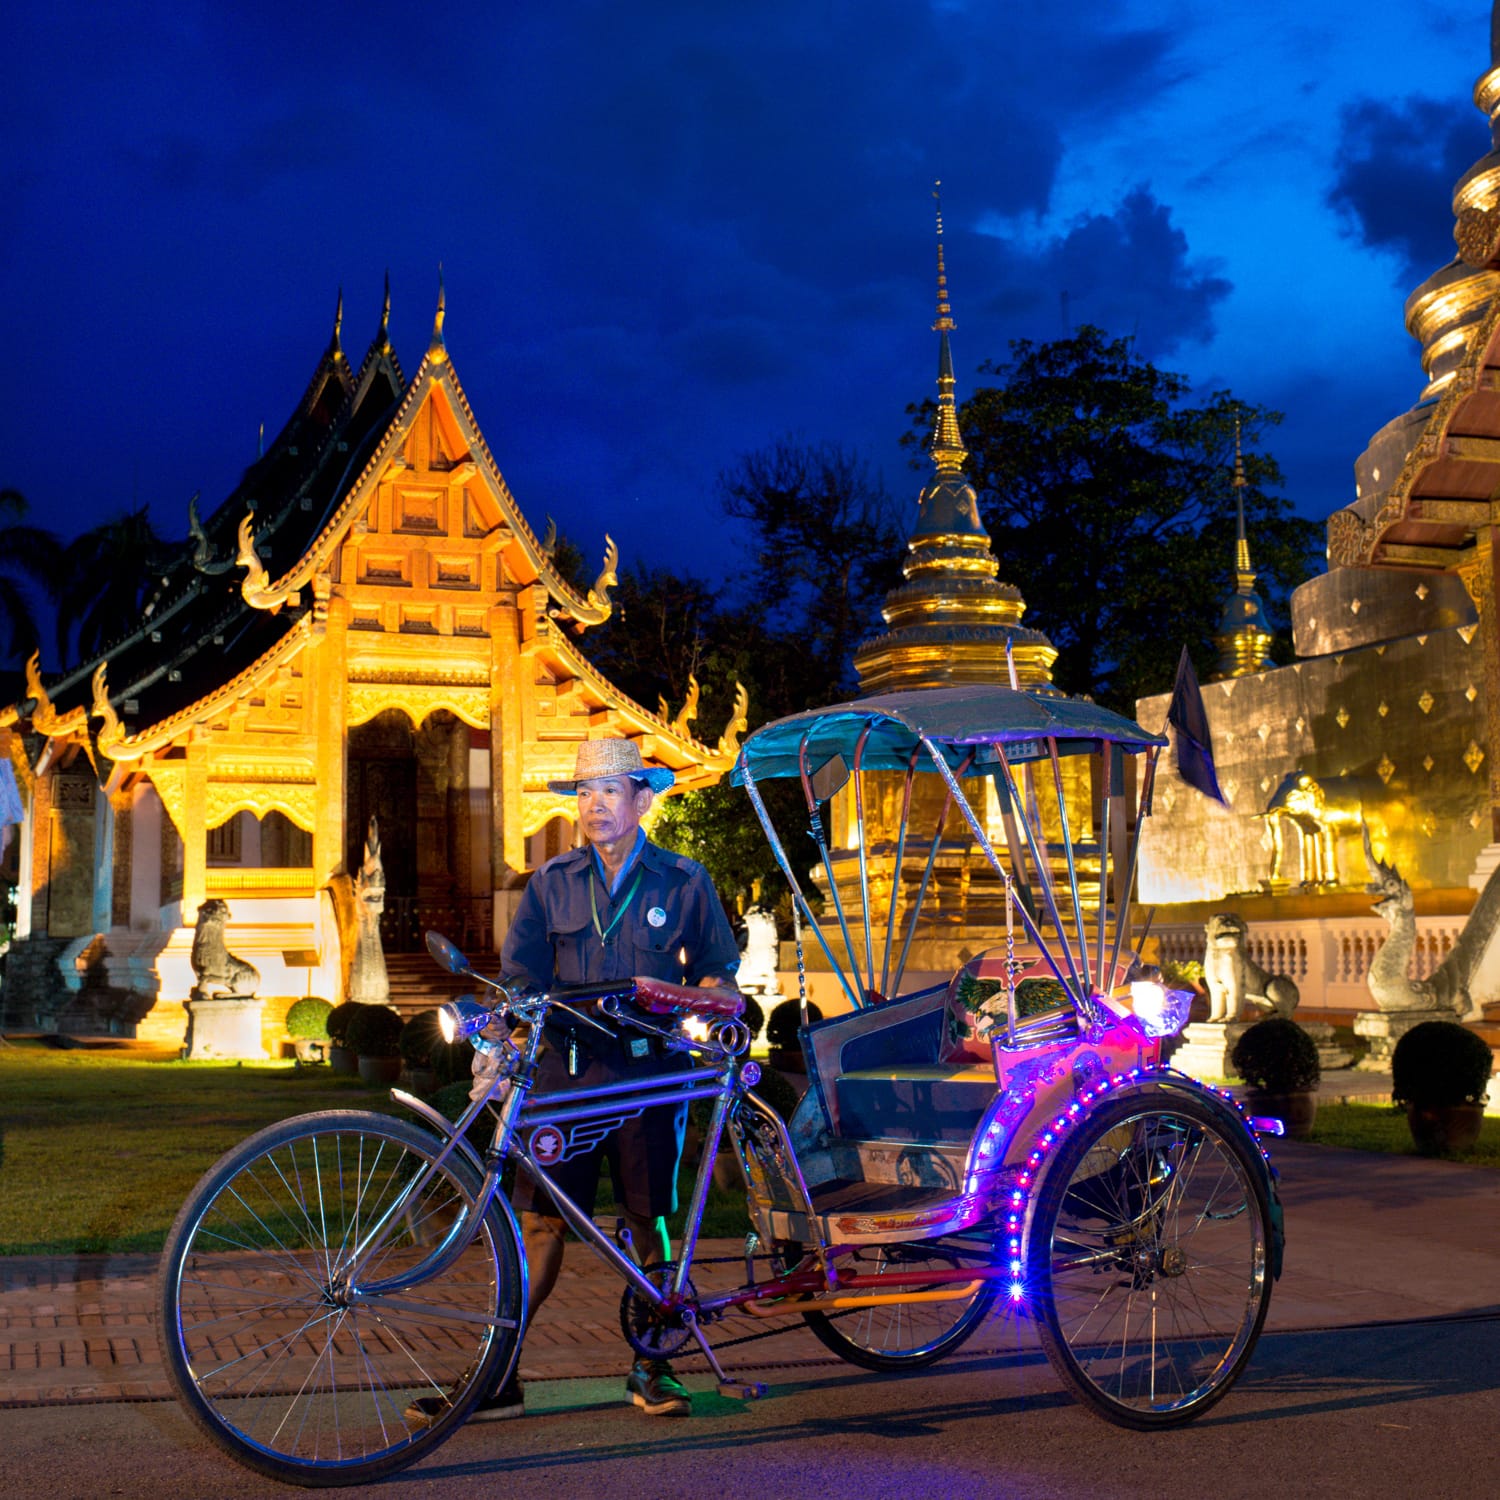
Make Portraits with Natural Reflection
Light bounces around. Especially on sunny days. Making the most of reflected natural light for travel portraits is a matter of looking for it.
Reflected light happens in many situations, such as:
- The sides of buildings
- Windows
- Large signs
- The pavement
- Car windscreens
- Sandy beaches
There are few places at our local market where the sun reflects off a white wall in an alley. The wall acts as a large softbox. Scattering and softening the light. The opposite side of the alley is an ideal location to make travel portraits. On sunny days the light there is always beautiful.
© Kevin Landwer-Johan
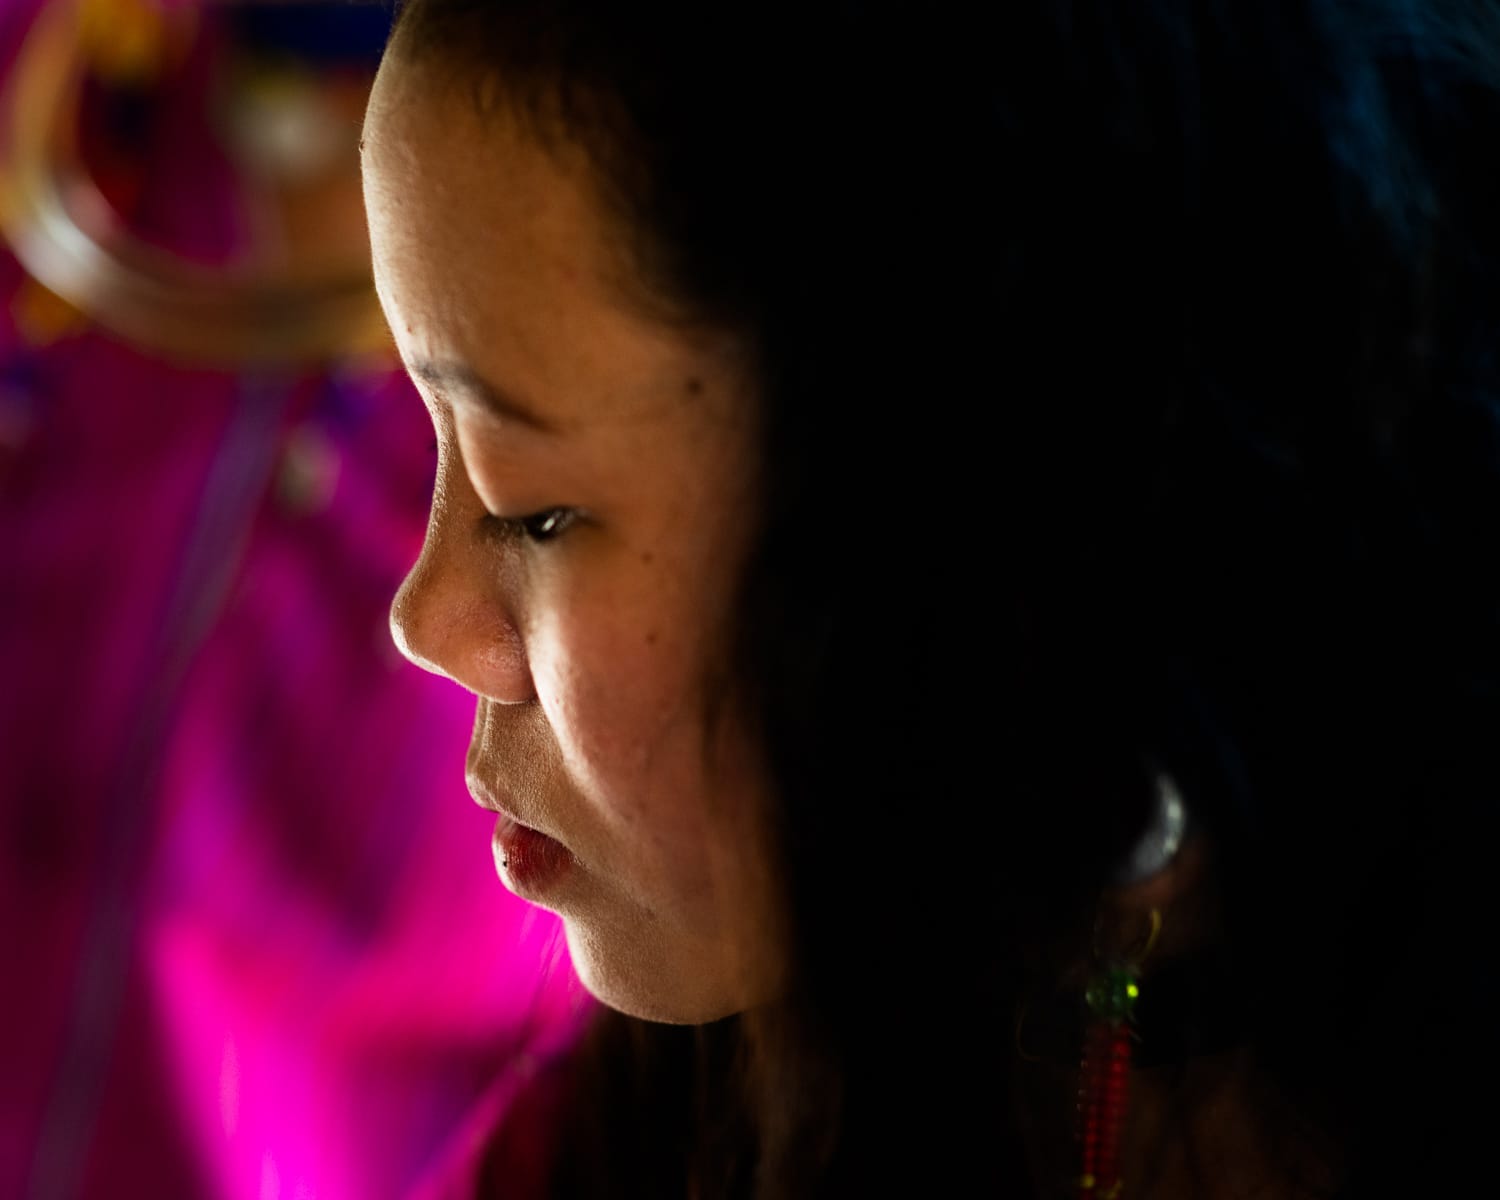
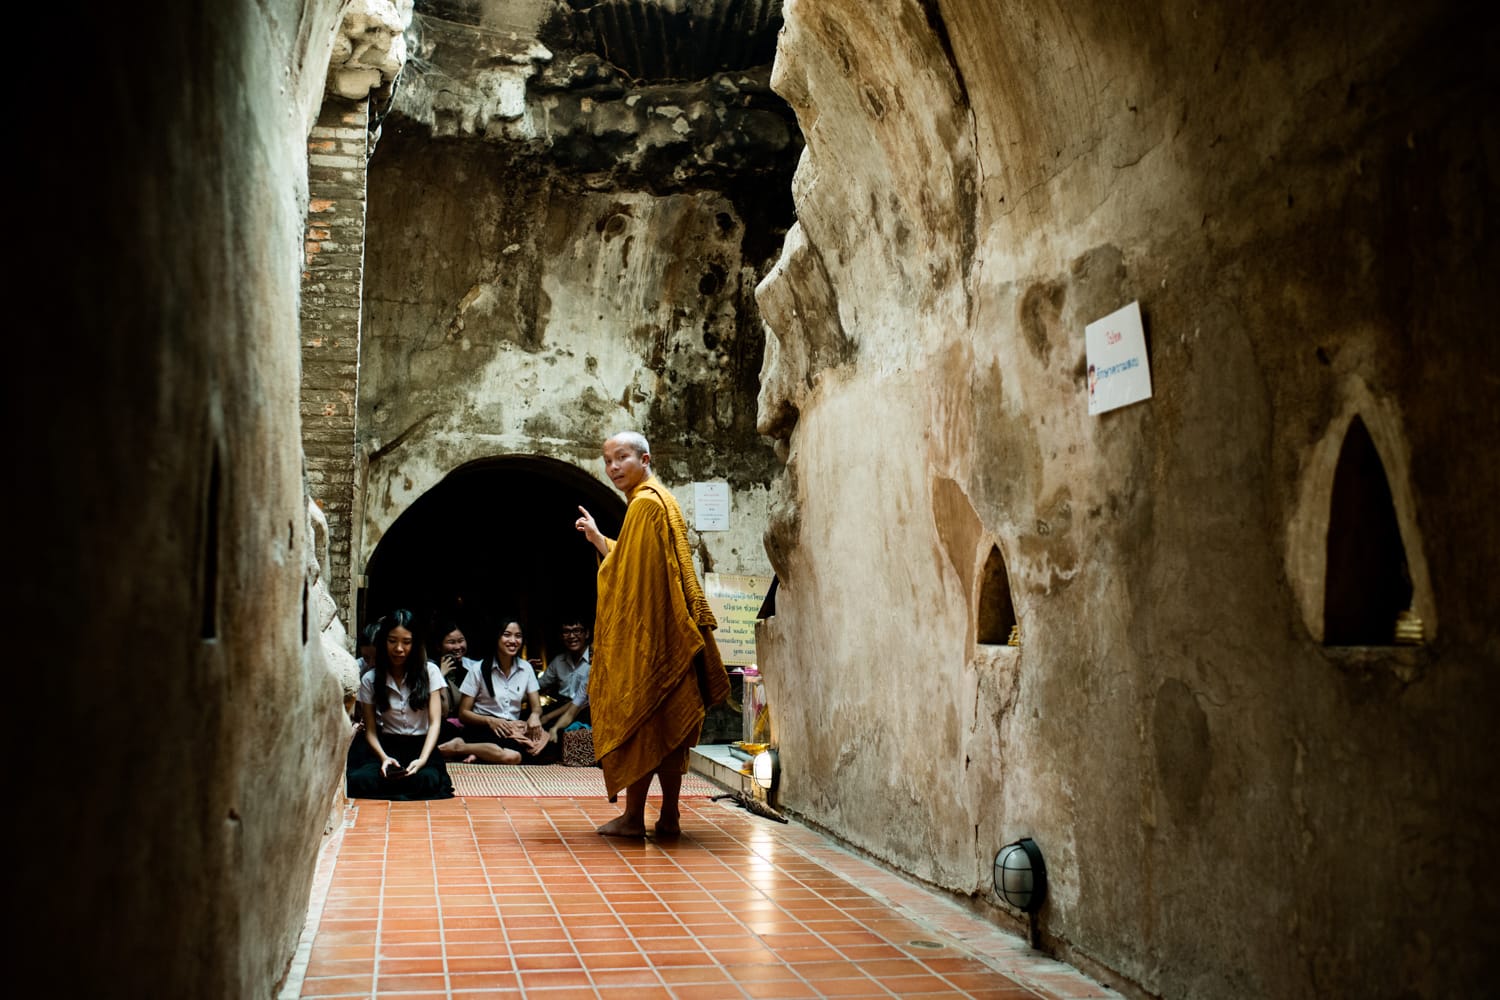
Low Light Challenges
Sometimes you might think there’s just not enough light. There usually is. Even when there’s very little light you can still make portraits. You just need to manage a few variables and maybe make use of some additional light.
1. Work Your ISO Setting
During our travel photography workshops, I teach people to use their ISO setting as a foundation for their exposures. Don’t change it often, only when you need to.
If you find yourself in a dark temple, a cave, or a smoky blues bar, you will want to push your ISO setting higher. This allows you to have far more flexibility with your aperture and shutter speed settings.
Working with your ISO to get well-exposed images will depend on how little available light there is. Don’t be shy to experiment with it. Be aware that the higher you set it the more digital noise you will encounter in your photos.
This varies from camera to camera, some handle noise better than others. It pays to do some testing and figure out the highest ISO setting you can comfortably use.
Additional reading: Everything You’ve Ever Wanted to Know About the Exposure Triangle
© Kevin Landwer-Johan
2. Use Fast Lenses
Prime lenses are great in low light situations. Prime lenses generally have the widest aperture, sometimes one or two stops better than zoom lenses. This means you can be more flexible in low light situations.
Good zooms with an aperture of f/2.8 are preferable to cheaper kit lenses because the widest aperture settings are usually around f/4 with zoom lenses.
© Kevin Landwer-Johan
3. Add Some Extra Light
Most of us carry a light source in our pockets these days. A mobile phone can provide a little extra light for a travel portrait. Your phone’s flashlight is not the best light as it tends to be very harsh and not so bright. But if might help you out of a bind now and again.
You can also use the screen to provide light. It’s even less powerful than the phone’s flashlight, but it produces a nice soft light which is often more preferable for portraits. You’ll need to open your aperture up wide and use a high ISO setting to compensate.
Small, very powerful LED lights are another great light source. The are compact and easy to carry with you. You might want to experiment with some diffusion to soften the light. As with the phone’s flashlight, because the light source is so small it produces a hard light.
© Kevin Landwer-Johan
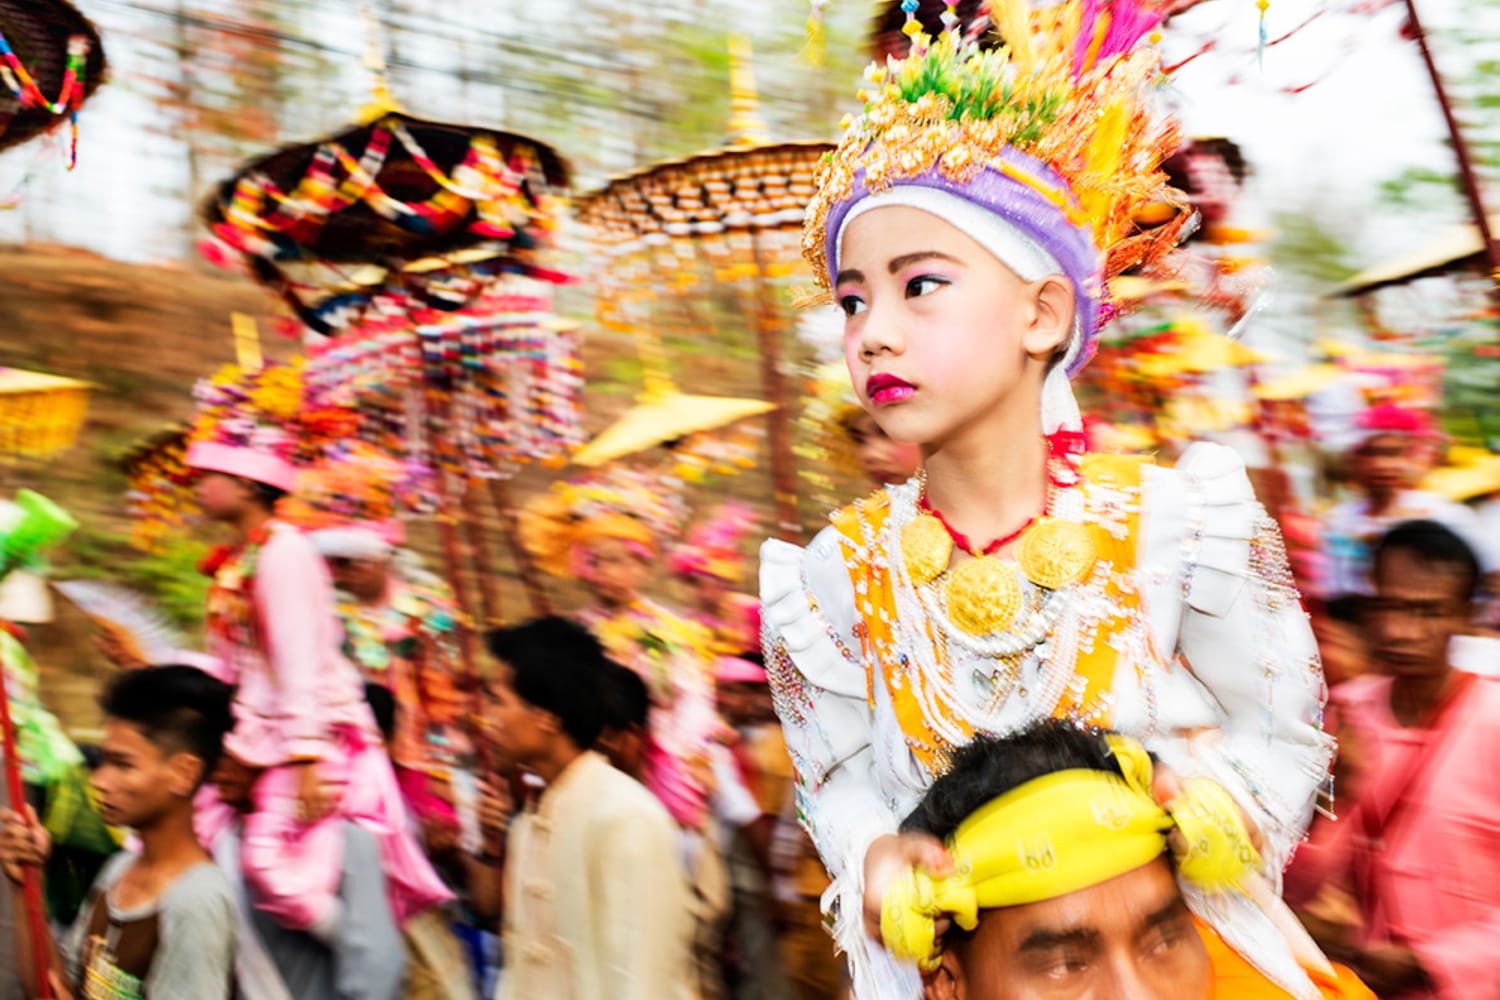
Use Your Flash
On-camera flash is a last resort with travel portraits. It’s another small light source which pops out a burst of hard light. Not often flattering. But remember it’s there, use it if you need to. Setting the output to slightly underexpose will take the edge off the light and hopefully avoid a hard shadow.
An external flash is preferable. It has a slightly more powerful output than the on-camera flas and can be diffused and moved off camera.
There are loads of different flash modifiers available. Many of them are designed to fold down and slip into the side pocket of your camera bag. This makes them easy to travel with.
Taking your flash off camera makes for a more interesting lighting setup. Hand it to a friend. Put it on a small stand or your tripod. Or hold it at arm’s length. By placing it off axis from your lens the light will add more shape and interest to your travel portraits.
I made this photograph during an early morning parade in Northern Thailand. The sun had not risen above the surrounding hills and the light was flat and dull. I decided to use my flash held out in my hand to pop a little more light into the scene. The small amount of extra light enhanced the activity well.
© Kevin Landwer-Johan
Work With A Reflector
Reflectors can add some of the most interesting and flattering light to a portrait. However, they are not easy to use without assistance. If you travel with a friend, train them how to use the reflector to direct a little extra light towards the person you’re photographing.
Small reflectors are readily available and fold down into compact packages which are easy to carry. You can even use a sheet of newspaper or printer paper to bounce light onto your subject.
Conclusion
Think about the light in each place you find yourself. Consider how to make the most imaginative use of it in your travel portraits.
When you travel, it’s often impossible to go back to a particular location to capture portraits when the light is optimal. Learn to make the most of the available light no matter the situation you find yourself in.
About the Author: Kevin Landwer-Johan
 Kevin Landwer-Johan is a professional photographer, photography teacher, and filmmaker with over 30 years experience. Kevin is offering Contrastly readers his FREE course for beginner photographers which will build your confidence in photography. You will learn how to make sense of camera settings and gain a better understanding of the importance of light in photography.
Check out Kevin's Blog for articles with a more personal approach to photography.
Kevin Landwer-Johan is a professional photographer, photography teacher, and filmmaker with over 30 years experience. Kevin is offering Contrastly readers his FREE course for beginner photographers which will build your confidence in photography. You will learn how to make sense of camera settings and gain a better understanding of the importance of light in photography.
Check out Kevin's Blog for articles with a more personal approach to photography.