Low Light Photography: 5 Mistakes You Didn't Know You Were Making
 by
Jose Soriano
by
Jose Soriano

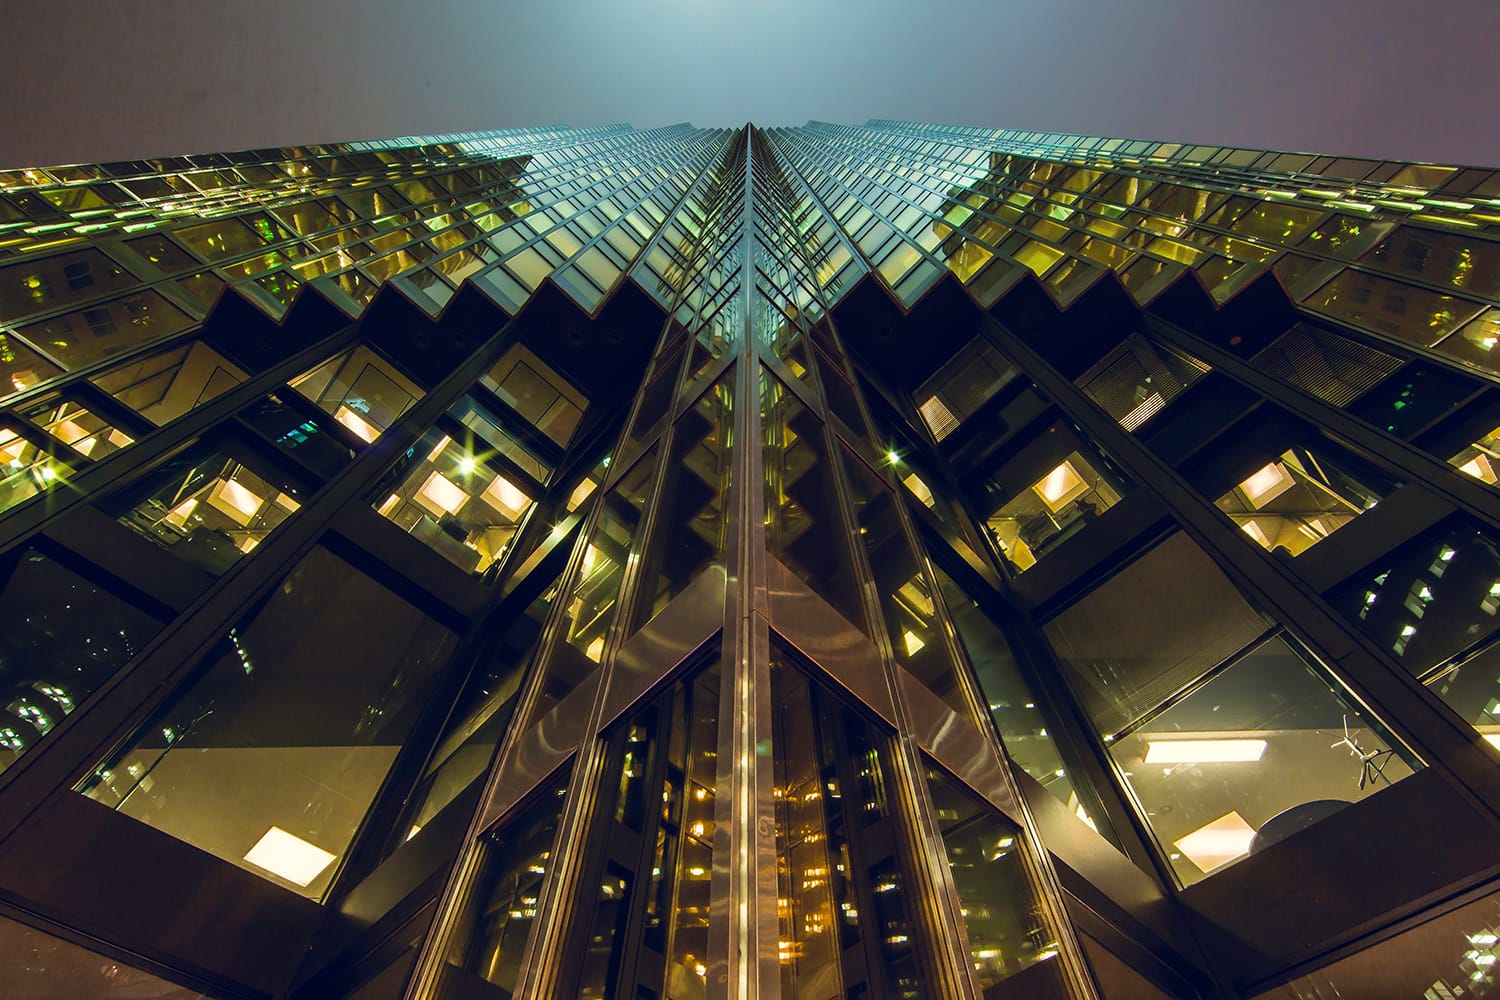
Even a novice can appreciate the value of low light photography. Buildings and other objects that normally seem trivial and mundane can look extraordinary in low light conditions.
However, even experienced photographers are sometimes challenged when it comes to getting the proper exposure and right focus in less-than-perfect light. Here are five mistakes in low light photography you might not have known you were making.
1. Not Using a Remote Shutter Release
A remote shutter release is tremendously beneficial in low light conditions. Corded ones are quite cheap. You can opt for an intervalometer if you want extra features; know that standard nighttime photography doesn’t require it.
Use the timer on your camera to take pictures if you don’t have a remote for some reason. This helps prevent touching during the exposure.
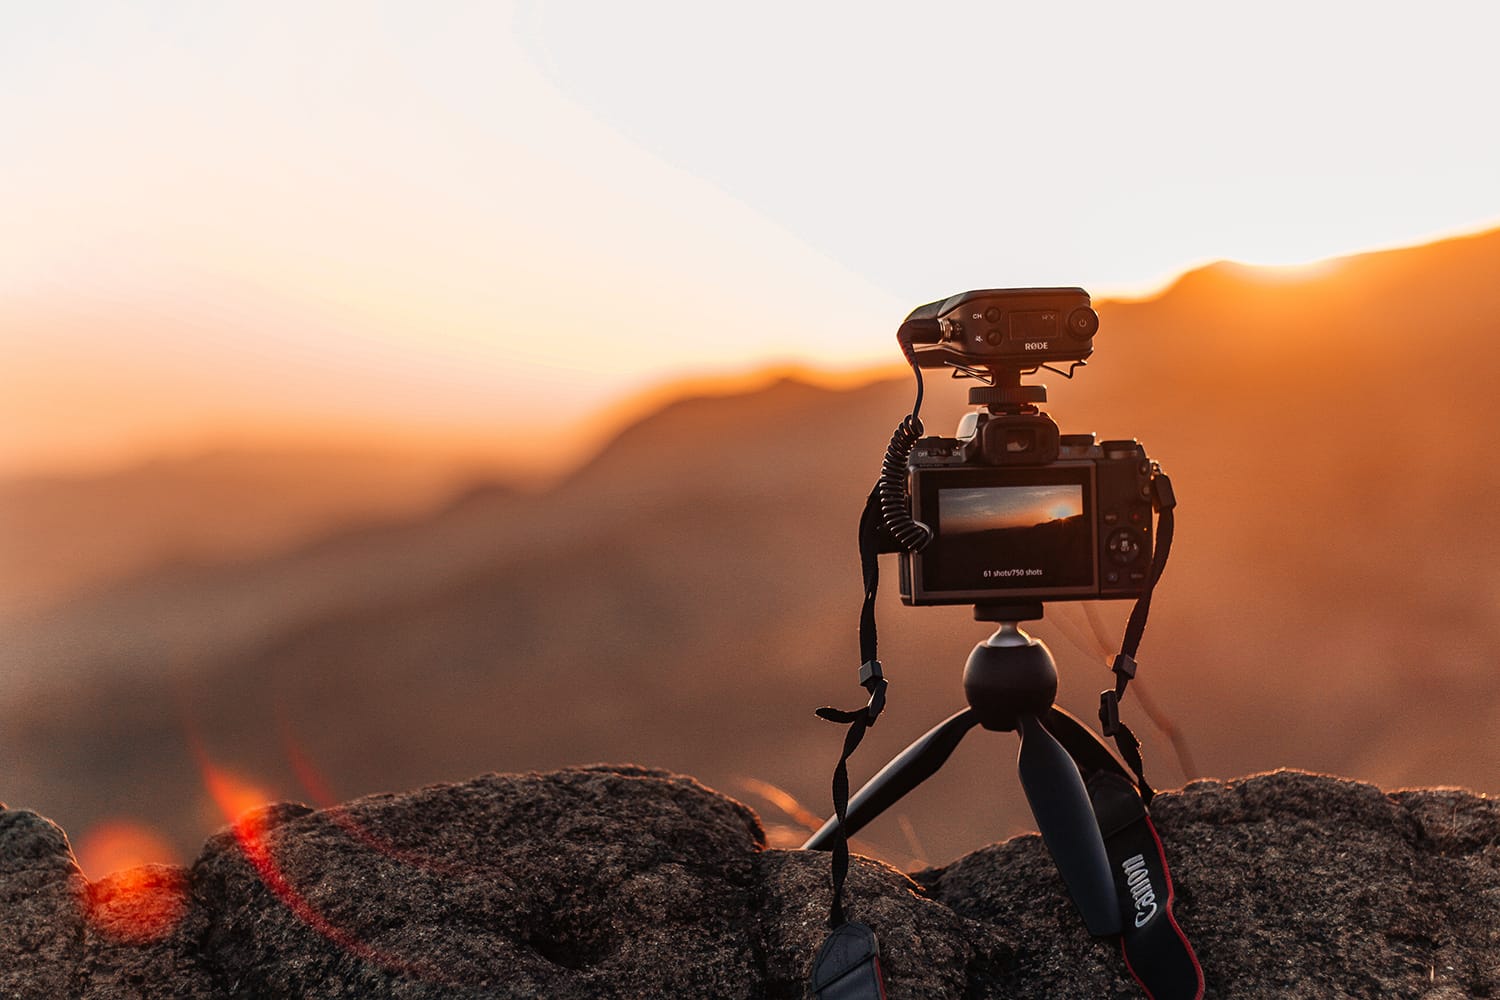
2. Not Using a Tripod
Both enthusiasts and professional photographers feel the need to dispense with tripods because they’re cumbersome and slow them down, not to mention that they don’t want to drag them around. However, tripods are one of the best ways to get a sharp, crisp image regardless of the exposure length. A tripod is mandatory if you are shooting a long exposure. Tripods are also crucial to nighttime photography, where exposures of more than half a minute can be frequent.
It’s not always a bad idea to take your time when working. When you rush, you can miss shots because of poor composition and wrong camera settings (apart from the low light.) “Innovation” may not be the first word that comes to mind when you think of tripods. Designs change and improve, but game-changers are few and far between. Two notable novelties are the Vanguard VEO 2 235CB tripod, which features the excellent build typical of Vanguard products, among other outstanding qualities, as well as the Colorado Tripod Company’s tripods, which we’ve reviewed on Contrastly not so long ago.
3. Switching the Vibration Reduction System On
Photographers can avail themselves of some great technologies that can reduce the blur that camera shake causes, resulting in much clearer and sharper images. These technologies are very useful in low light conditions that require slow shutter speeds. They can be camera-based or lens-based depending on the brand, but they always serve the same purpose.
Ultimately, vibration reduction can offer comparable picture quality – this can be achieved at a rate of as many as four shutter speed stops slower than normal.
This technology uses movement sensors to detect motion. By moving an element group on the sensor or in the lens, it attempts to compensate movement. However, this isn’t necessary because there isn’t going to be any vibration if your camera is on a robust tripod (see above point).
Although professional photographers are aware of this, their cameras won’t be, so the vibration reduction system will try to compensate by moving the sensor or lens group even if there is no movement. This will actually cause a blur and introduce vibration, rendering it a self-defeating exercise.
4. Low ISO Settings
Years ago, ISO settings up to 12,800 were unheard of. Today, even low-end cameras work on these levels without any problems. If you’re shooting at slow shutter speeds, you’ll get blurry images, so the increased noise in the picture is something you might need to learn to live with. Increasing the ISO makes it possible to increase the shutter speed correspondingly. However, do avoid excessive ISO, because it can introduce too much noise.
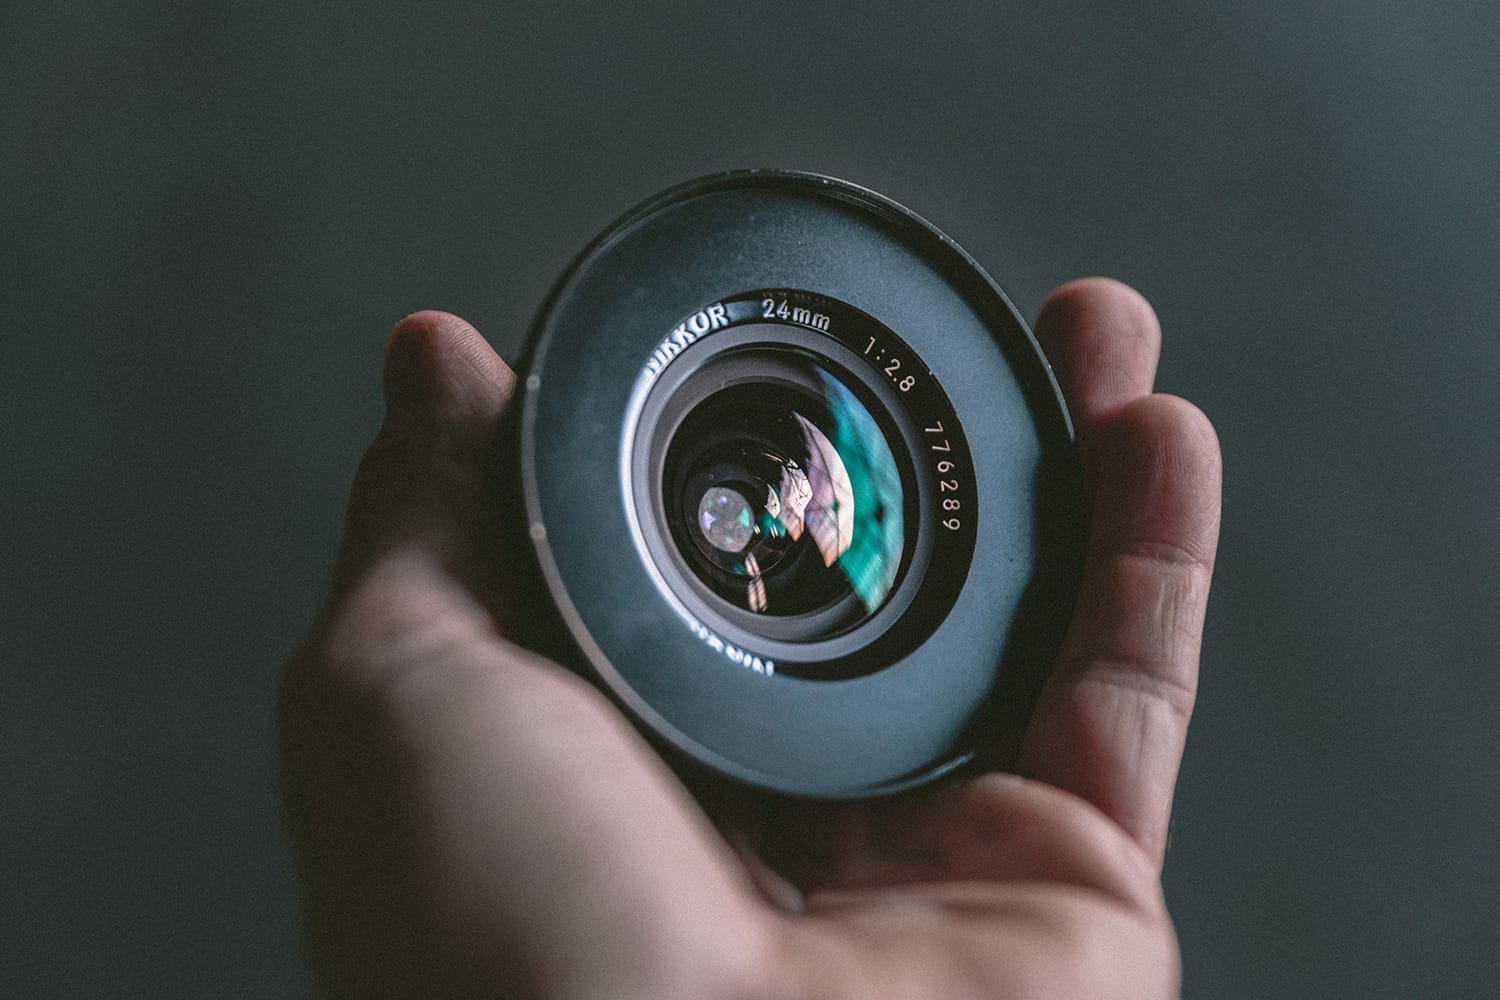
ISO, aperture, and shutter speed are all connected. If one changes, you may need to adjust the others to keep the exposure constant. A lot of people get fast aperture lenses because they make it easier to shoot in low light.
With modern digital ISO manipulation, this is no longer an issue. However, these lenses are crucial for the so-called medium format effect, which refers to getting a very shallow field depth at wide angles. On the downside, they’re quite expensive, so everyone should decide for themselves.
5. Neglecting AutoFocus
Using your camera flash’s AutoFocus Illuminator is by far the most reliable and accurate way to achieve crystal clear images in low light conditions. Also known as AF Assist, the AutoFocus Illuminator places a large grid pattern in front of the camera. This infrared tool’s light isn’t as intrusive as the bright white autofocus lamp (also known as the “focus assist light”), and it throws a very sharp contrast pattern on the objects you’re shooting, making it much more accurate.
The chance of the light being blocked by the hood of your lens is minimal because your flash projects the AutoFocus Illuminator, and the flash is located several inches above the lens.
Final Tips
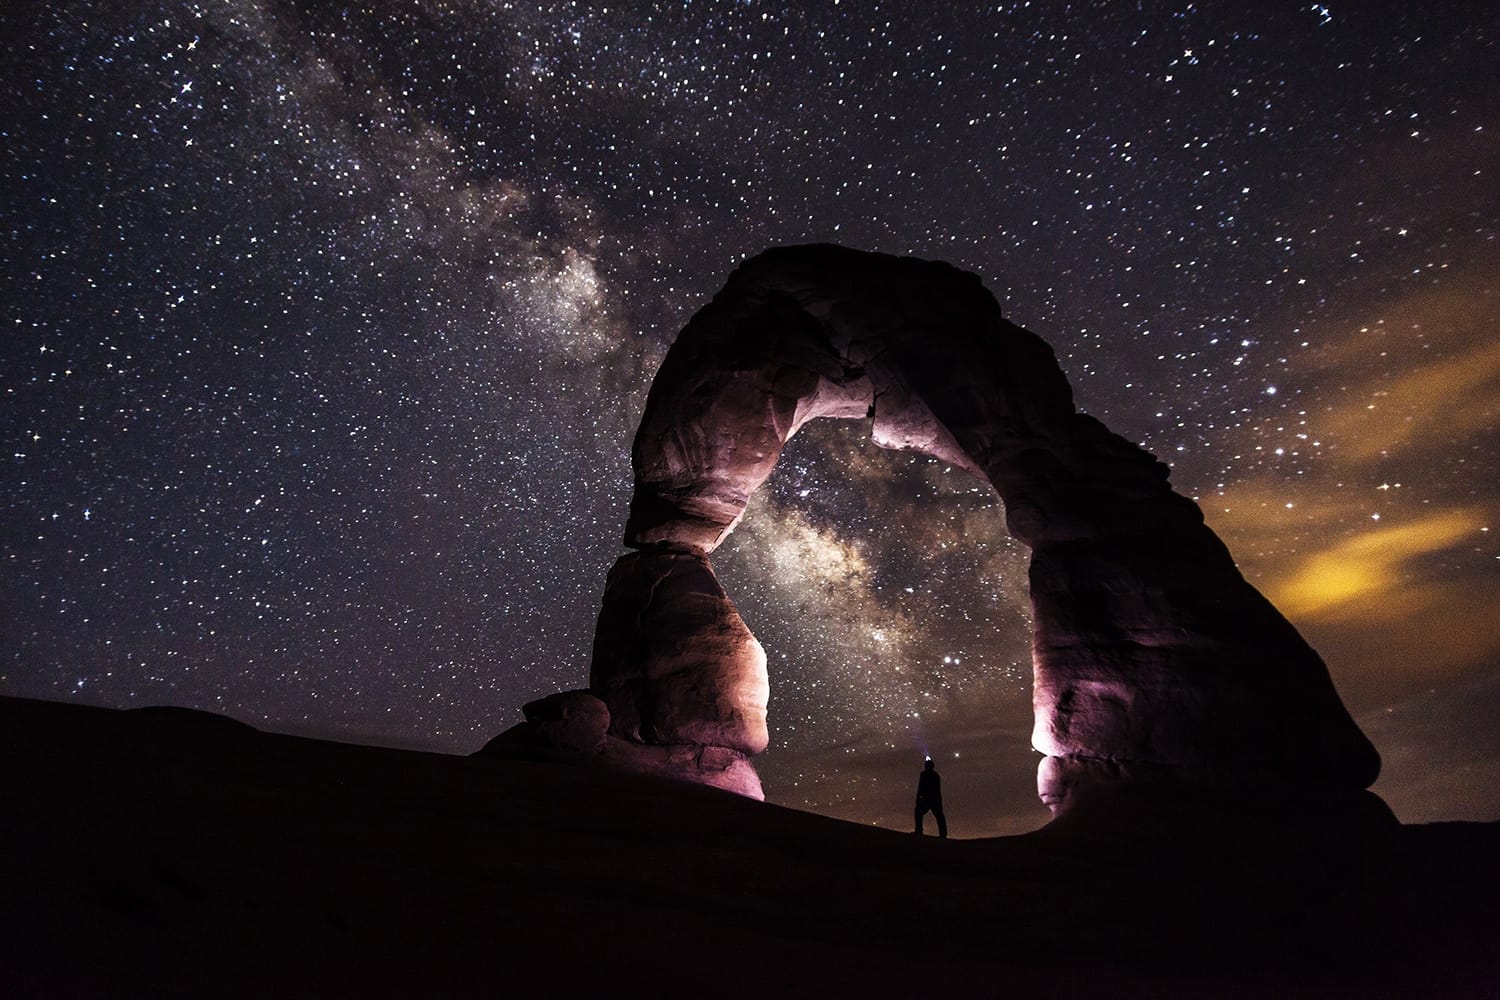
Some cameras work better in low light conditions than others, so that’s definitely something to take into account. If you’re into nighttime photography, always bring extra batteries because the long exposures drain batteries very quickly. This process is exacerbated by cold weather.
Challenging as it may be, low light photography is worth every effort. Some of the most amazing pictures< in history were taken in such conditions! Of course, we know the light isn’t the only factor – in our ceaseless quest for the perfect image, things like symmetry and leading lines need to be considered too.
About the Author: Jose Soriano
Jose Soriano is a photographer, visual content creator and blog writer with over 10 years of experience. He is working with start-up businesses, top commercial brands and other amazing people, helping them to achieve their visual goals. You can see his work in the photography portfolio and check articles on his blog.