How to Take Great Photos at Any Time of Day
 by
Jo Plumridge
by
Jo Plumridge

Without light there is no photograph. So, understanding how light works is pretty essential for any photographer!
Natural light might seem simple, but different times of day have a different effect on light, which you need to understand in order to get the best possible shots.
It’s perfectly possible to get great photos at any time of day, as long as you pay close attention to what the light is doing. This handy chart should help you start to understand:
| Time of Day | Contrast | Colours | Sun Direction |
|---|---|---|---|
| Midday ➡ | Highest | Neutral White | Near Vertical | Evening & Morning ➡ | High | Slightly Warm | Mid to Low | Golden Hour ➡ | Medium | Warm to Fiery | Near Horizontal | Twilight, Dawn & Dusk ➡ | Low Cool | Pastel | Below Horizon |
Let’s look at the different types of light in more detail. Most photographers have probably heard of the Golden Hour, which is undoubtedly the time of day when the light is at its prettiest, so we’ll start with that.
The Golden Hour
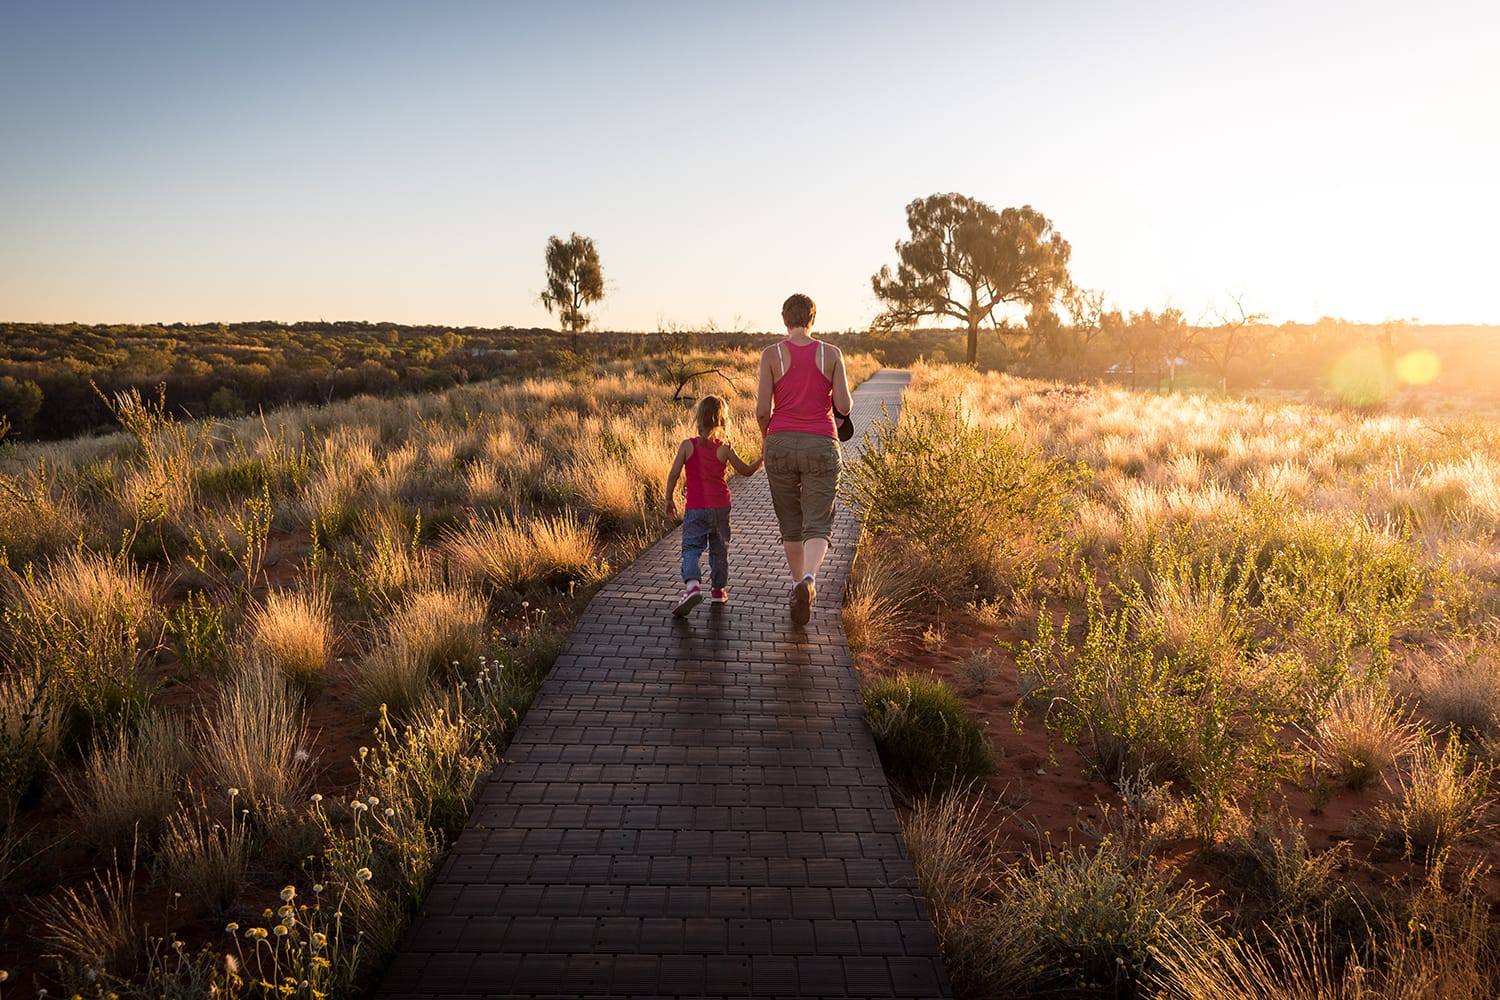
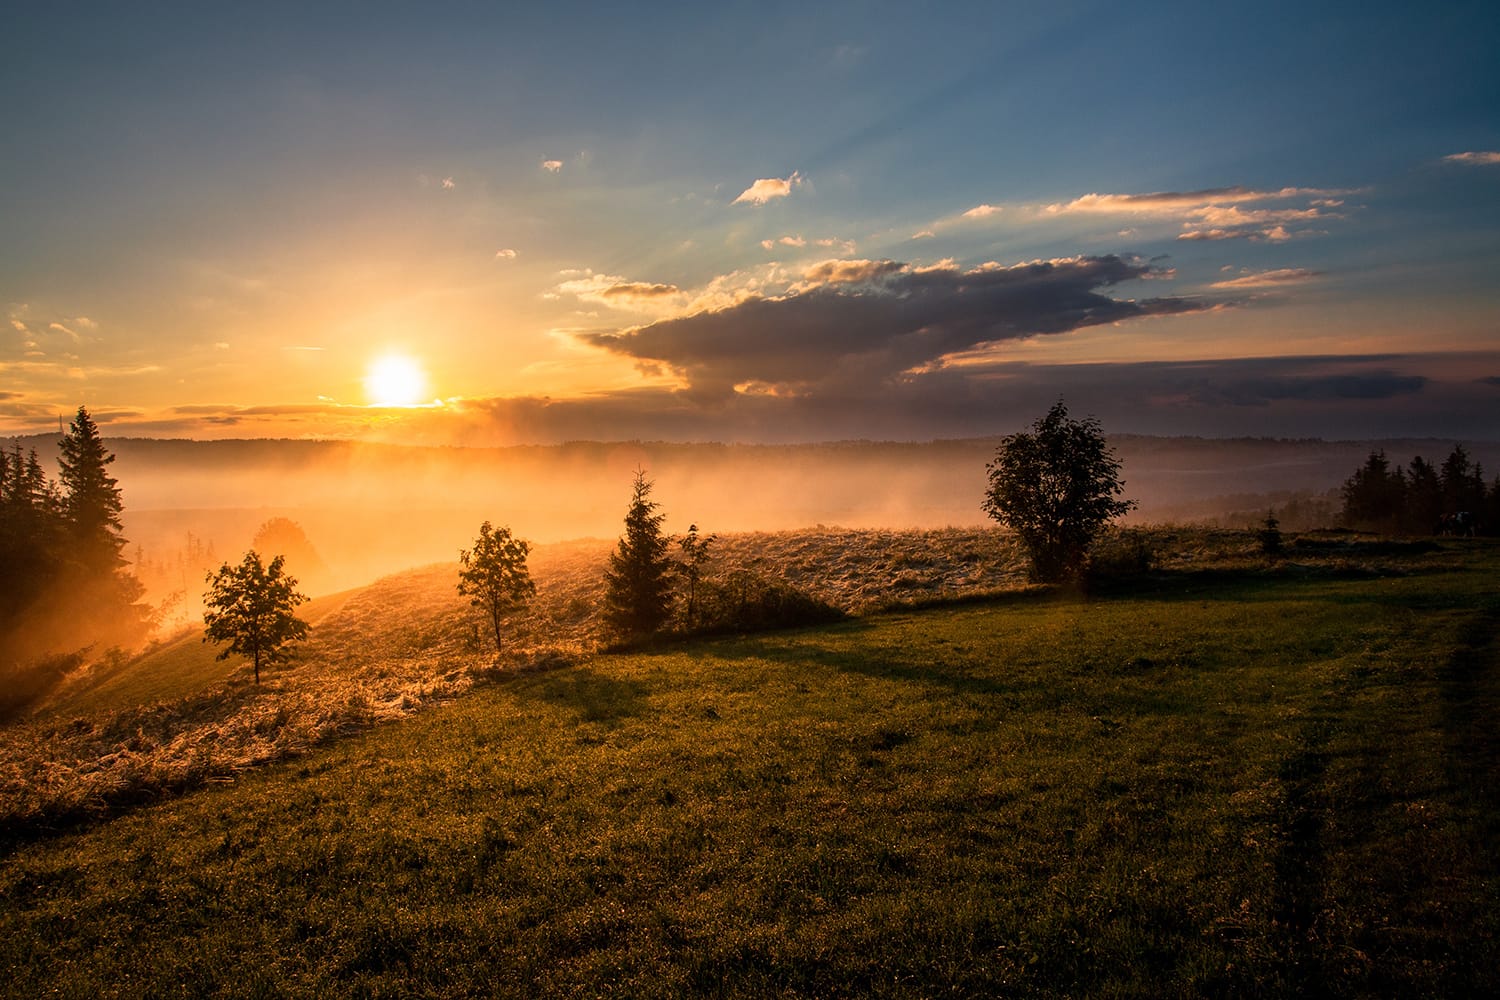
The Golden Hour is the hour around dawn and dusk, when the light is full of pink and gold tones. There’s no getting away from the fact that the light is particularly stunning at these times. And because it’s almost horizontal and on the horizon, it gives an all-over glow to images that can be hard to get at other times of day.
This ‘hour’ is particularly popular with landscape photographers because of the aforementioned tones it gives to an image. The best way to shoot at this time of day is with a long exposure (try several seconds to start with) and a small aperture / large depth of field. For this reason, you’ll need to use a sturdy tripod for shooting, combined with your camera’s self-timer to avoid camera shake.
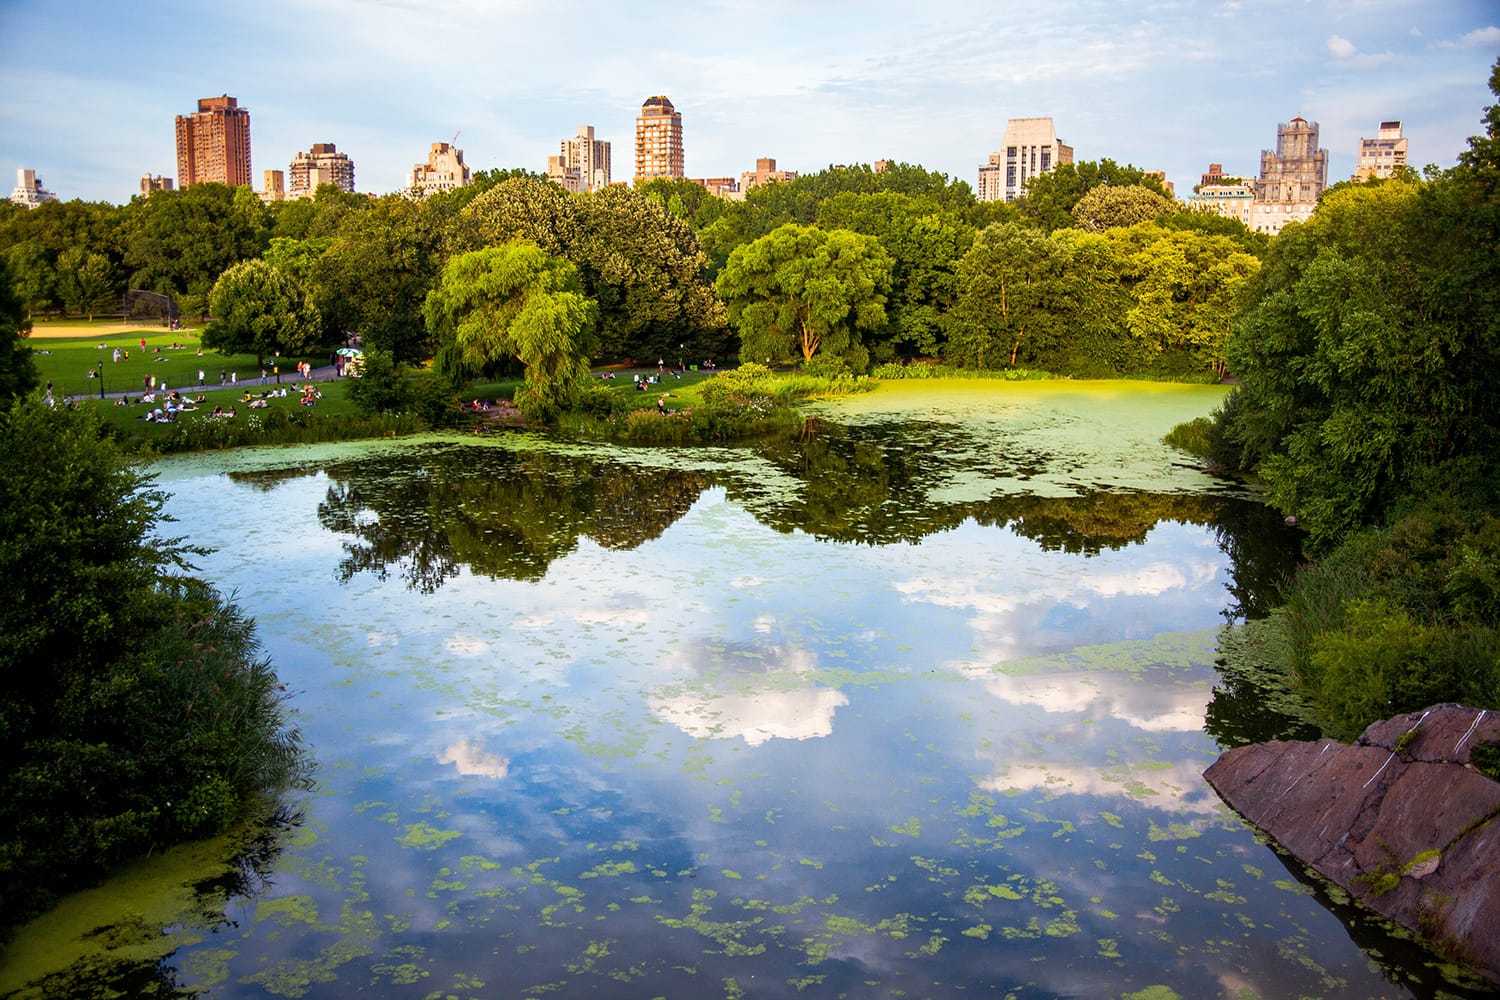
Midday Light
At this time of day, light is very direct and is angled directly downwards from the sun. This means that there’s little chance of the light diffusing through the atmosphere, leaving a hard and fairly neutral white coloured light as its result.
But even this light isn’t without its advantages. As the light penetrates deeply, it can be very evocative when used to photograph water – cutting down on reflections and making the water appear more transparent. It’s also very useful for shooting in places such as the Mediterranean, where the predominant architecture is white housing. The neutral tones in the light help to enhance this.
Do remember that colour saturation at this time of day can be fairly low. One way to correct for this is to use a circular polarizing filter, but do take care not to go too far the other way and over saturate the sky!
Evening and Morning Light
As the day goes into mid-morning or evening, light becomes slightly warmer and shadows become more noticeable. This is because the light is being directed from an upper side. The side light and shadows can be very useful in making objects appear more three-dimensional, as well as producing strong and interesting portraits.
However, because the light is neither as neutral as midday nor as warm as at the golden hour, you can run the risk of photos looking a little flat and ordinary. The key is to use the shadows to create the interest and depth needed to lift photos out of the norm. Or try using the light as a rim light, to add a halo effect around your subject’s head.
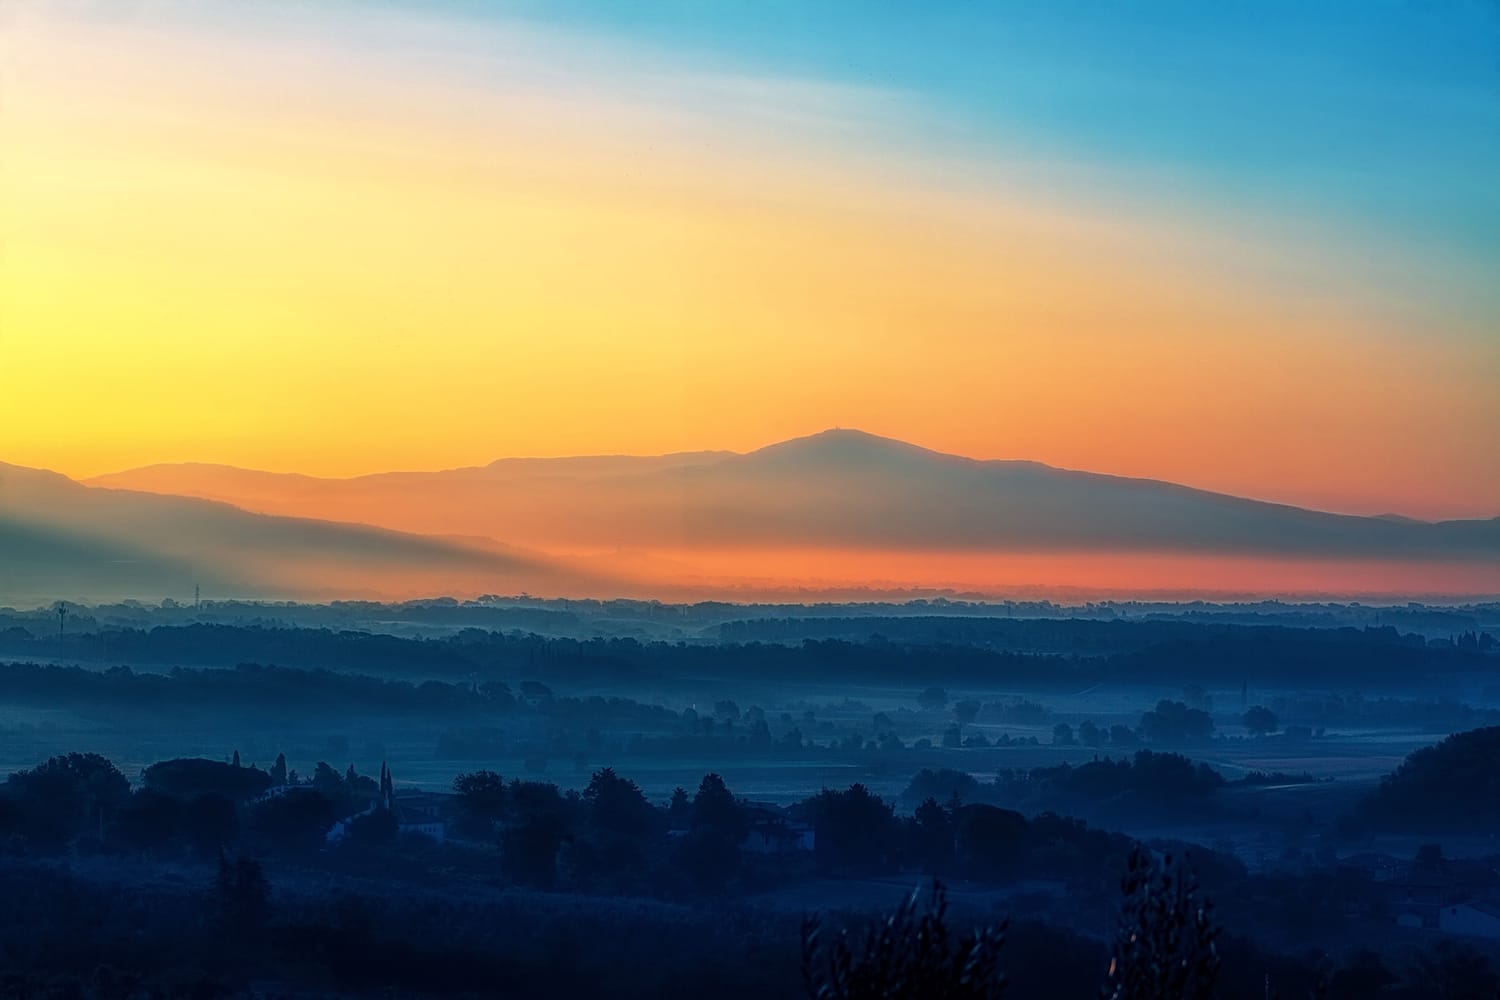
Twilight, Dawn and Dusk
After the golden hour (which we’ve discussed above), the sky still remains bright even though there’s no direct sunlight. The muted multi-coloured light that remains can produce beautifully serene and peaceful images – this is often referred to as blue hour.
But, to capture it successfully, you’ll really need to use a tripod and a long exposure to allow time for the soft colours to be captured. Remember too that care should be taken with composition – soft colours need a strong focal point for them to stand out against.
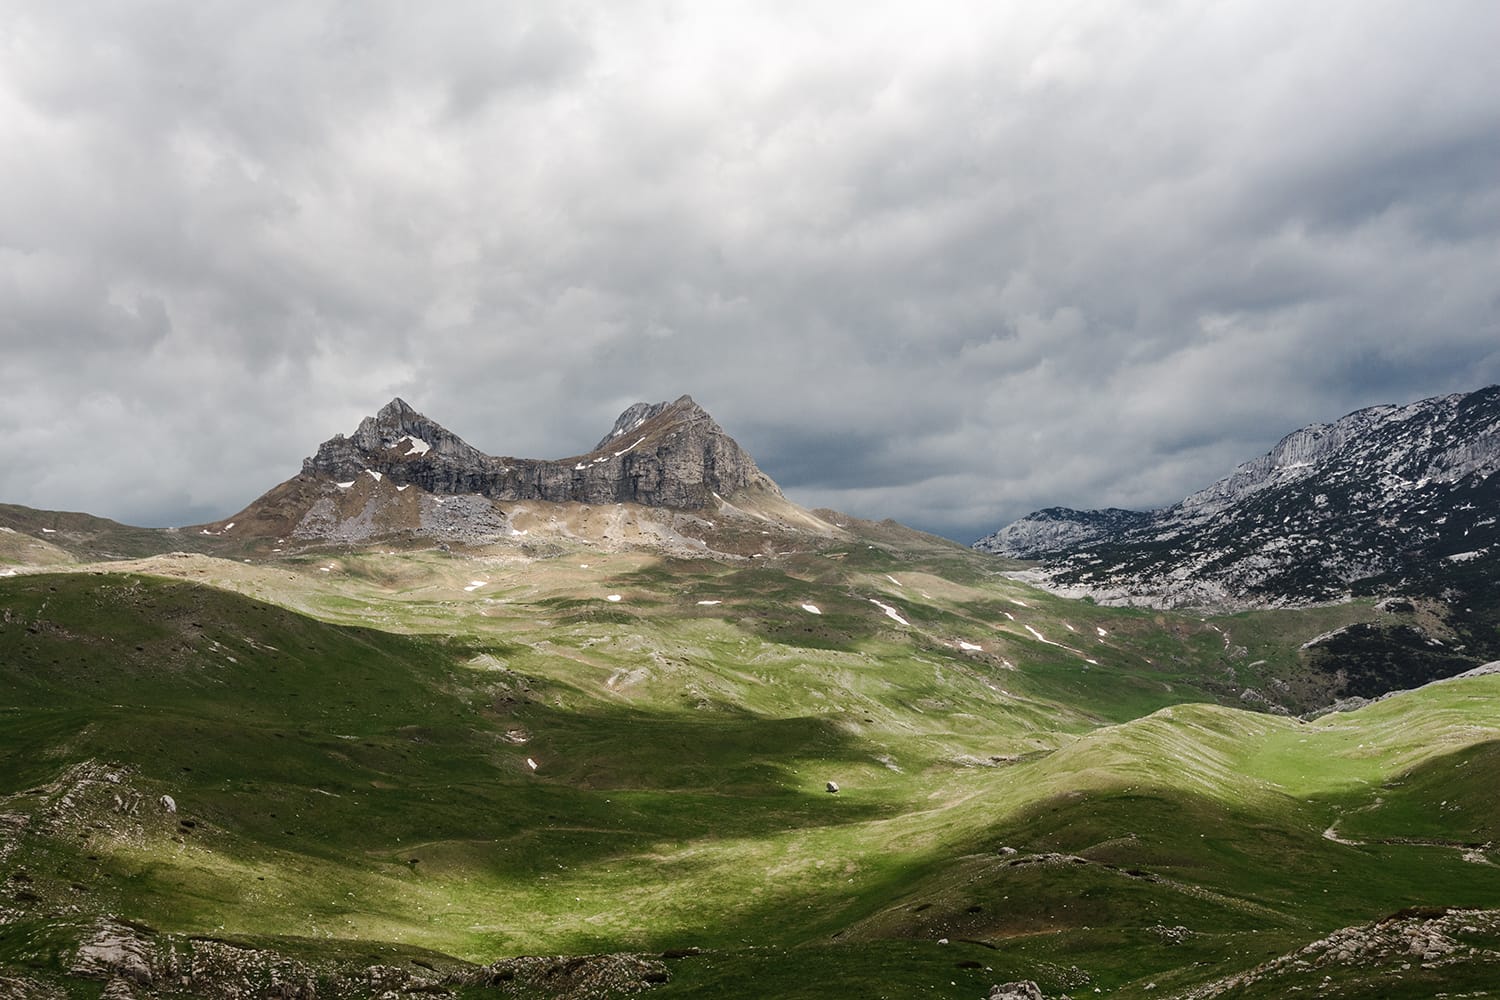
Shade and Overcast Light
Don’t be frightened of shooting in these conditions. It’s cool and soft, making textures softer and lending a gentle green / blue tint to things. It also removes harsh shadows across a subject’s face, making it an ideal time to take portraits outside. If the light is making it hard to get correct exposures you could consider adding in a little fill-in flash on your subject to lift them out of the background.
With a good understanding of the different types of natural light, you should have more confidence to shoot at different times of day. Have fun!
About the Author: Jo Plumridge
Jo Plumridge is a UK based photographer, writer and lecturer. She specializes in portrait, corporate and travel photography, and writes photography, travel and comedy pieces for magazines, websites and books. You can see some of her work at her website, or follow her on Twitter.