How To Shoot Stunning Silhouette Images
Silhouette photos are unique because, well… they basically break the rules of what we have been taught about properly exposing our subjects!
For a silhouette, the goal is to have whatever or whoever you are photographing way under exposed, to the point they are blacked out. This means you will be exposing for the back lighting, rather than your subject.

If you have never attempted to take an image in this way, you should definitely consider giving it a try!
Not only will you be learning a few new things following some backwards rules, but you will also be left with some very interesting and unique images that will leave the viewer with something to think about.
They will be drawn in because of the bright backlighting behind a somewhat mysterious subject.
Choose Your Subject/Background Wisely
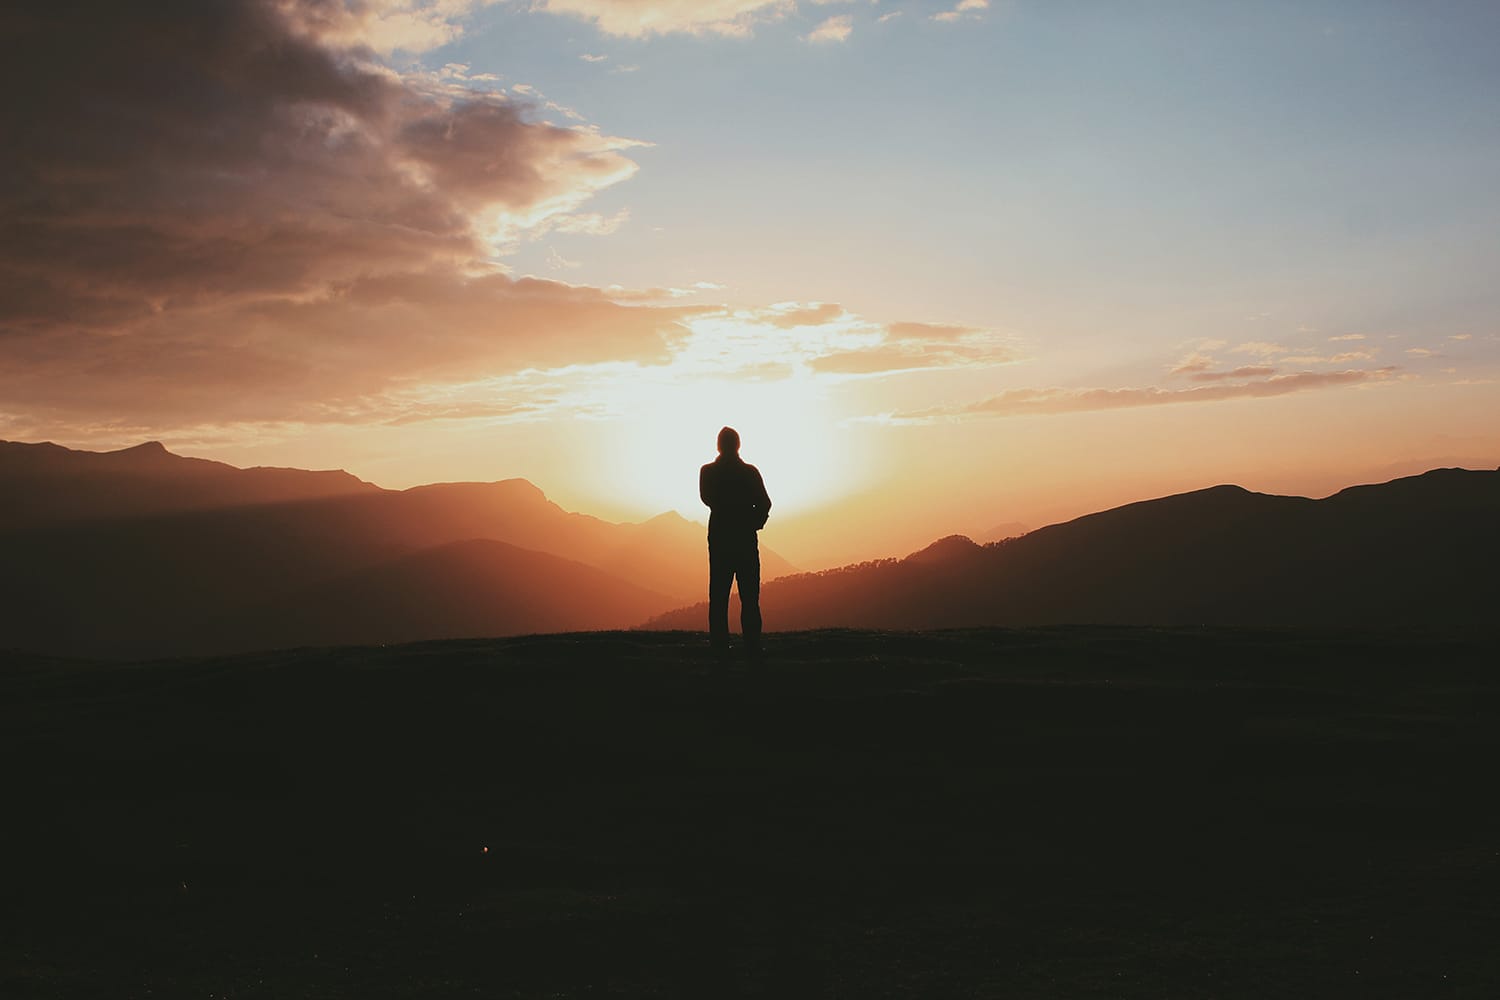
Almost any lighting can be used with these types of images, however, the larger the source of the backlighting, the more your blacked out subject will stand out. Different lighting will give you different results. It’s best to work with a solid background with little distractions. Remember that the lighting is really the backbone to a silhouette. So maybe find an open field, beach, or any location where the sky takes up the majority, if not all, of the background.
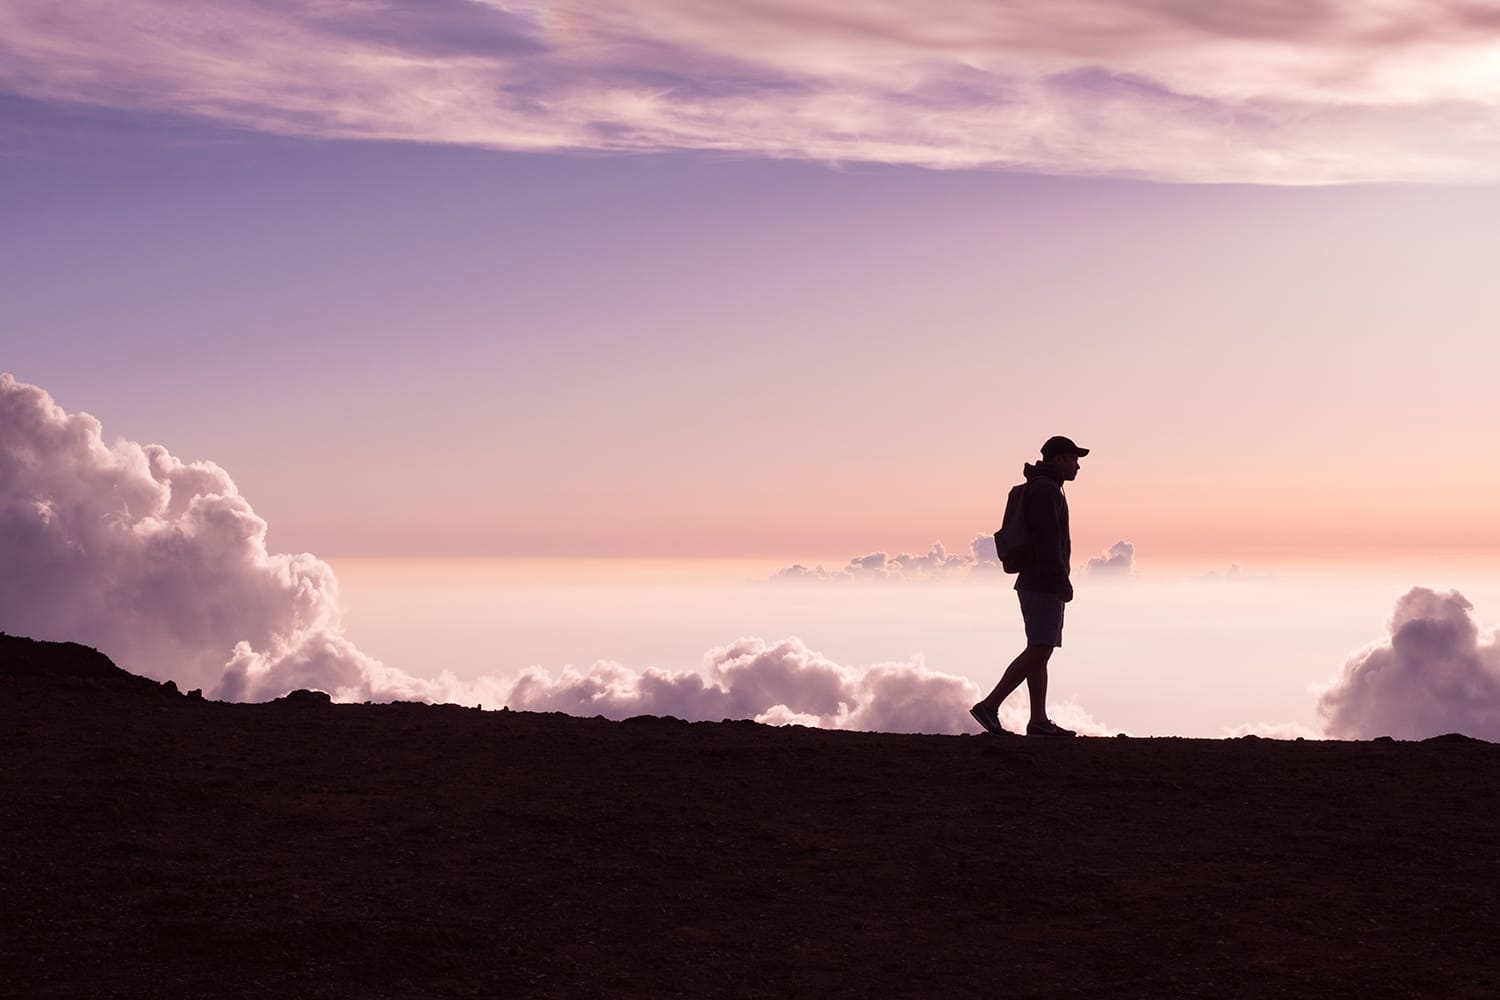
Also, make sure whatever you are photographing has a nice distinct shape. This is because the only detail of your object or subject you will be able to recognize in a silhouette is the shape. Obviously any subject (person) will work well because humans have a clear defined shape, regardless of the size.

If working with an object, make sure it has a unique distinct shape as well. This will draw the viewer in and leave them curious about the details of the subject matter. Any image that draws viewers in and leaves them intrigued is always a great image in my opinion. Silhouettes require creative thinking, but you are left with beautiful results.
Placing Your Subjects
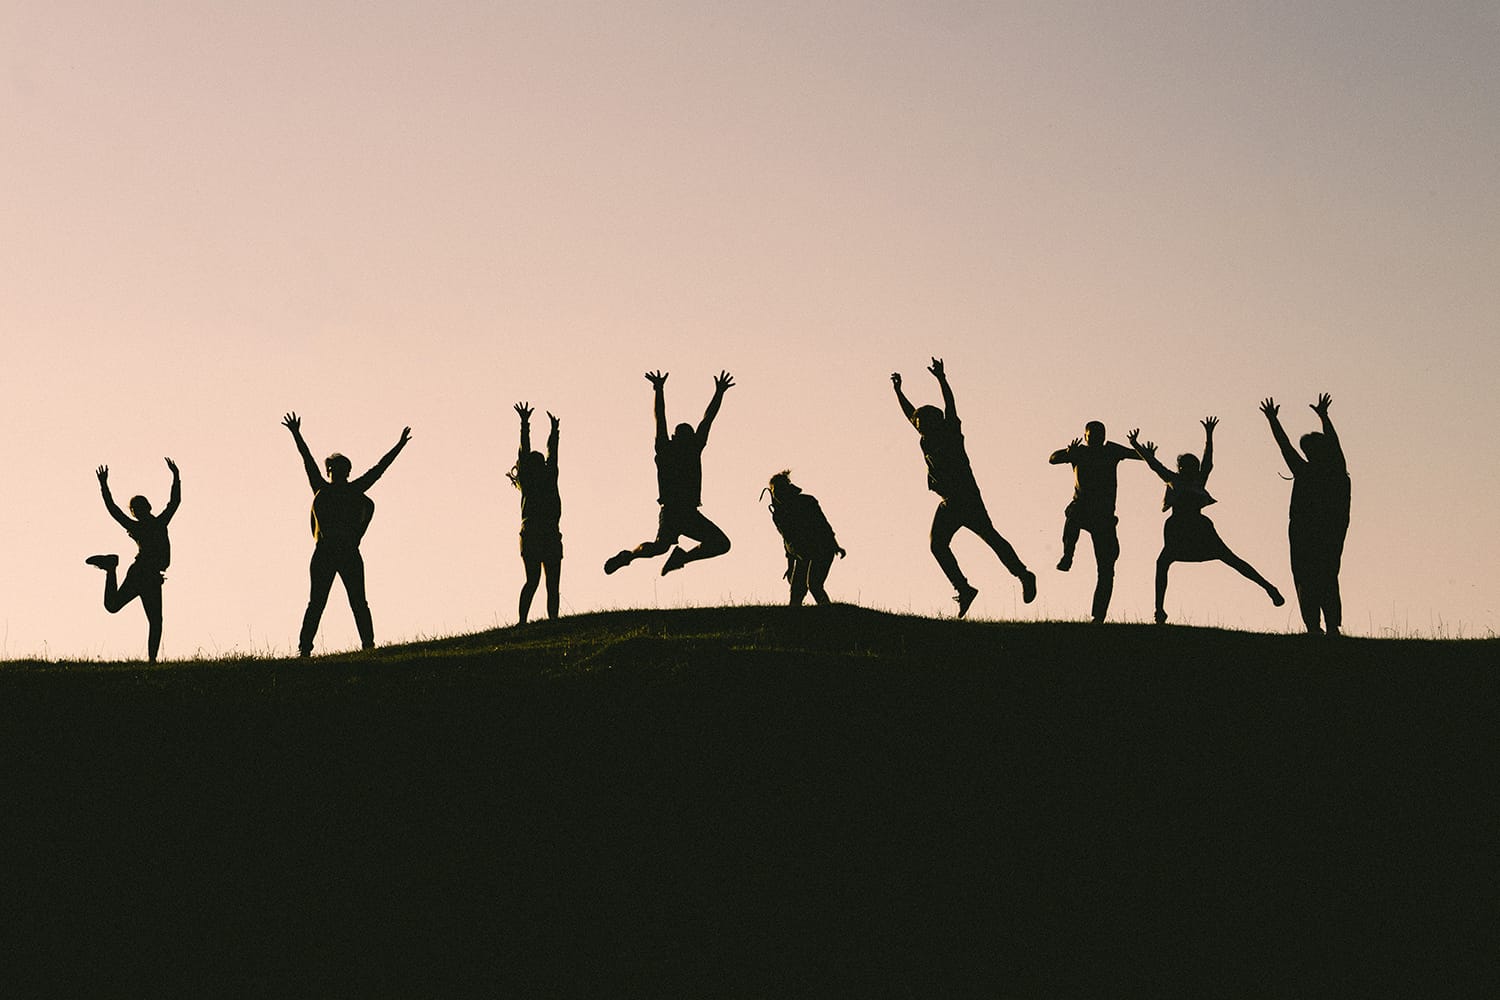
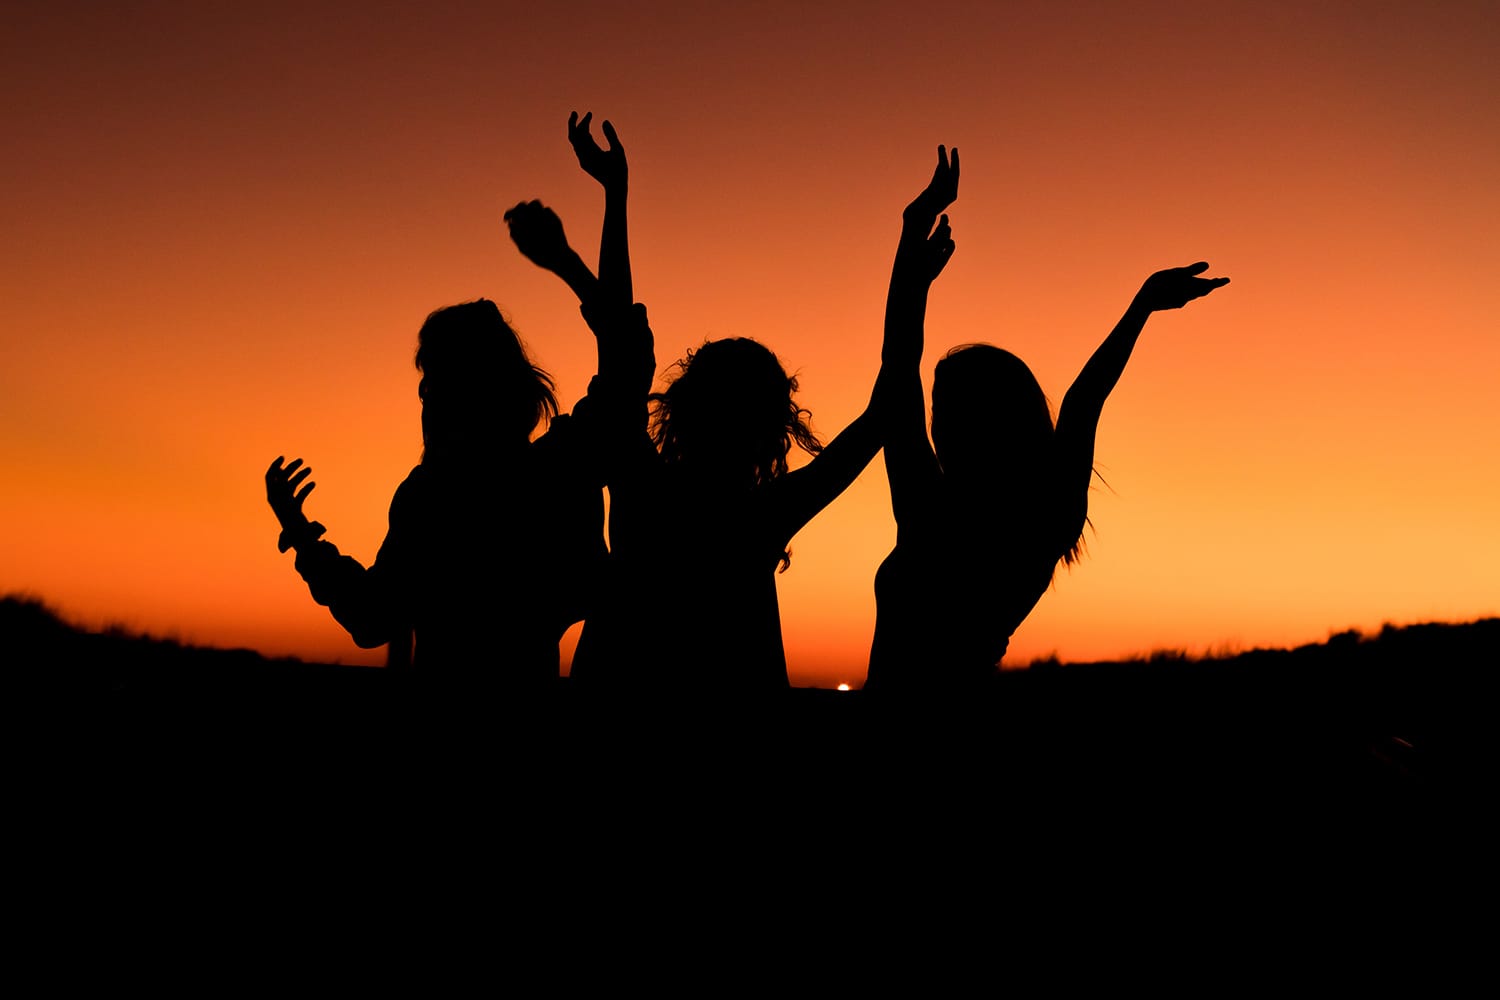
When taking a silhouette photo, placement of your subject is important. If working with more than one subject, make sure to separate them enough so they don’t look like one big black blob. Each subject should be well defined by their size and shape. Remember everything in front of the backlighting will be blacked out, so the only thing(s) you want in the frame are what you want as your silhouette. So isolate these people/things as much as possible.

Setting Exposure And Focus
Typically when we take a photo, we expose for our subjects, to ensure that they are properly lit. This way we see all of their details. However, since we want our subjects completely underexposed in this case, we need to expose for the lighting. This means when adjusting your settings, you will need to meter from the sky or backlighting and adjust your settings from that.
So point your camera towards the brightest area of the photo and set from there. If during the day, adjust the settings until the sky appears blue instead of blown out.
If during the late afternoon/evening when the sun is setting, adjust your settings until the sky is just as you see it, usually you get warmer tones this time of day. This may require you taking a few practice shots of just the backlighting to get it right. Once the backlighting looks as vibrant as you see it without being blown out, keep your settings there.

Now that you have the right exposure settings, you can set your focus on your subject to make sure they are sharp. Working with a small aperture (large number) will help you with the depth of field and ensure more of your image is in focus. With silhouettes, the sharper everything in the image is, the more appealing it will be. This isn’t the time to try to get a blurred background. So keep this in mind when adjusting your exposure for the background. This will require a little tweaking of your other settings.
Silhouettes take planning and preparing. The background lighting, location, placement of your subjects, and your camera settings all play major factors in getting results.
Put these tips to practice and you’ll be shooting them like a pro in no time!
