Studio Lights Dos and Don’ts
 by
Jo Plumridge
by
Jo Plumridge

For many pro photographers, studio lights are an essential part of kit. As a portrait photographer, I can honestly say I’d never be without them. They allow you to control the light to a finite degree and open up endless creative possibilities.
But they can seem like a complicated piece of equipment to the uninitiated. To help get you started, let’s look at some dos and don’ts when it comes to studio lights.
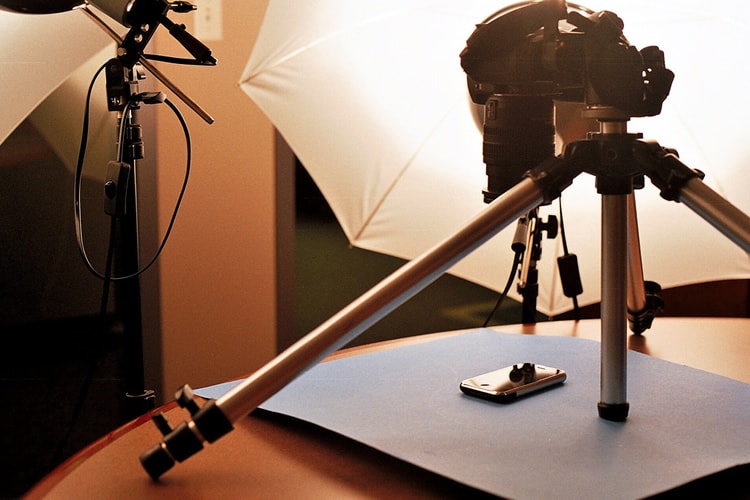
image by Logan Ingalls
Do Choose Carefully
Studio lights aren’t the cheapest of things (like most photographic equipment!) and it really isn’t worth trying to skimp on them excessively. Really cheap studio lights are liable to cause you problems, with blown capacitors and over-heating likely to be issues. Research is vital with studio lights, because you want a system that can grow with you as your needs change over the years.
I use Elinchrom lights and have done ever since I started my photography business. The company have a huge range of lights with different power outputs and capabilities. But the key thing across the range is that all accessories (softboxes, umbrellas etc) will fit on any light. And you can also buy adapters to use other manufacturers’ accessories. Whichever brand you choose, it’s important that they can meet these criteria – both for now and the future.
Don’t Bite Off More Than You Can Chew
Think about what situations you’re going to be using your studio lights in. And then choose your lights appropriately! You don’t need to buy lights with 1500-joule output if you’re going to only be using them on location in small spaces. Likewise, there’s no point spending large amounts of money on battery pack powered lights if you’re only going to be shooting indoors with mains electricity. You get the picture…
Do Save Up For A Third Light
Studio light kits tend to come with two lights in them, but I’ve found over the years that it’s the third light that makes all the difference. Sometimes I shoot with one light, sometimes with two, but time and time again I use a three light setup. If you shoot a lot with high key lighting, you’ll need two lights to light your background and another to illuminate your subject. This allows you to get the pristine white background accompanied by a beautifully lit subject.
Do Buy A Softbox
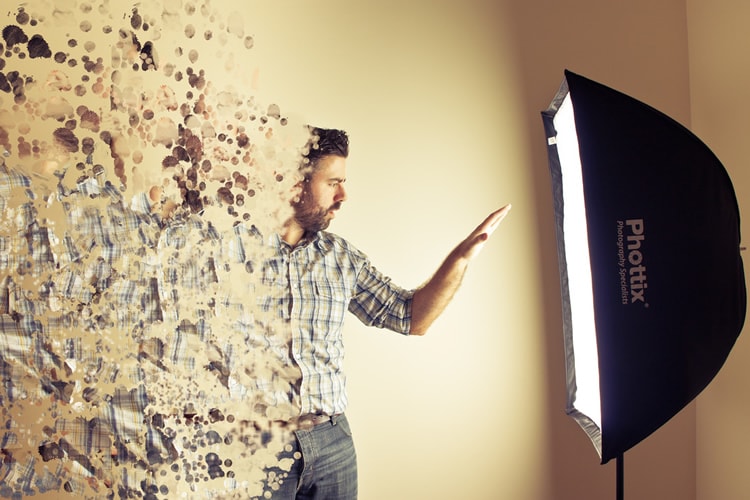
image by Andrés Nieto Porras
Or indeed, buy several softboxes! Of all the accessories you can buy for studio lights, I guarantee you’ll get the most use out of a softbox.
Softboxes do exactly what it says on the tin – they ‘soften’ the light and diffuse it around and over the subject. The light produced by attaching a softbox to your light is, in my opinion, the most flattering effect you can produce.
Softboxes come in the traditional square shape, rectangle or even octagonal. I recommend that you have at least one traditional square softbox and, if you photograph larger groups regularly, an octagonal softbox in addition.
Don’t Forget To Service Your Lights
Many modern studio lights don’t need servicing as regularly as their older counterparts, but it’s still important to keep them in good condition. Basic maintenance can be undertaken by yourself and if the units develop any faults, you should take them to a service centre as soon as possible. With care and attention, studio lights could last a lifetime.
Don’t Be Afraid To Experiment
Studio lights are an investment and as such there’s no point owning them if you’re not going to use them to their full potential. It’s important to understand and master basic lighting setups, as they’ll always be useful and have their place in your repertoire. But there’s also nothing wrong with experimenting with your lights and coming up with your own signature style.
And of course, different styles of shoot require different lighting setups! There are endless possibilities with studio lighting and you can achieve unique results every time you shoot, if you so choose.
Do Use Shadow
Whilst I love the high key look of a clean white background, studio lights are also ideal for creating atmosphere. There’s nothing wrong with introducing some shadow into a lit situation to add drama and depth. Using shadows works particularly well if you are lighting a room or room set, or using a grey backdrop. And, because of the amount of control you have over studio lights, you can make sure that the shadows don’t overwhelm your subject.
And Finally – Do Learn How To Use Your Lights Correctly
Whatever make of studio light you decide to purchase, do make sure that you take the time to learn how the units work. Each manufacturer will be slightly different but it’s important that you master how the controls work so that you have as much control over the light’s output as possible.
Don’t run before you can walk and make sure you understand your studio light unit’s controls in order to create the best lighting you can.
About the Author: Jo Plumridge
Jo Plumridge is a UK based photographer, writer and lecturer. She specializes in portrait, corporate and travel photography, and writes photography, travel and comedy pieces for magazines, websites and books. You can see some of her work at her website, or follow her on Twitter.