Are You Making These 6 Lightroom Post-Processing Mistakes?
As one of the most popular photo editing programs available, Lightroom Classic is a favorite of both beginning and veteran photographers.
However, Lightroom’s complexity makes it difficult to master, and even professionals still make mistakes.
Even if you’re an experienced photographer who’s been using Lightroom for some time, double-check to ensure that you’re not making any of these common photo editing errors.

Notice something you relate to? Don’t sweat it! We’ve taken this opportunity to not only identify some of the most common mistakes photographers make in post, but also how to fix them.
Keep in mind that most of those are also valid for other photo editing software like CaptureOne, Luminar 4, ON1 Photo Raw and others, not just Lightroom Classic.
1. You don’t take the time to organize your photos
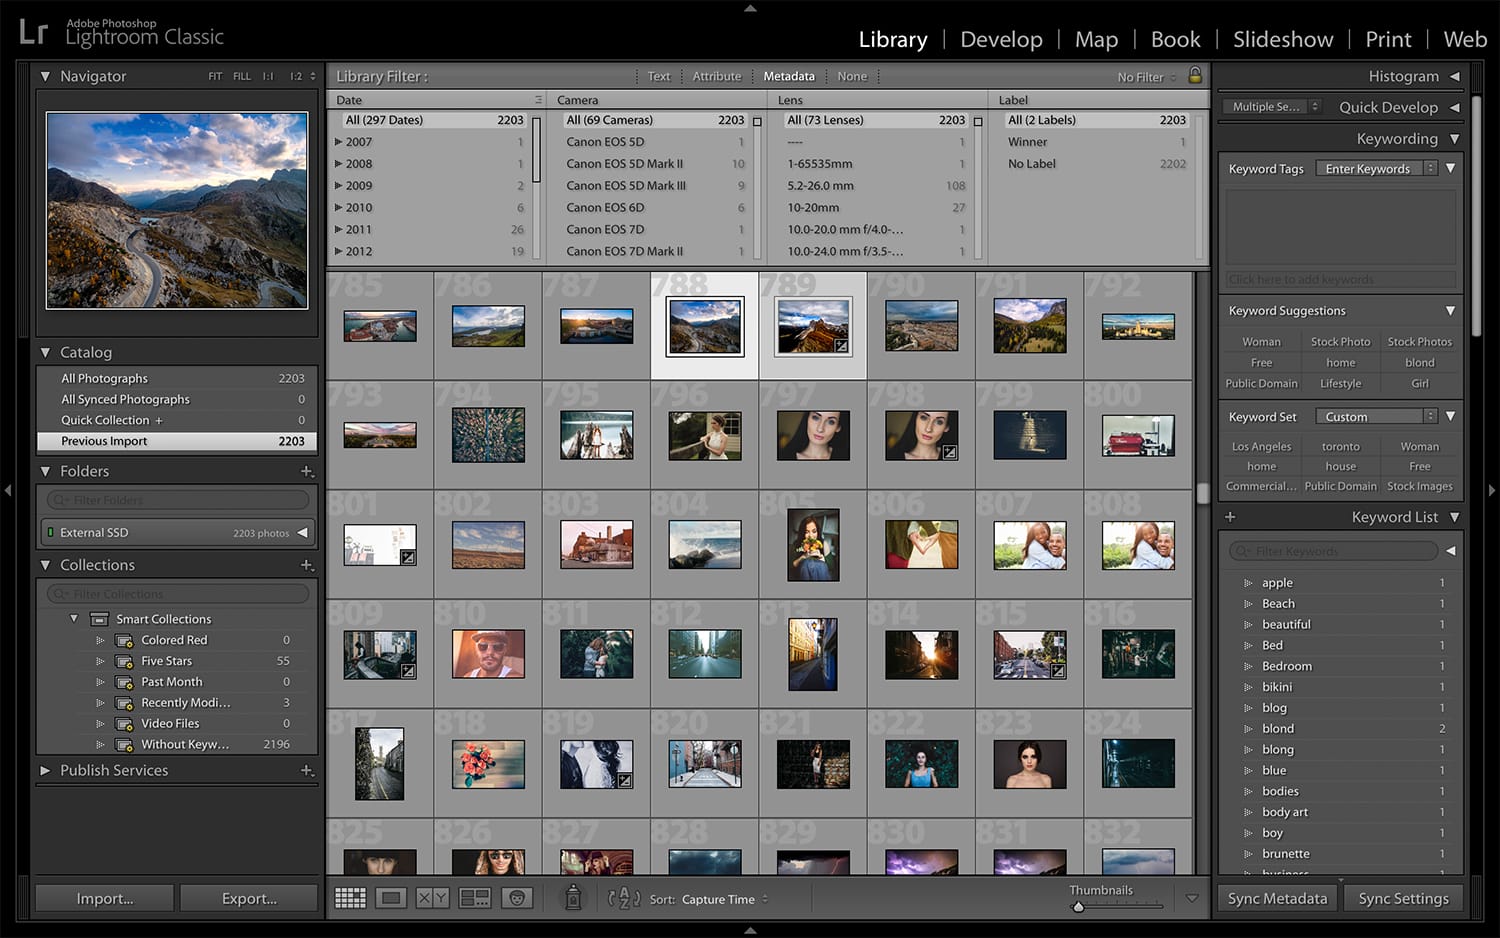
If you’re like most photographers, you have more photos than you know what to do with. There’s nothing wrong with this! However, uploading hundreds of photos at the end of each shoot adds up quickly to some overwhelming numbers. Luckily, Lightroom’s built-in features make organizing photos a breeze.

Investing a few minutes into photo organization might save you hours down the road. Utilize Lightroom’s features such as keywords, rating, and labeling along with carefully organized photo folders for the best results.
For even more actionable and practical tips for using Lightroom Classic, check out the Lightroom Mastery ebook. It’s packed to the brim with knowledge, advice, tips & tricks, and training material to help you become a master of Lightroom Classic.
2. You keep every single photo in the hopes of rescuing it with post-processing
I get it… it’s easy to snap a shot of anything and everything, then import tons of photos into Lightroom to pick the best shots. Maybe you’ve organized your files using Lightroom’s features (avoiding the first mistake we just covered), but you’re reluctant to delete any of your outtakes.
Yes, it’s difficult to part with a photo permanently by tossing it in the digital trash bin, but not everything you snap is going to be a winner. Perhaps you think that, with enough post-processing skill, you can rescue any shot. Unfortunately, that’s not the case; sometimes, it’s best to let a photo go.
After you’ve organized your photos but before you begin the editing process, toss your worst shots.
3. You don’t bother to learn keyboard shortcuts
Like other digital editing programs, there’s certainly no shortage of keyboard shortcuts in Adobe’s Lightroom!
Some photographers find themselves intimidated or overwhelmed by the number of keyboard shortcuts available in Lightroom, but we promise that your post-processing workflow will be much improved (and hastened) once you train yourself to utilize these useful shortcuts.
Start small, but take a moment to analyze your workflow. Take note of the functions you use the most, and use keyboard shortcuts for one or two of them the next time you spend time in Lightroom. Then, slowly increase your keyboard shortcut repertoire.
4. You never check clipping
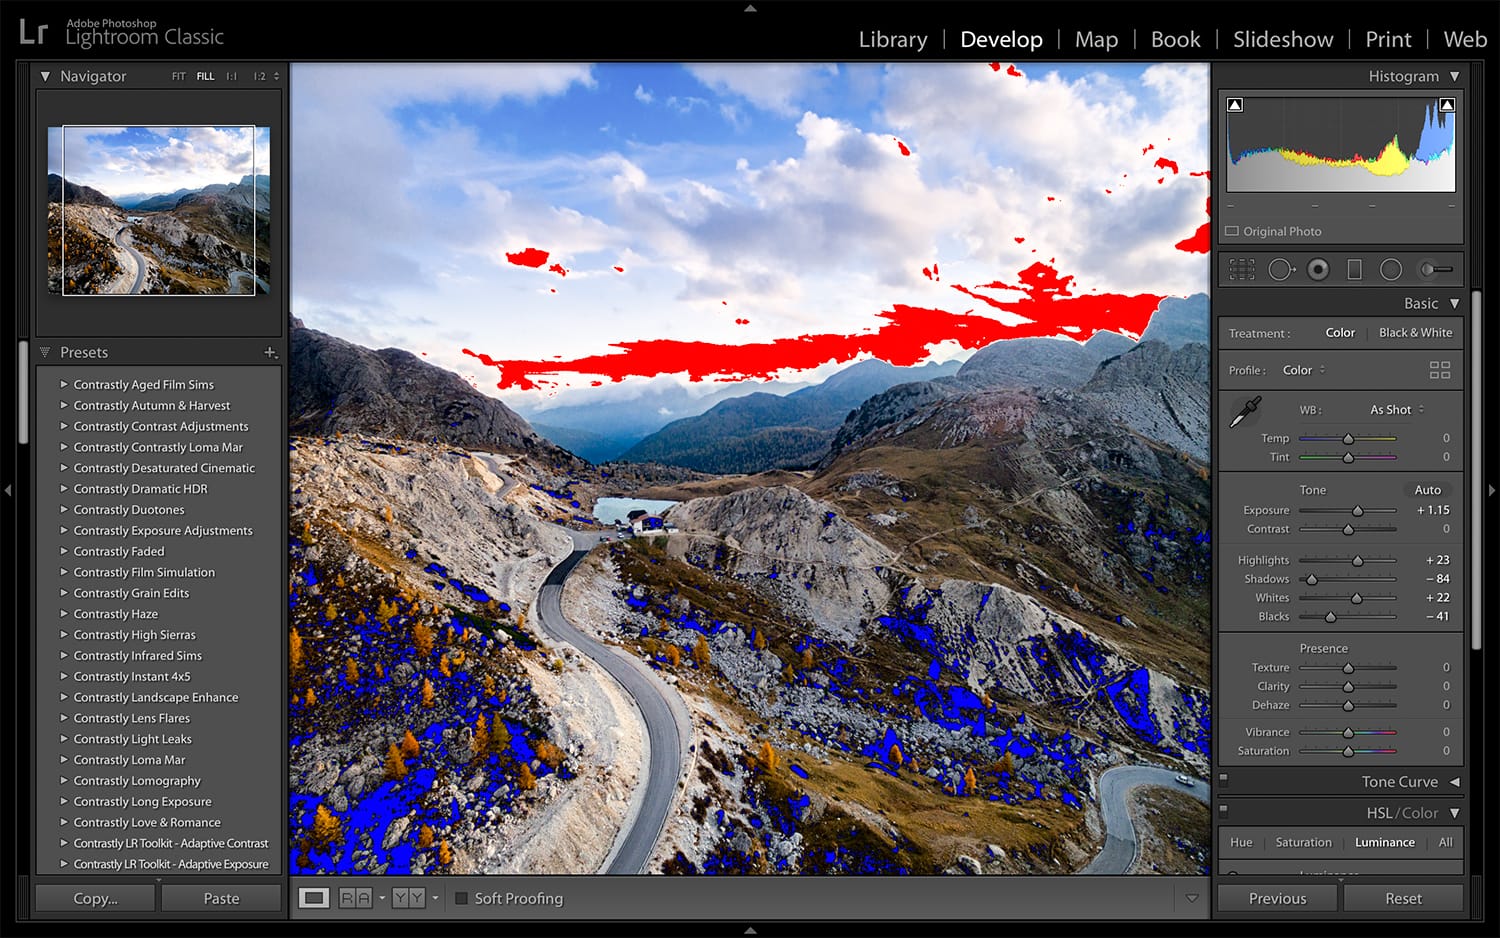
Often, you may not even realize that you’re adjusting aspects of your photos which will decrease the overall quality of the image, but you may be clipping your photos’ tones with your modifications. In other words, your post-processing rituals may result in a loss of detail in the shadows and highlights of your images.

To ensure that you preserve the details you worked so hard to capture, press J in Lightroom Classic to check for clipped tones. While clipped shadows will highlight in blue, clipped highlights will become red. Once you’re aware of the problem areas, utilize your knowledge of exposure adjustment to revive the lost details.
How’s that for a good use of keyboard shortcuts?
5. You over-process your photos
With so many ways to edit your photos in Lightroom, it can be difficult to pick only a few adjustments. Many beginning photographers think that implementing a bit of every modification available to them will make for the best photos, but avoid this at all costs!
For example, be careful not to make skin unnaturally smooth, apply too many effects, overuse vignettes, or add too much fading or blurring. While careful use of these features can highlight the qualities of an artful photograph, overdoing it may only cheapen the appearance of your hard work.
6. You don’t bother with the histogram
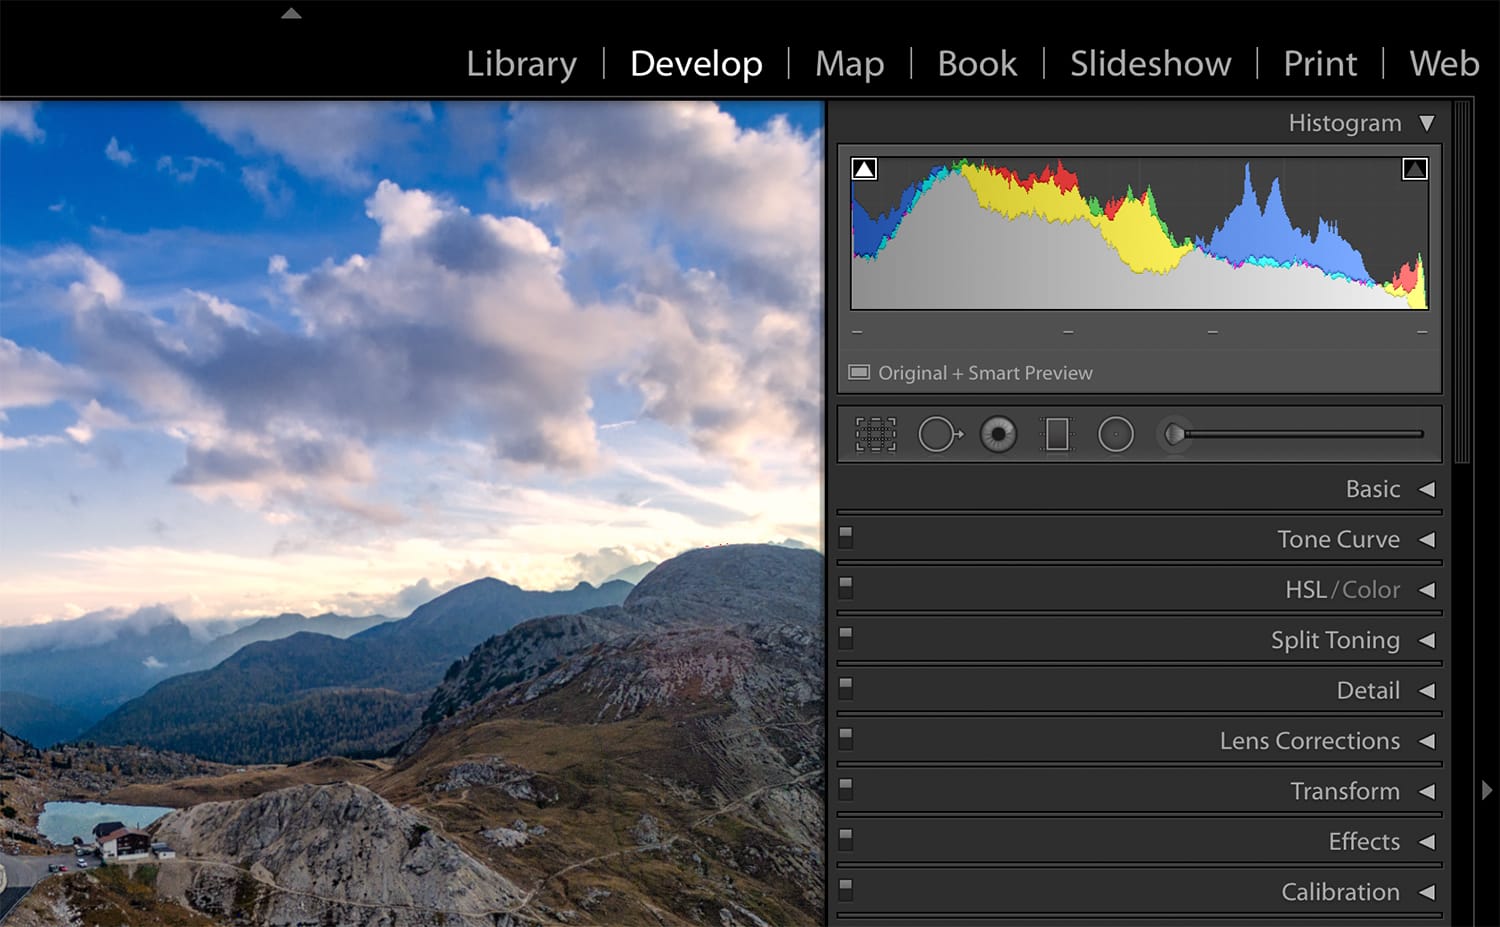
The histogram – most photographers have heard of it, but many fail to fully understand the extent of its helpfulness as they process photos.

Instead of ignoring the histogram, signing it off as another one of Lightroom’s fancy details that’s not really necessary to achieve the best edits, take some time to learn how it can help you accurately adjust the exposure of your images!
Because most of us rely on our vision alone during post-processing, we subject ourselves to errors caused by inaccuracies in our monitor’s brightness or saturation. By using the histogram to determine whether or not you’re maintaining appropriate highlights, shadows, and overall light levels, you overcome any discrepancies caused by a screen’s poor calibration.
If your histogram’s curves are concentrated to the right, your photo is likely too bright and it may have blow highlights. Similarly, curves shifted to the left indicate a photo that’s too dark and that shadows have lost details.
No matter your skill level, Lightroom never fails to offer photographers with something new to learn. Don’t be afraid to admit mistakes, make adjustments, and streamline your workflow.
That’s the great thing about photography, after all, there’s always room for improvement.
Are you tired of spending hours on end fiddling around in Lightroom Classic and not getting the results you know you should be getting? Make sure you check the next page:
