Why Your Photography Workflow Is Important

Mastering your workflow – the start to finish process of how you manage your digital images – will help create consistency in your work.
A consistent and reliable workflow is one of the primary attributes of a successful photographer.
The Goal Is Consistency
Your object should be to create consistent images – especially if you plan on doing any type of professional work. If a friend asks you to shoot a wedding, you’ll want to have a good idea of exactly how the images will turn out before the shooting actually occurs.

Developing your own workflow creates consistent images. You’ll be able to predict exactly how the images you’re taking will look. In turn, you develop the confidence you need to handle any shooting situation.
The idea of confident, consistent imaging is a staple of successful photographers. You can give three photographers the exact same equipment and settings. Their workflow process will likely develop three different results. In time and through careful study, you will develop your own workflow process that defines what you finished images will look like.
Workflow Starts Before You Press The Shutter Release
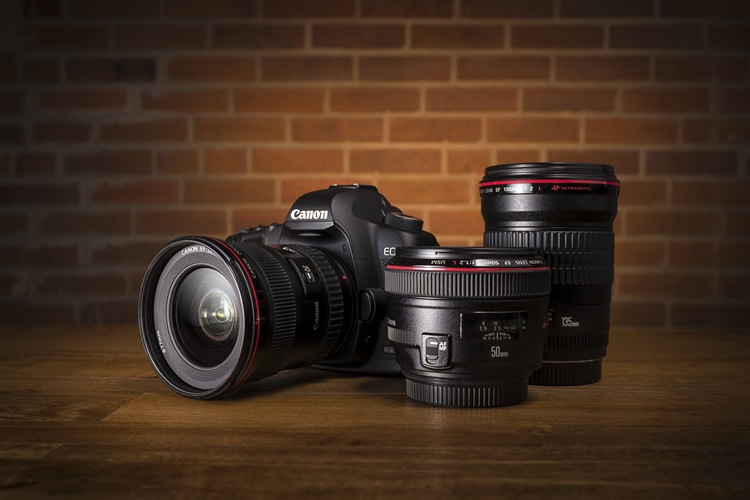
image by Aurimas
The first part of the workflow process involves equipment considerations. It’s necessary to take inventory of your available equipment, its limitations, and the requirements of the shooting situation you are about to undertake.
Consider lighting conditions, subject, and environmental constraints. What type of equipment and settings will you require to meet the demands of your shoot?
Setting up your camera and equipment before you shoot is a vital and often overlooked workflow process.
If you are shooting action in a dimly lit place (like a high school basketball game), you will need a fast prime lens, fast shutter speed, and a high ISO. Consider creating some presets on your camera to handle these considerations before you have to start shooting.
Adjust your camera settings. Make sure that the white balance is adjusted correctly for the type of light you are shooting in, determine if you need a flash, think about how quickly your subject is moving and what shutter speed will freeze it, consider your past shooting experiences and gauge how well your camera handles high ISO and digital noise.
Also, you’ll need to decide to shoot in RAW or JPEG. RAW has some distinct advantages in post processing – particularly the ability to manipulate all image data, not just a compressed version of it. RAW files are more flexible and the only disadvantage is that you’ll need to convert them to a compressed format for internet publication or sharing as part of the digital darkroom process.
There are thousands of shooting considerations to take into account before you press the shutter release. Your ability to make the right choices and predict imaging outcomes will advance as you capture more images and your experience increases.
After Your Press The Shutter Release

image by Alejandro Escamilla via Unsplash
The second major part of the workflow process is everything that happens after you press the shutter release button.
First, you’ll have to transfer your images to a computer where you will perform edits in the digital darkroom.
You have two choices for image transfer. You can import your images using an archive or archive and edit application like Adobe Lightroom or Apple Aperture or you can just drag and drop images from your camera to labeled folders on your computer.
Editing and Archiving Applications
By far, the two most popular editing and archival applications are Apple’s Aperture and Adobe Lightroom. Both apps offer versatile and powerful editing capabilities and the ability to create libraries of your photographs for easy search and retrieval.
If you haven’t invested in Lightroom or Aperture, you should. Many times, you don’t need to have any other editing programs to perform edits on your image. From color corrections and noise reduction to lens corrections, both applications can handle almost every task you would ever need to perform.
A large part of the workflow process is deciding how to organize your images. The default method is by date, which is perfectly fine if you have an excellent memory. The best method is to organize photographs by location, subject matter or activity. Many photo archive applications also allow you to add keywords to your photographs.
Organization is where a purpose-built archival and editing application like Lightroom or Aperture really comes in handy. You can’t discount the ability to database images, add and sort by keyword, date, or even exposure data, and access them again without having to search through hundreds or thousands of folders.
Image Processing
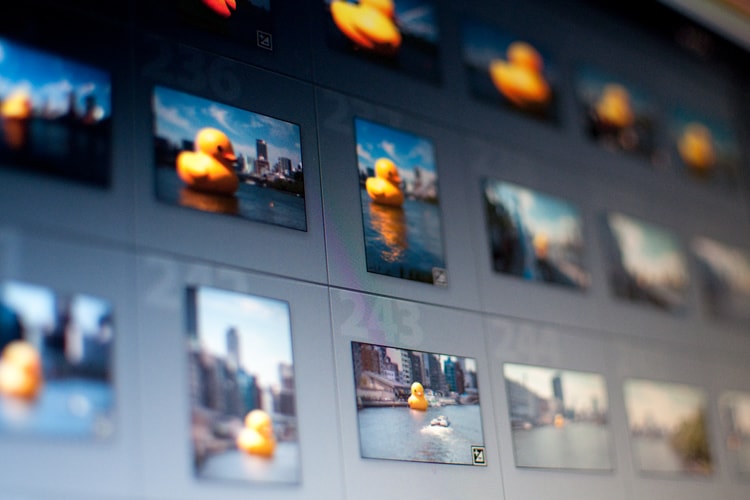
image by Yu Morita
After import and organization, you’ll need to process your photographs. This step involves everything from cropping and adjusting exposure to adding filters and exporting photos for publication or sharing.
In my workflow process, the first step is to apply lens corrections to the image. Every lens you use has some effect on the resulting image you capture. Wide angle lenses, for instance, have a tendency to cause straight lines to bow at the edges. Vignetting, or light falloff at the edges of an image, is a common lens characteristic that you might want to correct.
Some image editing applications (like Adobe Lightroom) have built-in lens correction presets. The application can use the image metadata to determine which lens you used to take the picture and it can automatically apply distortion and light fall off correction with the press of a button.
You can also use specific lens correction applications. One of the most popular is DxO PhotoLab. Applying corrections with applications that are separate from your archival application requires a different organization and storage process. If I plan to use secondary applications – or programs other than Lightroom to edit my images – I upload them to Lightroom, view the images, export the full quality RAW file and re-import after the edits are made.
Cropping is usually the second step of my editing workflow. After cropping the image to the proper size, I can determine which exposure adjustments or corrections need to be made. If I am making an extreme crop of an image – trying to get in very tight on a subject – I often crop first to determine if I need to use noise reduction to remove the digital noise apparent in some high ISO images.
Noise reduction can be performed with a specific piece of software or in applications like Lightroom or Aperture. One of the most effective and popular noise reduction applications is Topaz Labs DeNoise.
Always Backup Images
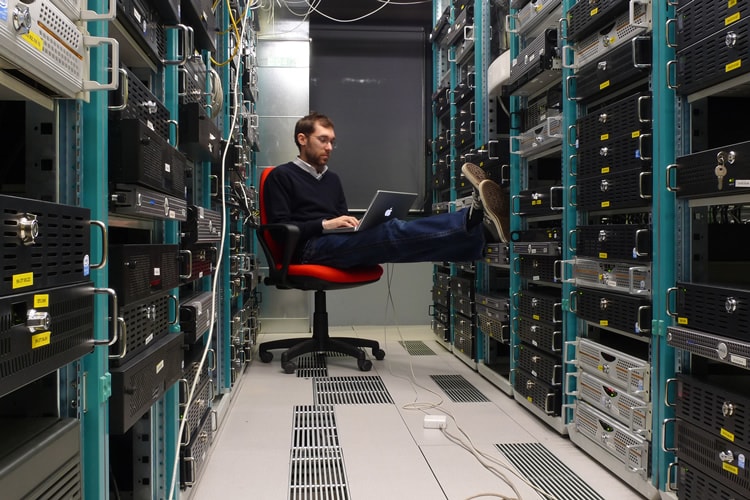
image by reynermedia
After importing, organizing, and editing, you need to backup your files. Digital storage devices can and will fail. The standard for important images is to create three copies of every file that you want to save.
An external hard drive is one of the main types of backups and ideal for backing up your images. Additionally, it may be helpful to create a cloud backup of your images. It can be expensive for online storage space, but for many photographers, the risk of losing equipment in a catastrophic event like a fire or in a theft makes cloud storage an ideal backup option.
In applications like Lightroom or Aperture, you have the option to backup your entire library. Because the applications track the changes you made to each photograph, you’ll be saving the RAW images as well as your final edited images. If you decide to use a different editing technique or multiple editing applications in tandem, you might want to consider creating backups of the original RAW files and your finished images.
Export, Print, or Publish
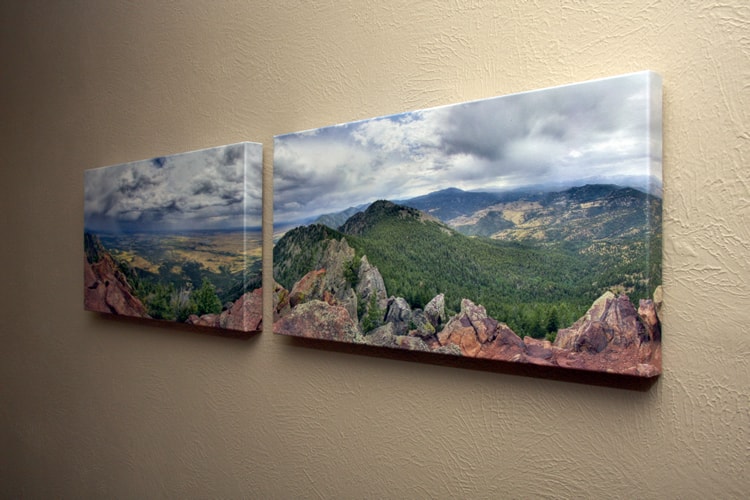
image by Andrew Magill
The final stage of the workflow process ends with exporting, printing or publishing your photographs.
Again, Lightroom and Aperture offer a variety of export choices including file type, image size and resolution. The file type and resolution you use depends on how you plan to use your images.
You’ll also want to consider color profile. In most cases, you’ll want to use an Adobe sRGB color profile when exporting your images for web publication. Adobe has multiple color profiles, including an extended profile with millions of colors not supported by most computer monitors. Exporting in sRGB guarantees that people who view your images will see them exactly as you edited and published them.
Create Your Own Process
These are basic guidelines. You goal should be to understand what workflow is and create one that matches your personal style.
Photographers have always been defined by their workflow. Photographer Edward Weston always made large negative contact prints. One of my favorite photographers, Diane Arbus, use a twin lens reflect camera and always made prints showing the sides of her negatives – an added touch that proved the image was well composed to begin with.
The small decisions you make before, during, and after the imaging process become your signature. To develop your own unique style, you should have a workflow process that produces consistent results.
About the Author: Peter Manktelow
 Peter Manktelow is a freelance writer who lives around the corner from Kodak World Headquarters in Rochester, New York, the in the "imaging capital of the world." Five of his six cameras shoot film and a case of Kodachrome 64 is waiting in his freezer for a rainy day. You can visit his website here.